ACParadise Network:
American Cosplay Paradise
American Cosplay Experience
American Cosplay Snapshots
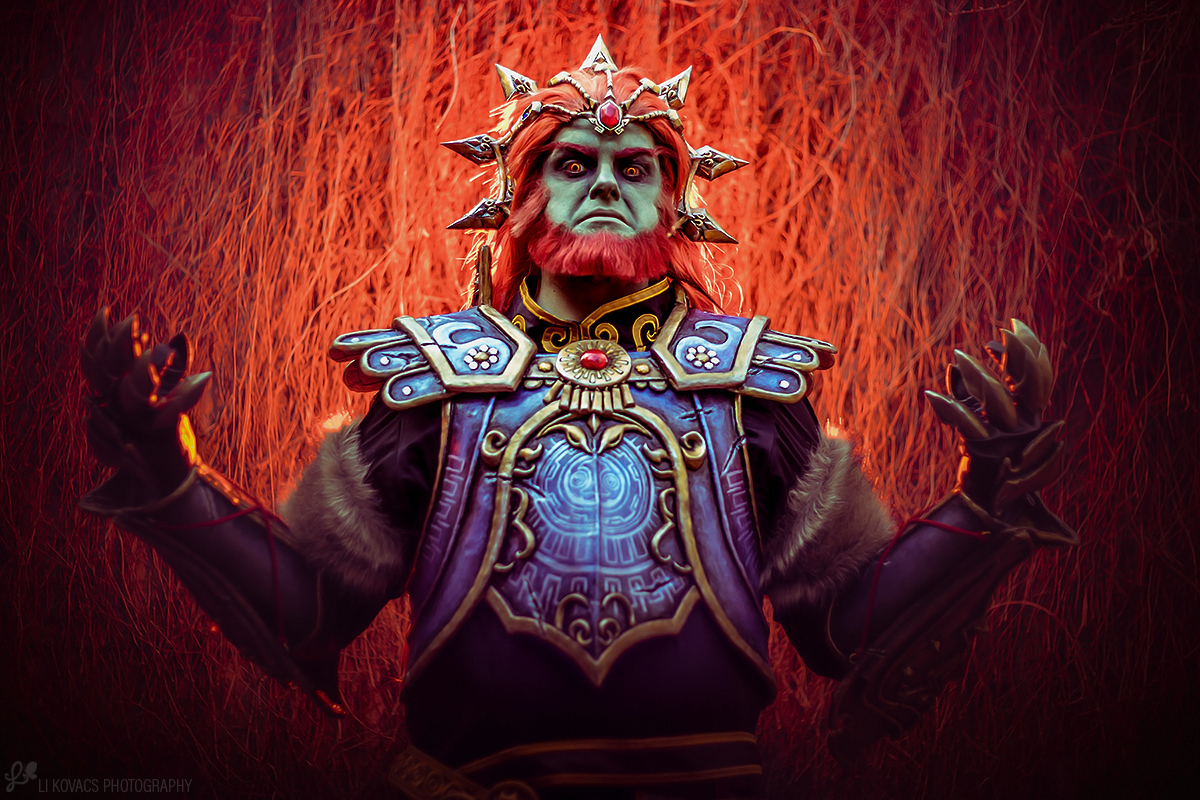
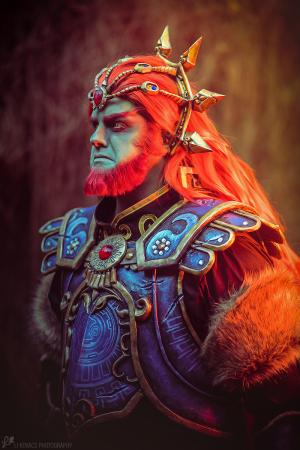
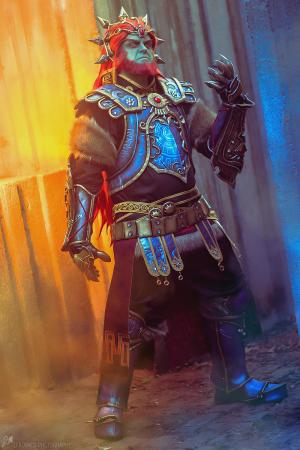
Cosplayer Seifer-sama > Costume of Ganondorf (Legend of Zelda: Hyrule Warriors)
- Most Recent Photo
- 11-10-2018
- Series
- Legend of Zelda: Hyrule Warriors
- Character
- Ganondorf
- Year Completed:
- 2018
- Construction Difficulty:
- Very Difficult
- Costume worn at:
- FanimeCon 2018
- Sakura-con 2018
About this Costume
- Construction Details:
-
Cosplay Construction Notes:
n
nHW Ganondorf
n
nThe Skirt:
nThe skirt is made with a burgundy cotton and I did a slight gradient on the backside using a fabric spray called ColorTool. This was my first time using it, but it certainly won't be my last! The designs were done with applique on both sides and I did the tattered edge with a satin stitch.
n
nThe Shirt and Pants:
nSuper easy, basic pull over shirt and fitted pants made of black cotton. I appliqued the gold designs on the neck and sewed on the fur for the upper arm and the bottom of the shirt.
n
nThe Hanging Belts:
nThese are a cheaper vinyl that I had left over from a previous project. I appliqued the designs, added some beadwork and rhinestones, and sculpted and painted the gold ring at the bottom. These attach via snap to the belt of the skirt. Since they magically float there in the game, I figured this was the best way to hide where they connect to the costume. I also ended up painting the vinyl to better match the purpley/grey color the rest of his armor is.
n
n
nThe Crown:
nThe crown was something that I wasn???t sure was going to work but ended up working perfectly. It???s made of foam, worbla, fimo clay, rhinestones, and resin. It works similarly to a headband, just super huge and gaudy. I made a custom resin mold for the gem in the center and sculpted all the tiny details, the front center piece, and the rhinestone ???cases??? with fimo clay. After that I used a bunch of my worbla scraps to make the ???chains??? and the spikes.
n
nThe Three Belts (Circle, plain, & plated armor):
nThe circle belt was done with a series of satin stitched circles and a gold stitched trim. It took forever to get all the circles to look even semi decent. The plain belt was by far the easiest, just a gold applique trim and done! The plated armor belt started out as a plain vinyl belt and I made a series of worbla plate that snap on to the belt.
n
nThe Gauntlets and the Claws:
nThis is the part of the costume I was SUPER excited to work on. I really wanted to see these come together. I began by patterning out the claws and I realized right away that I wasn???t going to get the look I wanted with a closed claw (and it was going to be a pain for EVZombie anyway). So I decided to do claw tops that are worn like rings. I think it ended up looking pretty convincing and EV can bend his fingers. Win / win. The gauntlets themselves took far less patterning and seemed to come together quickly. All the details and the trim are rolled worbla scraps. The resin gem was another custom mold I made for the gauntlets. The flower details at the top were free hand painted by me and were a pain in the butt. Spikes, diamonds, scratches, scuffs, and???. Flowers???. Okay Ganondorf.
n
nThe Torso and Pauldrons:
nThe chest broach and dangly things were sculpted with fimo clay and painted. The dangly things are attached to the broach itself with jewelry hooks so they move. The torso and pauldrons both started out as butcher paper patterns, which were then transferred to fun foam, and covered in Worbla. Again the trim and details were rolled and shaped scraps of Worbla. I love not using foam and having to cut all these intricate pieces out! The sculpting with Worbla seems to have a better shape and it???s easier! The painting was all done by hand and seemed really daunting at first but once I started with that initial circle, it actually came together pretty quickly. There was one minor hiccup that came up while I was working on this. Apparently one of the main colors I chose as a highlight color was discontinued between the time I bought it and when I came back to this project. I basically had to mix my own bottle of it to move forward.
n
nThe Boots:
nI still have a heel plate to make but these bad boys were literally finished a week before the con. Again, paper pattern, to foam, to Worbla. All the designs and trim were rolled scraps. Again, all hand painting done by me. The boot plates are all held on with elastic and the fur is attached to the inside of the main boot. - Personal Thoughts:
- Massive red mane of doom!
Add a Comment


Sorry, you must be a registered user of and logged in to view and add comments. Either log in or register now!