ACParadise Network:
American Cosplay Paradise
American Cosplay Experience
American Cosplay Snapshots
Cosplayer La_Lei > Costume of Mikleo (Tales of Zestiria)
- Most Recent Photo
- 08-21-2017
- Series
- Tales of Zestiria
- Character
- Mikleo
- Special Variation:
- Epilogue
- Year Completed:
- 2016
- Construction Difficulty:
- Difficult
- Costume worn at:
- Anime Expo 2016
- Anime LA 2017
About this Costume
- Construction Details:
-
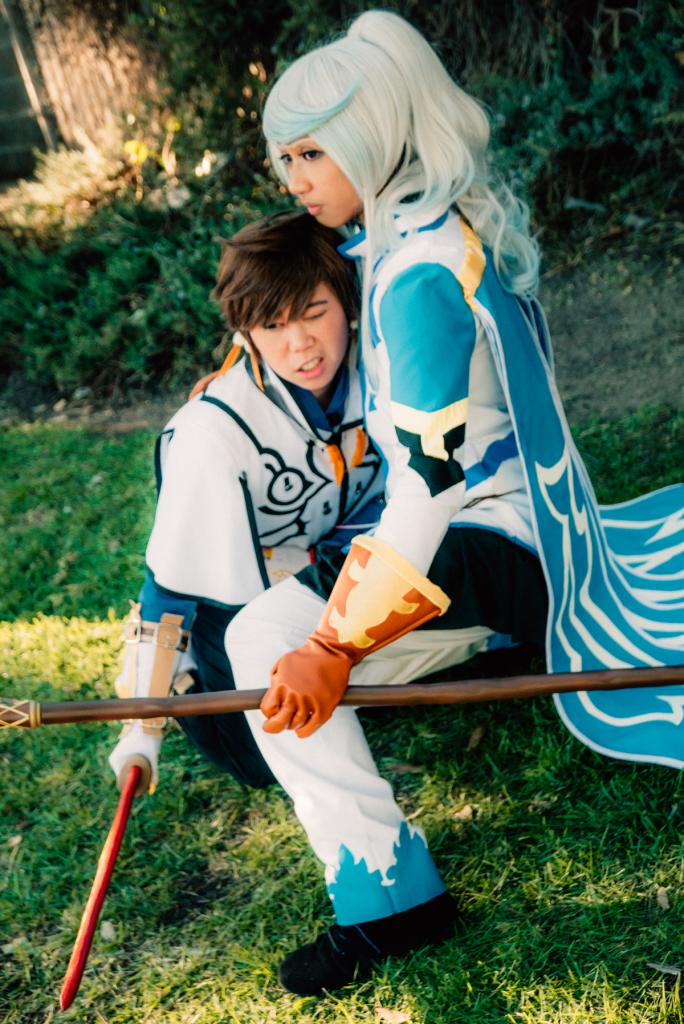
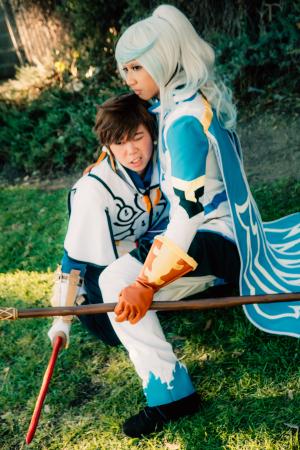
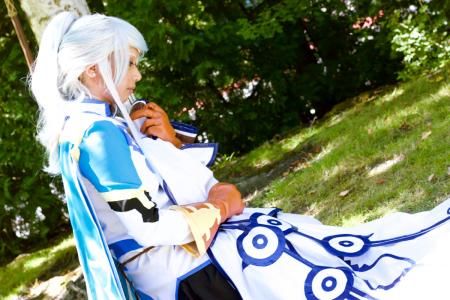
Pants: Used a pattern to create the pants. The blue design at the pant cuff was taken from the actual design reference and I enlarged it on the computer, printed it out, and used it as a stencil to create a heat-and-bond design which I then ironed it on to the pants.
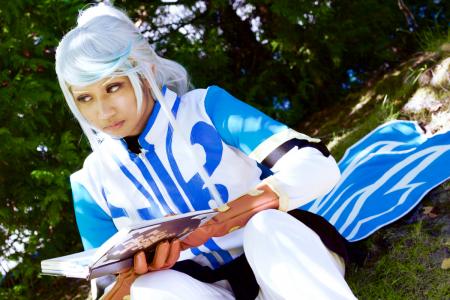
Gloves: I had never worked with vinyl, nor had I ever made gloves so this was a LEARNING experience. xD I patterned it off my own hands and flipped it inside out (thumb separate); this was one of the harder aspects of the outfit as well.
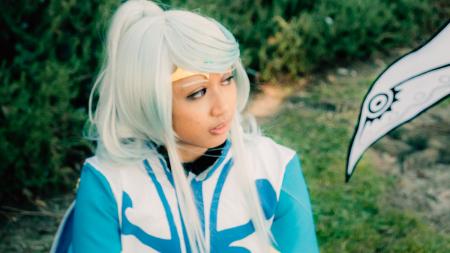
Jacket: The jacket. Where to start? I used a pattern for the sleeves, but I did not use a pattern for the jacket base itself (it was free-handed). Bias tape was made using a bias tape maker, in order to match the colors of his jacket designs.
I can't recall the exact process of how I sewed the bias tape, collar, and zipper down the middle, but there was a certain step routine I had done in order to hide the seams of the bias tape down the middle. It was quite the process to hide the seams down the middle (so much so, that I had forgotten quite a bit). The jacket designs are heat bonded. The black ruffles are separate from my shirt; they were first ruffled and bunched together, sewn down, and then sewn on to the jacket.
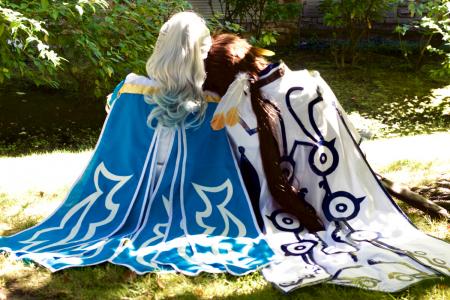
Capes: Oh, man. The capes were REALLY the test. I used the freezer paper-stencil and fabric paint method to create the designs. They were first constructed large scale on a file, then printed in separate parts, which were then traced on to freezer paper. The designs were then cut out from the freezer paper, ironed down on the fabric, and was filled in by fabric paint on to the fabric. Each cape design took 2 - 3 coats of paint, front and back.
They were sewn to the top of the jacket near the gold bar. Surprisingly, it did not pull back on the back collar of the jacket nor does it pull down overall. They were sewn so that the capes would spread out from the middle.
In order to keep the "spread out" look, the ends of the capes (near the pointy tips) were hand sewn together so that they would maintain being spread out from the top.
Prop was created by my boyfriend. - Personal Thoughts:
- This outfit was a lot harder than I took it for, but it was definitely worth the hard work and the time it took to create it! This is one of my more mobile outfits and I am surprisingly comfortable in the fit of the whole outfit.
Add a Comment




 Upgrade Cosplayer
Sorry, you must be a registered user of and logged in to view and add comments. Either log in or register now!