

ACParadise Network:
American Cosplay Paradise
American Cosplay Experience
American Cosplay Snapshots
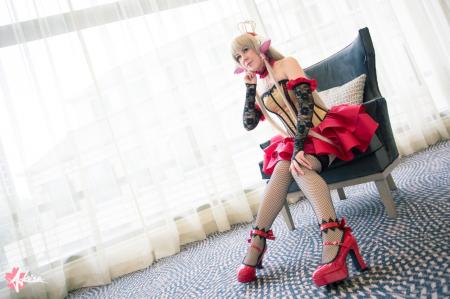
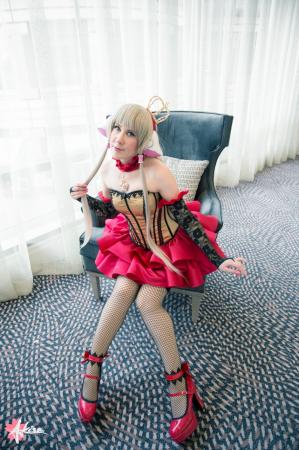
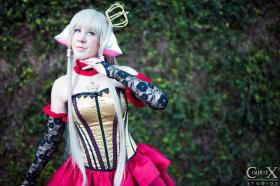
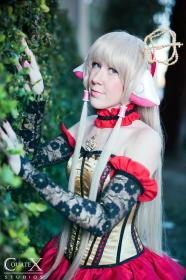
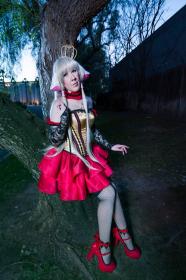
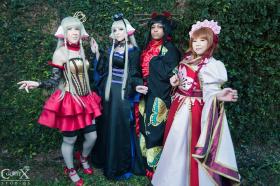
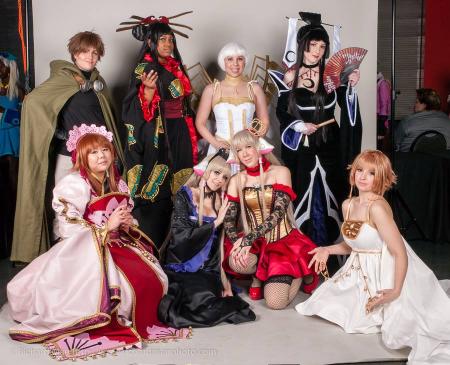
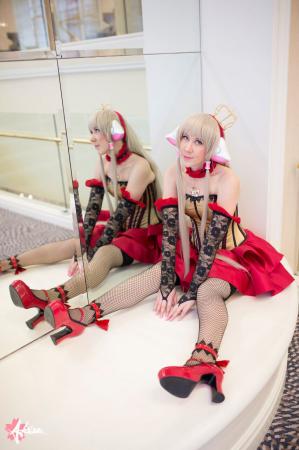
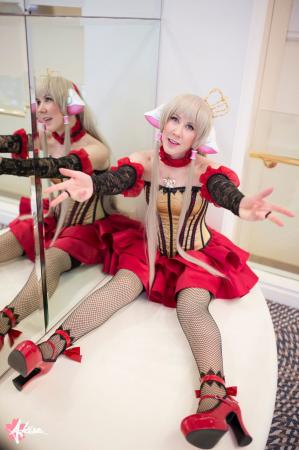
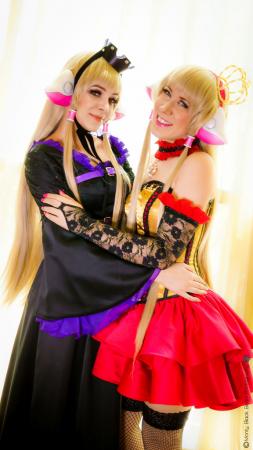
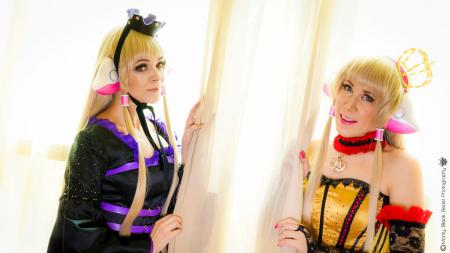
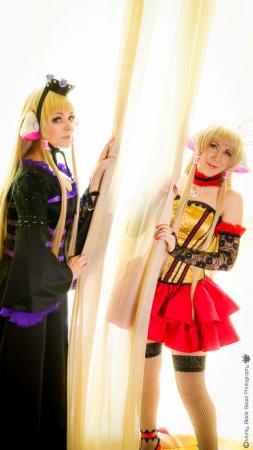
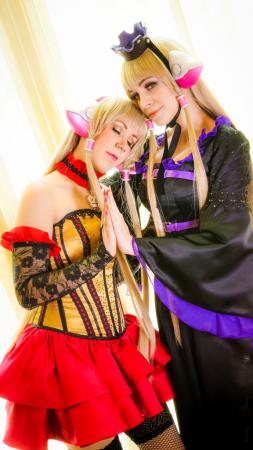
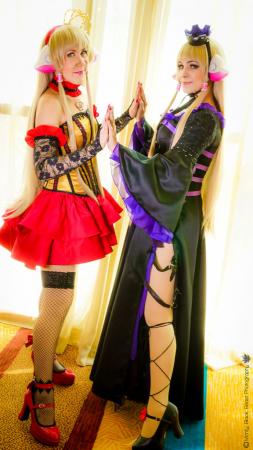
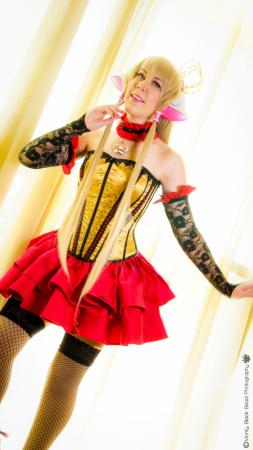
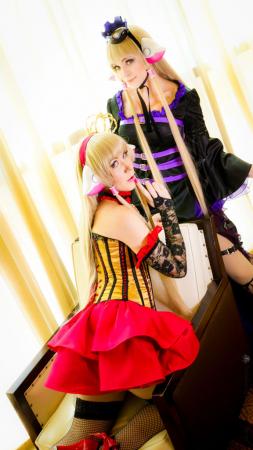
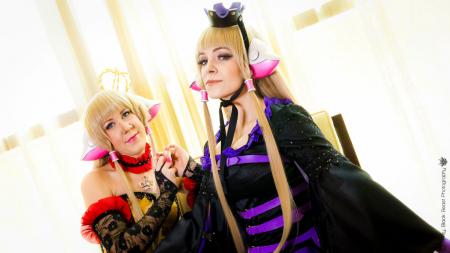
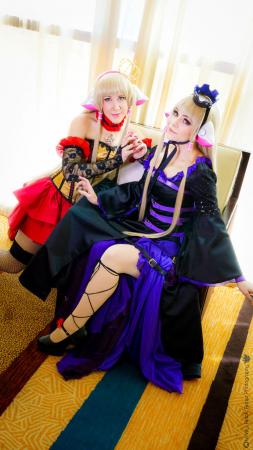
Cosplayer NyuNyu > Costume of Chi / Chii / Elda (Chobits)
- Most Recent Photo
- 09-17-2017
- Series
- Chobits
- Character
- Chi / Chii / Elda
- Special Variation:
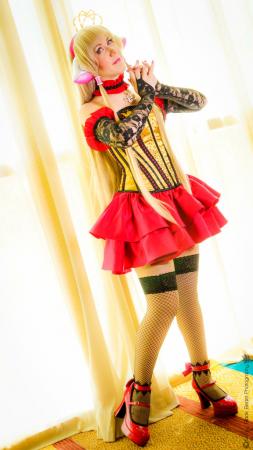
- Red Queen Illustration
- Year Completed:
- 2017
- Construction Difficulty:
- Normal
- Costume worn at:
- Anime LA 2017
- FanimeCon 2017
About this Costume
- Personal Thoughts:
- Created for Anime Los Angeles 2017 Masquerade
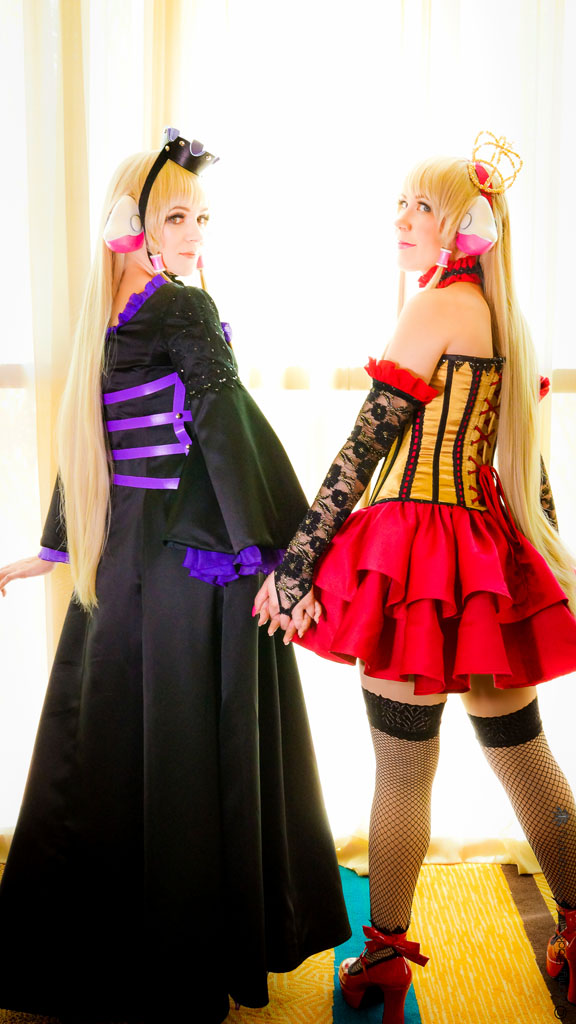
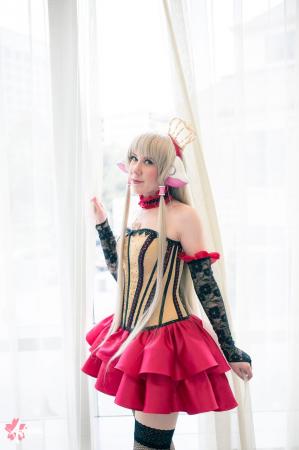
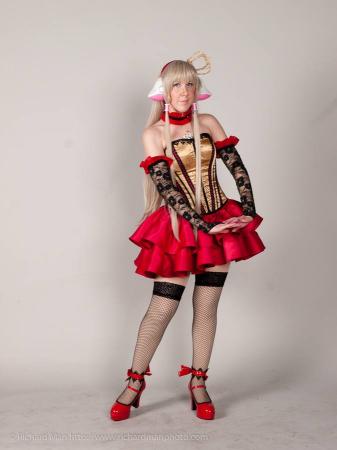
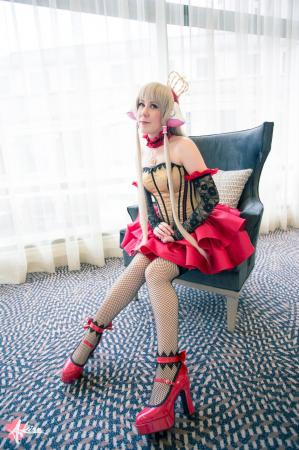
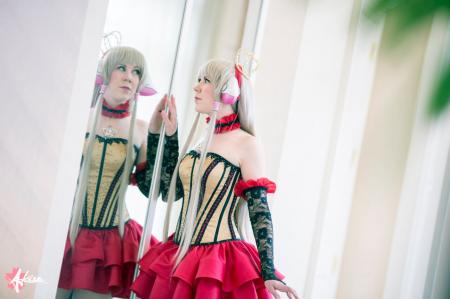
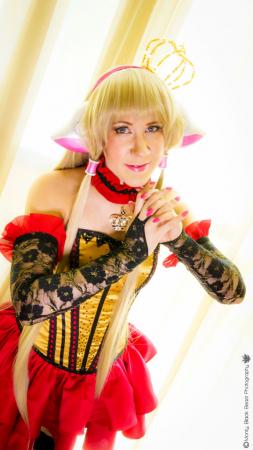
This was my first corset! I based it off a Simplicity pattern which fit very well, and I adjusted the top and bottom edge shape. The outer layer is satin, and inner layer is the black faux coutil from JoAnn's cosplay fabrics line. I used a combo of flat and spiral steel boning. I was originally going to have a busk down the center front, but that didn't go so well, so it just laces up in the back. Surprisingly, I can get it on by myself, but help is nice! The boning channels are all made from satin and taffeta fabric which I topstitched on the outside over the seam allowances. The edges are finished in bias tape which I also hand made and hand sewed on the inside. I couldn't get black lace in the right style for the vertical lace, so I dyed it TWICE to get it close to black.
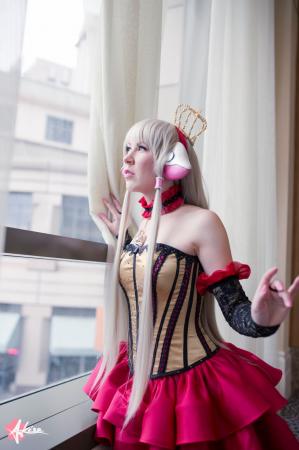
The gloves are just some stretch lace from Spandex world, with elastic on the bottom and top edges, and chiffon ruffle. I also did the choker with a chiffon that I ruffled. The large gaudy crown necklace is actually a purse charm! Hot fix rhinestones were added to several parts for extra sparkle on stage!
The skirt is a high low circle skirt from a pattern I drafted myself. I hand gathered each letter for maximum floof! I sewed 3" horsehair into the hem to give it the flowy shape. No petticoat is needed.
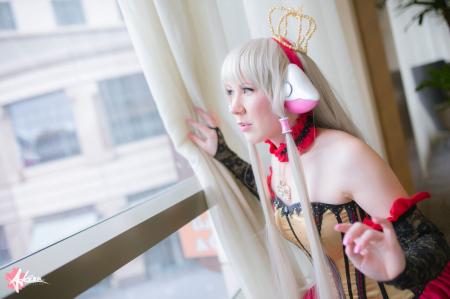
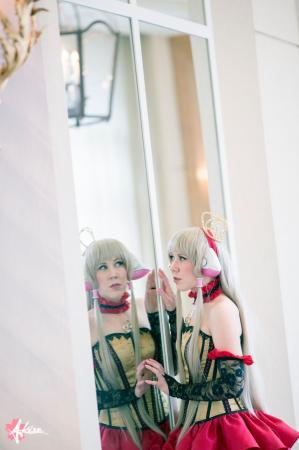
For the crown, I first made one out of plastic, but didn't like the result, so I remade it with wire and beads like back in my italoli days! It was kind of a throwback, but so is this whole costume!
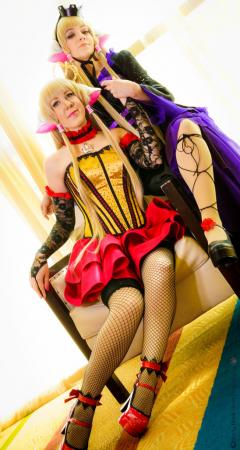
For the spools, I did a little reshaping to an old wooden spool, made a silicone mold, cast them in SmoothCast 300, and then my husband drilled holes so the hair could fit through.
I bought the red platform heels on Amazon to match my Freya (Funtasma brand) They are supposed to have ankle straps, so I used red vinyl to make straps with bows on the back, and sewed the same lace as my corset on them. These took many hours for such a small detail on my feet! Making little vinyl anything is tedious.
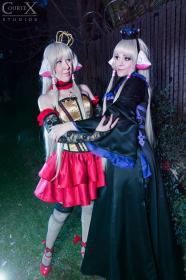
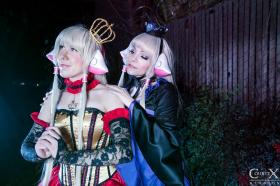
My favorite part is the ears! My husband I sculpted a base from cardboard and monster clay, with buttons pushed into it. Then, we did a brush on silicone mold and created a hard shell. From there I rotary cast (hollow cast) five ears from white urethane (Smoothcast 65D). Five because the first one was a fail and I made a pair for myself and Freya! From there they needed tons of sanding and my Freya (Lunar Lyn) painted them beautifully by hand with pearlescent acrylic paints. They actually are headband free and attach the wig with heavy duty snaps!
Wig Details
- Styling Notes
- I straightened it and cut bangs! Wig spools were made by modifying an old wooden spool, making a silicone mold, and casting them in urethane resin.
- Wig Review
- Wig is a Venus Silky - so beautiful and detangles easily!
Add a Comment
Photos
-
Photo 1
 0
0  279
279 -
Photo 2
 0 288
0 288 -
Photo 3
 0 274
0 274 -
Photo 4
 0 411
0 411 -
Photo 5
 0 287
0 287 -
Photo 6
 0 314
0 314 -
Photo 7
 0 318
0 318 -
Photo 8
 0 314
0 314 -
Photo 9
 0 412
0 412 -
Photo 10
 0 300
0 300 -
Photo 11
 0 304
0 304 -
Photo 12
 0 301
0 301 -
Photo 13
 0 333
0 333 -
Photo 14
 0 305
0 305 -
Photo 15
 0 309
0 309 -
Photo 16
 0 337
0 337 -
Photo 17
 0 285
0 285 -
Photo 18
 0 288
0 288 -
Photo 19
 0 251
0 251 -
Photo 20
 0 273
0 273 -
Photo 21
 0 267
0 267 -
Photo 22
 0 338
0 338 -
Photo 23
 0 264
0 264 -
Photo 24
 0 259
0 259 -
Photo 25
 0 249
0 249 -
Photo 26
 0 246
0 246 -
Photo 27
 0 266
0 266 -
Photo 28
 0 253
0 253 -
Photo 29
 0 258
0 258 -
Photo 30
 0 261
0 261 -
Photo 31
 0 226
0 226 -
Photo 32
 0 333
0 333 -
Photo 33
 0 267
0 267 -
Photo 34
 0 256
0 256 -
Photo 35
 0 254
0 254 -
Photo 36
 0 255
0 255 -
Photo 37
 0 245
0 245
-
 1660145 Visitors
 -
- Cosplayer Info
- Costumes Worn
- Costumes Made
- Props
- Wigs
- Items for Sale
- Favorites
- Videos
- Convention History


Sorry, you must be a registered user of and logged in to view and add comments. Either log in or register now!