ACParadise Network:
American Cosplay Paradise
American Cosplay Experience
American Cosplay Snapshots
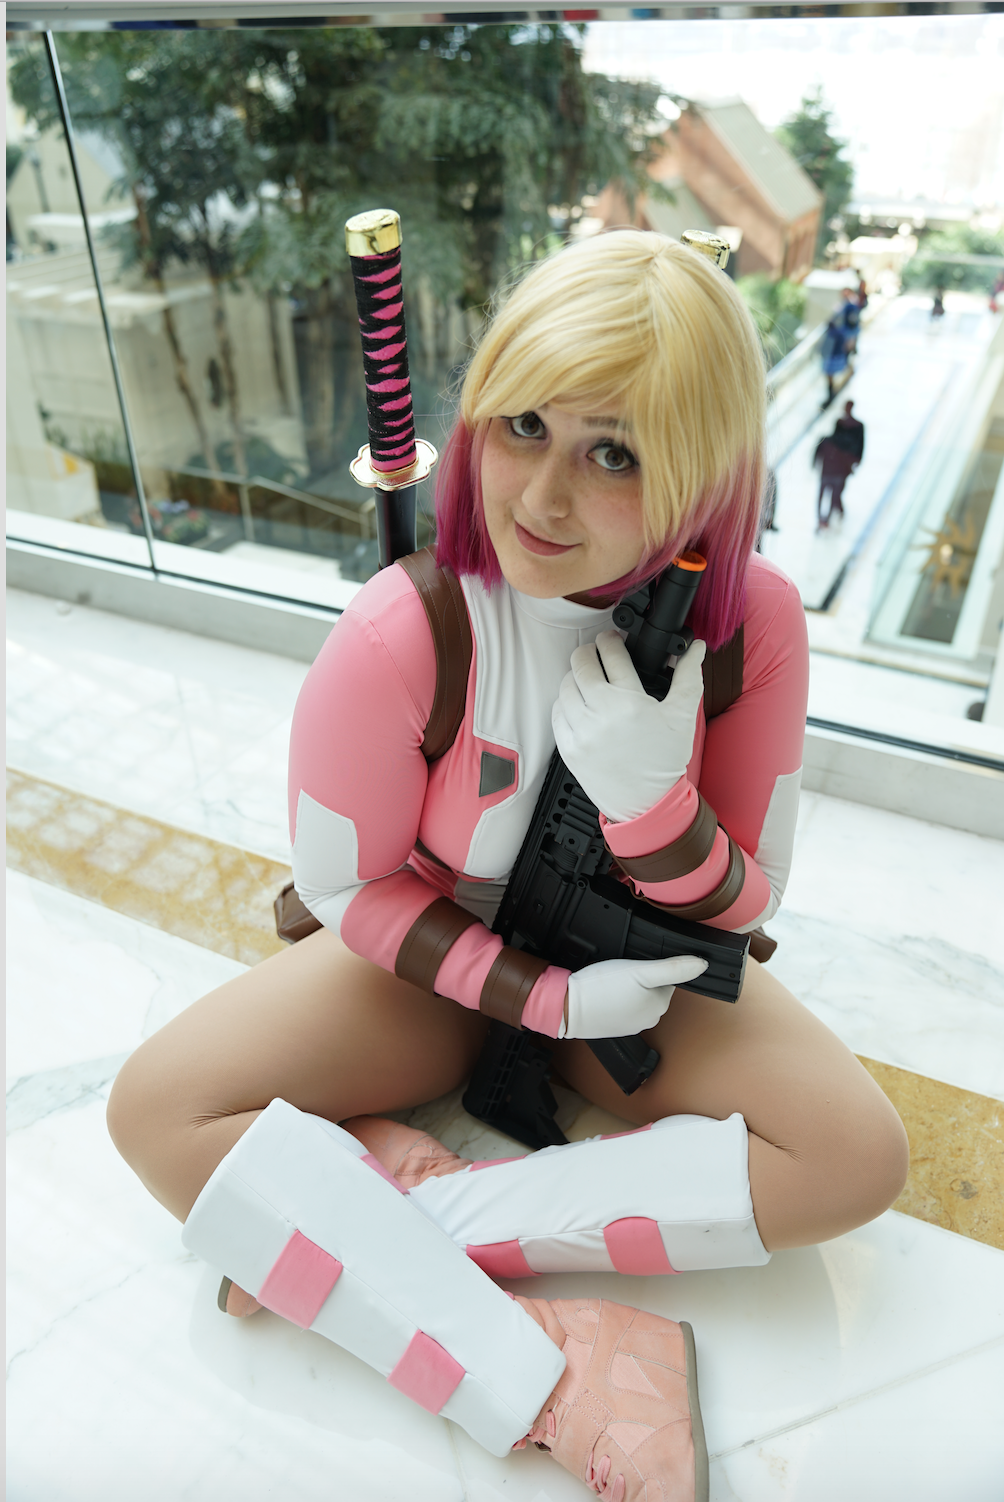
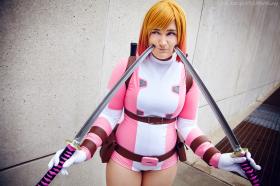
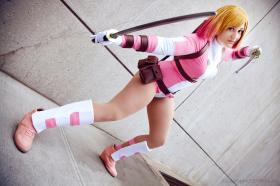
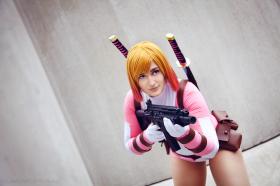
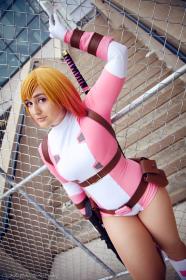
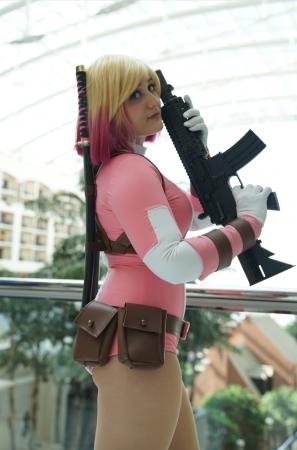
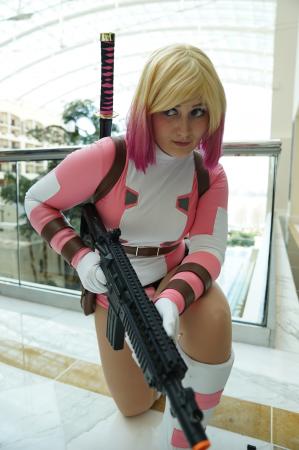
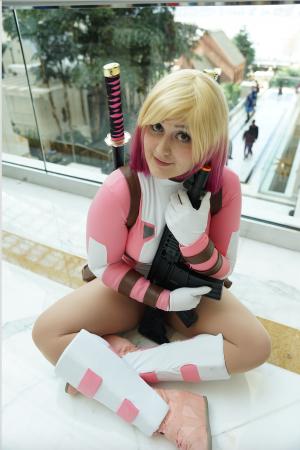
Cosplayer Frax > Costume of Gwenpool (Marvel Comics)
- Most Recent Photo
- 03-12-2017
- Series
- Marvel Comics
- Character
- Gwenpool
- Year Completed:
- 2016
- Construction Difficulty:
About this Costume
- Construction Details:
-
The wig was dip-dyed with pink polyester dye. The body suit was constructed out of two layers of stretch polyester and patterned from Yaya Han's bodysuit pattern. I made a mock up and then redrew the seams for the front and back to match the design and also split the sleeve into two parts. I used two layers of fabric to help hide the body-shaper and bra underneath and smooth everything out. I also ended up extending the bottom to fit Gwenpool's more short like bottom style. The arm guards are made from craft foam covered in the matching fabric and the brown bands are attached, they slide over my arms with the help of elastic and a hook and eye at the wrist. I made gloves separate so I could take them on and off at cons. The silver at the front is top-stitched on.
The belts that hold the swords are three parts, the belt right under my chest (with the non-functional buckle attached, it opens and closes in the back), the two pieces that go over my arms and one belt in the back across my shoulders to hold it together. The swords sit through two loops of brown elastic. The bottom belt connects at the front with the G buckle made from fabric covered EVA foam and the pouches close with velcro.
The shin guards are EVA foam covered in fabric. The pink elastic goes into slits to give the image of going through the guard but it's secured with elastic that connects at the edges on both sides. The swords are toys that are hand-painted to not look cheap. - Personal Thoughts:
- This costume was a really exciting one for me to do! I love Gwenpool and her current run is my favorite thing Marvel has put out this year. I wanted to do something comic-book for NYCC this year and I knew it had to be Gwen! This was my first time really working with stretch fabrics (and my first time in a bodysuit!) so I'm really happy how it turned out.
Add a Comment





Sorry, you must be a registered user of and logged in to view and add comments. Either log in or register now!