ACParadise Network:
American Cosplay Paradise
American Cosplay Experience
American Cosplay Snapshots
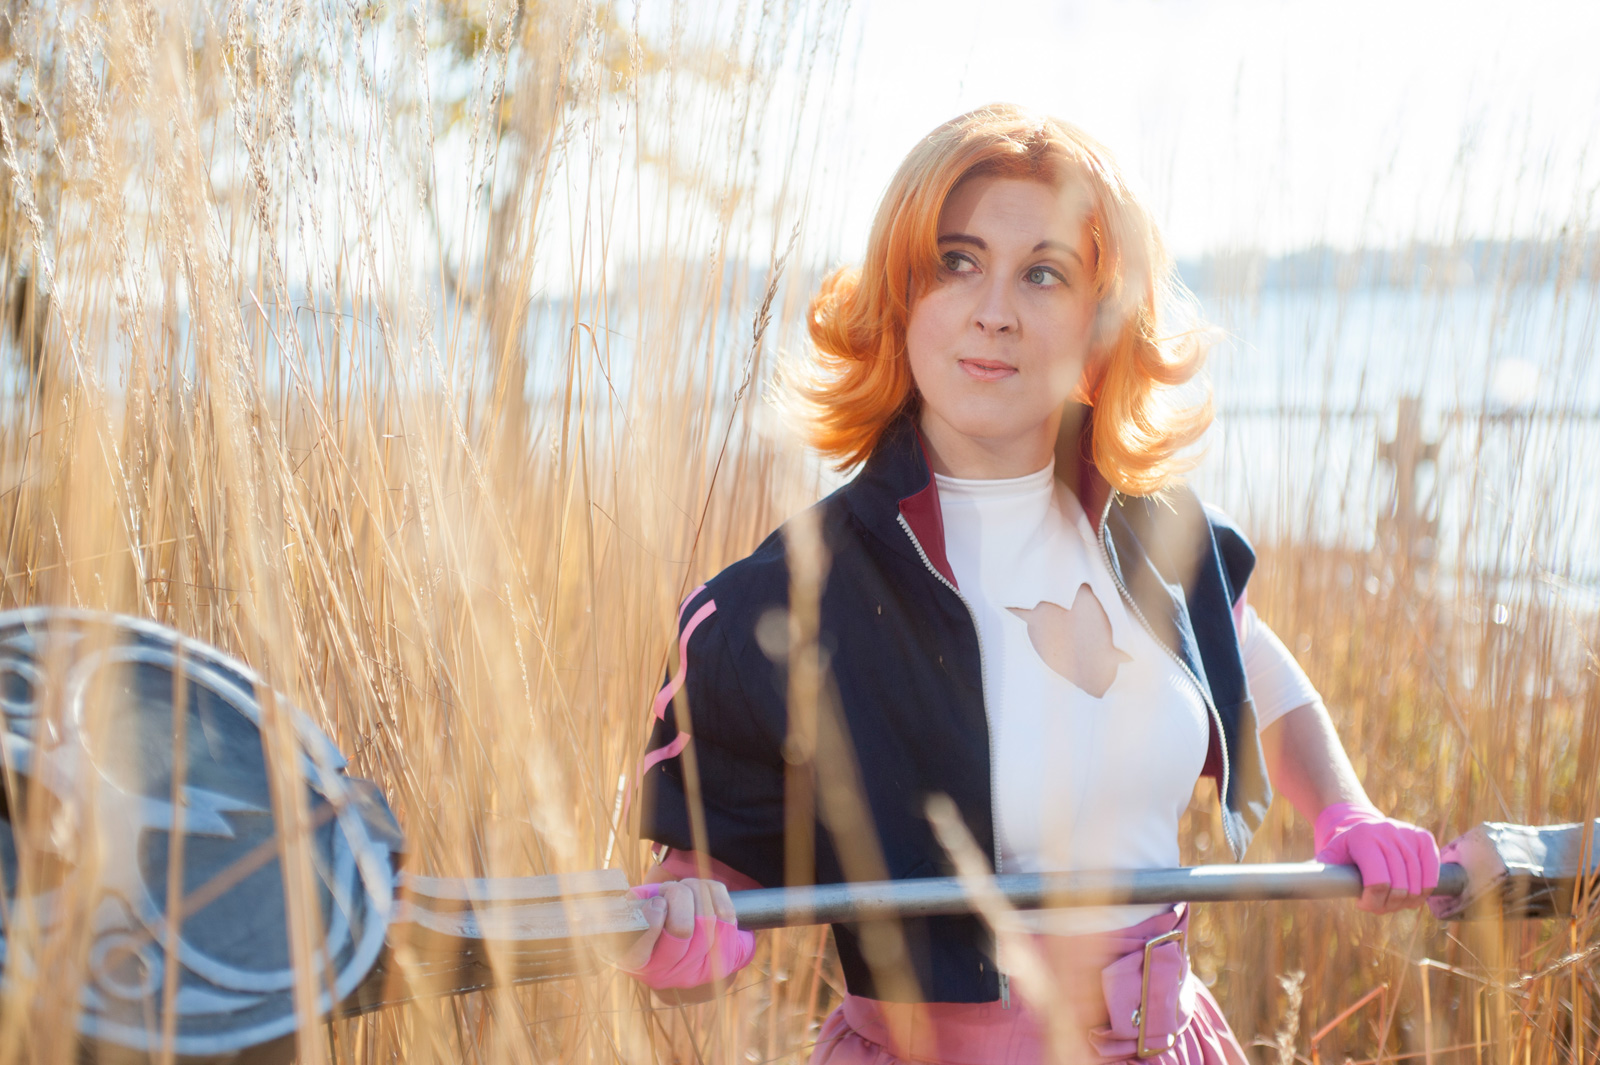
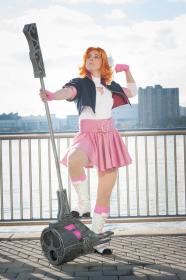
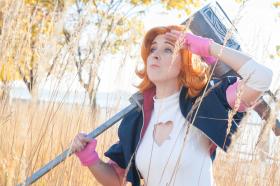
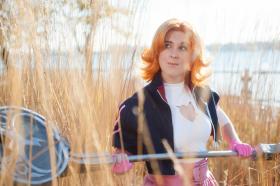
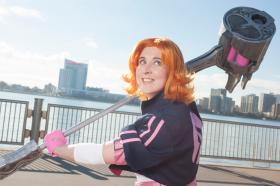
Cosplayer karmada > Costume of Nora Valkyrie (RWBY)
- Most Recent Photo
- 11-15-2016
- Series
- RWBY
- Character
- Nora Valkyrie
- Special Variation:
- Timeskip (Vol 4)
- Year Completed:
- 2016
- Construction Difficulty:
- Normal
- Awards
- Best Friday Hall, Youmacon 2016
- Costume worn at:
- Youmacon 2016
About this Costume
- Construction Details:
-
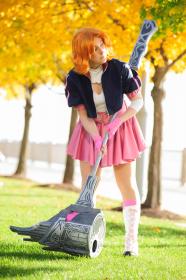
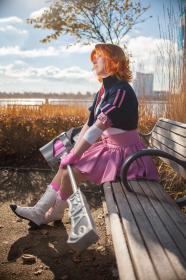
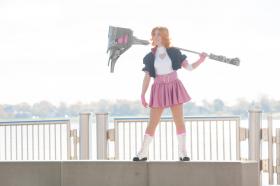
Jacket: An ancient McCalls Jacket pattern I had lying around, spliced the jacket sleeve with a puffy sleeve from a McCalls princess costume pattern, quick drafted a . Jacket made with Blue Canvas, Red Casa Satin, Pink Casa Satin, and a separating plastic sport zipper.
n
nShirt: Opaque soft white dance stretch fabric. Drafted it myself using tutorial from Epic Cosplay Costumes Book. Cut out done with interfacing inbetween, satin stitching and then cutting out design on inside. Invisible zipper on back.
n
nSkirt: Dusty Rose Casa Satin & White Lining Fabric (with canvas interlining the belt). Drafted skirt by making wide waistband, two full circles in each layer of skirt, gathered, and an invisible zipper. Belt is made as a long rectangle, with canvas inside & grommets and buckle. (tutorial in Epic Cosplay costumes book as base)
n
nGloves: Pink swimming material, gloves are two layers thick so I could do the same cut-out satin stitch method for openings on gloves. Gloves drafted Turkey-Hand style.(tutorial in Epic Cosplay costumes book as base)
n
n"Socks": Two leg tubes made of same pink swimming material.
n
nShoes: Using an old pair of boots from a thrift store, I covered them with a boot cover matching the design of the image. I used canvas as my pattern, then cut and used grommets in white pleather. Cover is attached permanently with E6000. (tutorial in Epic Cosplay costumes book as base)
n
nHammer: Drafted by hand, made almost entirely of EVA foam. Large floor mats were used to make the main base, and thin foamies were carved to create the overlay pattern. Hammer was then coated with 4 layers of white glue, and painted with silver spray paint, overlay cut outs were painted with a grey, and then aged with a wash of black paint. Hammer detaches at head for ease of transport. - Personal Thoughts:
- I was shown the artwork for this costume a few weeks before Volume 4 hit the internet by a friend, and I saw it and instantly fell in love. This outfit is very comfortable, and I would love to wear it to more shows (and plan to!)
You can find the rest of the photos at my cosplay page: facebook.com/karmadacosplay
Wig Details
- Styling Notes
- I trimmed up the bottom a little to shorten it, and then separated it into three "layers". Each layer I would take a section, spray with Got2BGlued spray, and then took a 1.5" curling iron to it, and let the curls sit over night. For the bangs,I separated them where the part would be and brushed them backwards. I separated out three layers, and on the bottom two layers I teased up near the base, sprayed with Got2BGlued, and used a hairdryer. Both curls and bangs were set overnight. Next day, I flipped the bangs over, and gently styled them into place, and the curls I could gently brush out to separate the curls stuck together from the spray. Wig will need touch ups after each wear.
- Wig Review
- So happy for heat style-able wigs! The curling iron worked like a charm.
Add a Comment




Sorry, you must be a registered user of and logged in to view and add comments. Either log in or register now!