ACParadise Network:
American Cosplay Paradise
American Cosplay Experience
American Cosplay Snapshots
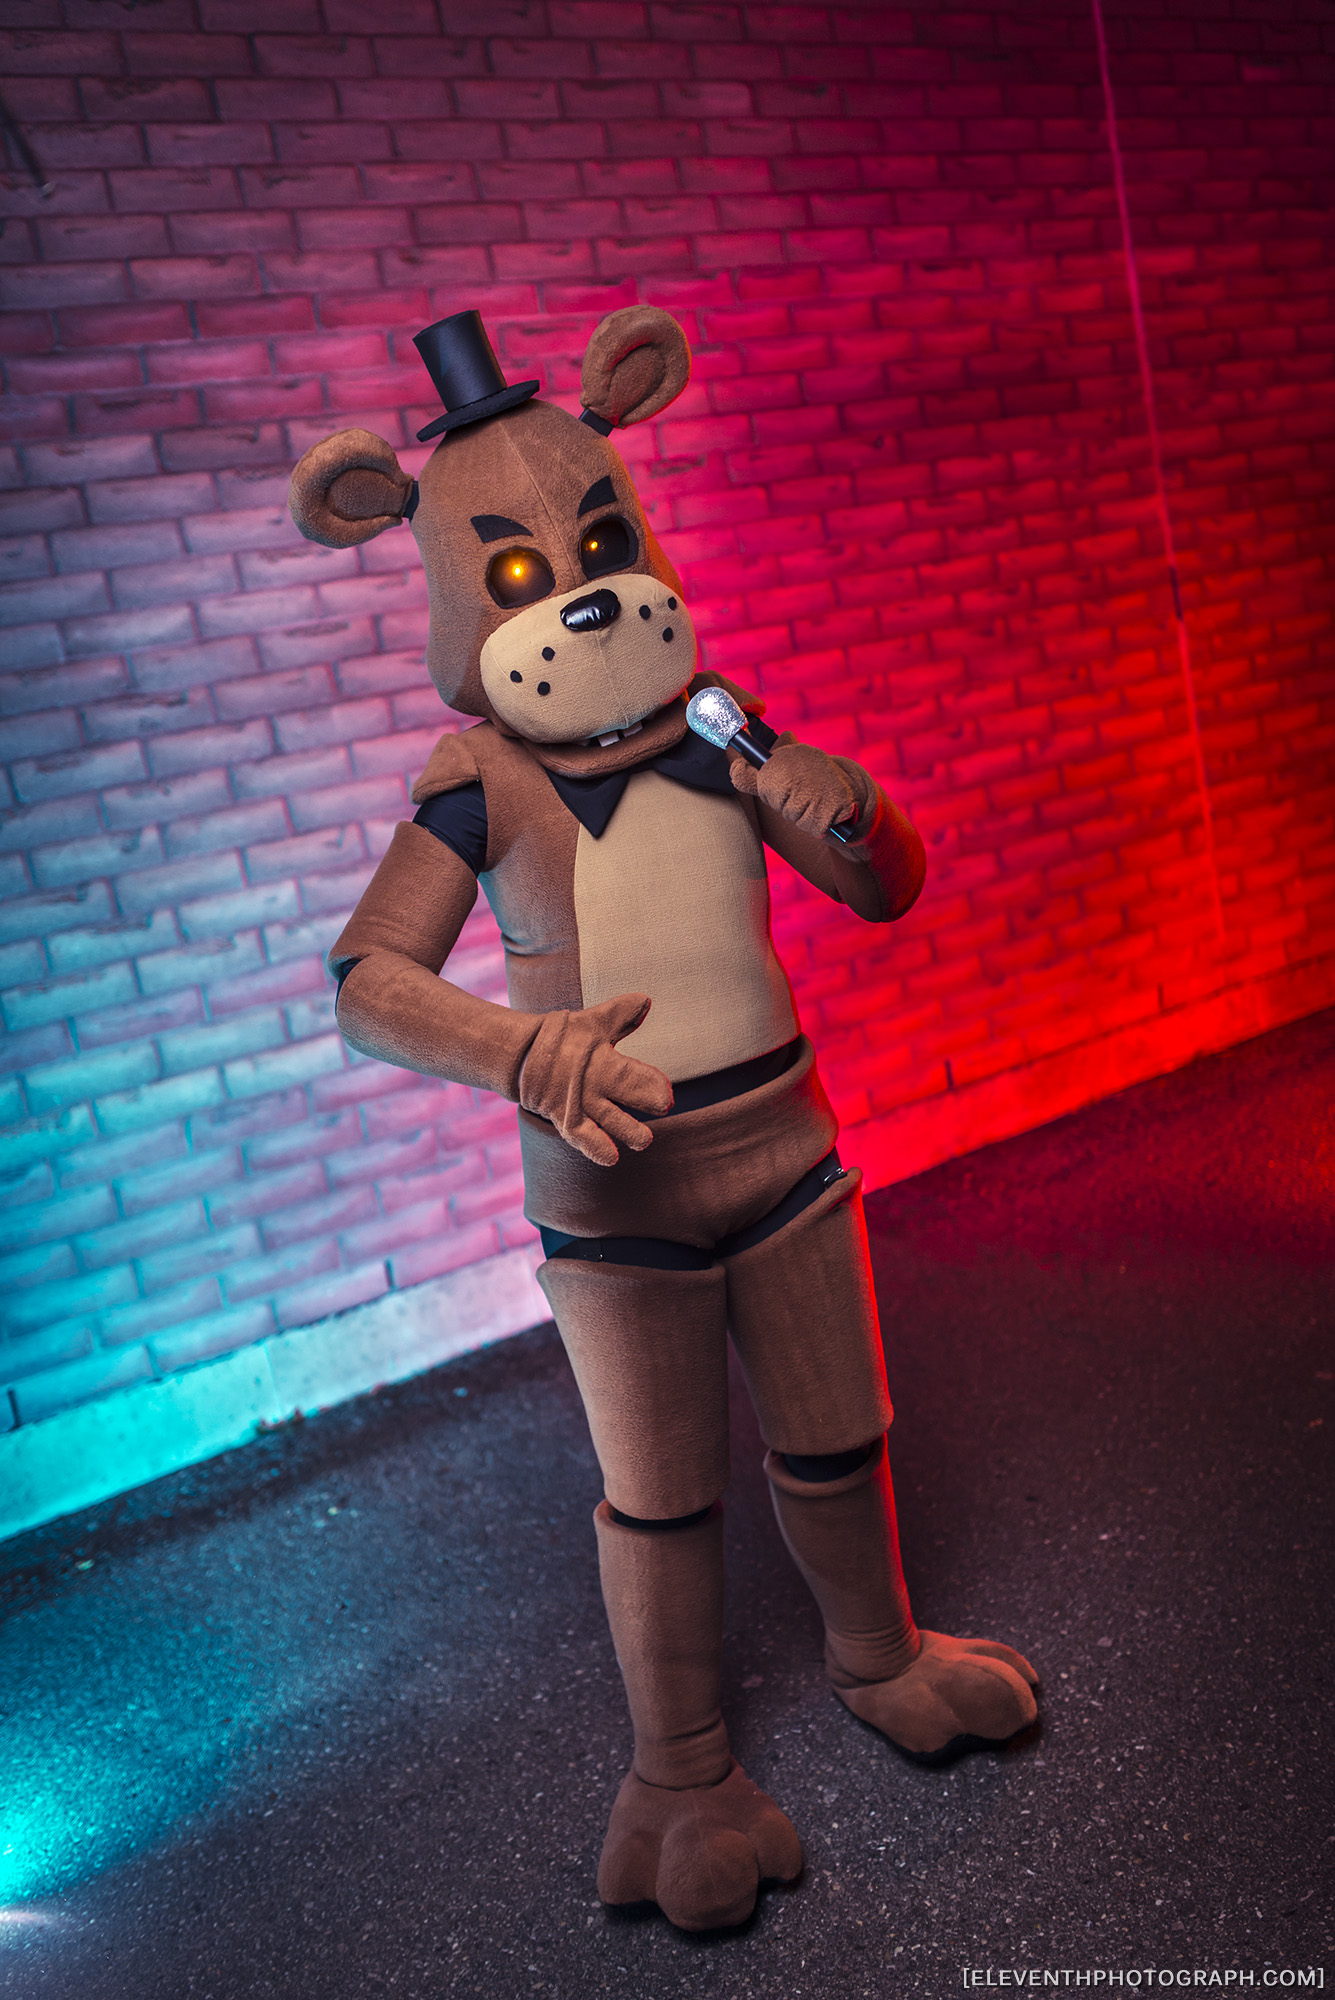
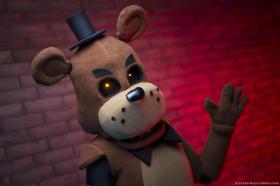
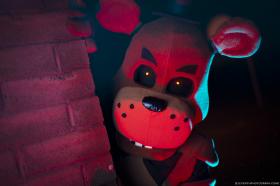
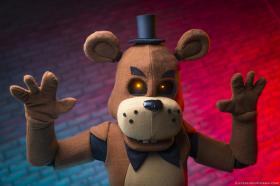
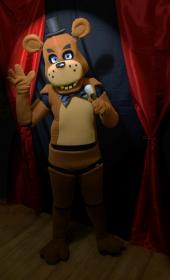
Cosplayer Ammie > Costume of Freddy Fazbear (Five Nights at Freddy's)
- Most Recent Photo
- 03-09-2016
- Series
- Five Nights at Freddy's
- Character
- Freddy Fazbear
- Year Completed:
- 2015
- Construction Difficulty:
- Difficult
About this Costume
- Construction Details:
-
Head:
Probably the most challenging part of the costume AND the first part of the costume I decided to go with. If I could make the mascot head, the rest would be pretty straightforward.
nThe head was constructed with half inch thick mattress foam. I cut a rectangle and made sure that it would wrap around my head (in a cylinder) and I would have enough room to fit my own head inside the mascot head and have some space as well. Once I figured out the dimensions I hot glued the seam in the back. Hot glue holds this foam surprisingly well!
nI then cut triangles out at the top so the top area could fold inward to create a round top for the top of the head. Again, these are hot glued in place. Not worrying too much how perfect or clean it looked, this part would be covered in fabric anyways.
nI used polar fleece to cover the entire costume. It was inexpensive and created that animal look without being faux fur. I cut a rectangle slightly larger than the one I started with for the base head with the foam. I then pinned the seam up and placed it over the head shape. From there I pinned the darts and seams to make sure it fit over the head perfectly. The cheeks that stick out slightly, I created darts and later stuffed them with craft batting.
nThe upper mouth area of face is 4 layers of the foam glued together then shaved down with scissors to create the rounded edges. I then placed a lighter fleece over it and created darts so it would fit perfectly.
nOnce the upper mouth was done, I placed it on the lower part of the foam head and used a sharpie to mark the placement of the mouth. After that was marked on the base head I went ahead and cut the eyes out. I had to make sure they aligned up with my own eyes for visibility, so trying it on became a frequent thing during the process of making this.
nAfter the eyes were cut into the foam I put the fleece I made for the head over it and curled the access around the lower edge and pinned it into the foam in the inside. This was all hand stitched, but the pins held it in place until the eyes were cut out of the fleece.
nThe next up was the eyes, which were cut out very carefully then the fleece was hot glued to the foam, with the raw edges curled inside the eye sockets into the mask. I then cut strips of black felt and glued them over those raw edges to help create the depth Freddy has in his eyes.
nAfter that was taken care of I hand stitched the lower part of the fleece edges inside the mask.
nThe eyebrows are black felt pieces cut into the shapes and glued on above the eyes.
nI then pinned the upper mouth section on directly under the eyes. This portion is all hand stitched onto the fleece and it holds really well. In any case, I prefer sewn to hot glue just because the durability is much higher.
n
nThe lower mouth is made of 2 layers of mattress foam, 1 flat piece and the other a cut out of the lip line. It is covered in the fleece covering and tacked where the lip line is to create the depth illusion. The teeth were left over mattress foam parts cut into cubes, painted white and glued into the lower mouth.
n
nThe nose is made of a thick foam I had (left over from my BSAA Jill Harness) and it is covered in 4 way stretch PVC. The nose is hand stitched on as well. The freckles are black felt, cut out and glued on.
n
nThe ears are 2 layers of the half inch thick foam glued together. I then made the fleece covers for them. In between the 2 glued pieces of foam I sandwiched a piece of cardboard stock covered in black craft foam. This will act as the metal that holds the ears in place.
nI hand stitched the bottom of the ear fleece shut and then hand tacked the inner ear portion to create the depth the ears have. I left a tiny opening in the darts on the sides of the head fleece to put the ears through. I cut a small slit in the mattress foam to slide the ear rods into.
n
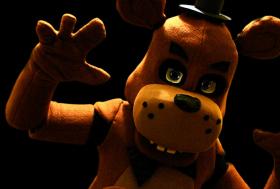
nThe eyes are made from screen sheets from Home depot covered in sports mesh fabric. This allows me to see through the fabric, but from the outside, my face or eyes are not visible. I have 2 sets of eyes I use for this costume. First set is the "follow me" eyes. No matter where you stand, it appears Freddy is looking at you, and only you (creepy!)
nI created these eyes with a toilet paper roll and craft foam. The eyes are inset rather than protruding. I have craft foam on the back side of them to cup around my own eyes, though, it still leaves small indent marks around my eyes when I wear it for more than 5 minutes.
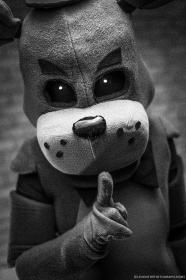
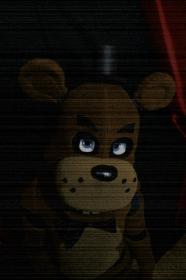
nThe second set of eyes are light up ones, similar to the way he looks in the security cam with just black eyes that have small lights in them. It is yet another black screen with mesh over it but with tiny holes cut out where the LEDs come through. The lights are just tea lights glued in.
nThe screens are interchangeable by Velcro on the inside of the mascot head. In the future I can add different eyes if I really feel creative.
n
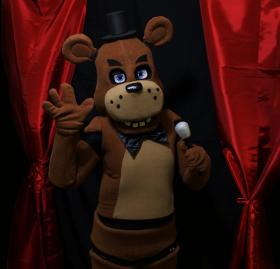
nThe hat is made of the same foam I used for the nose. I just glued it together. It consists of a circle, and cylinder and a circle top. There is a magnet sewn to the bottom and one sewn to the top of the head to the hat can be removed (or tipped for photos!)
Body Parts:
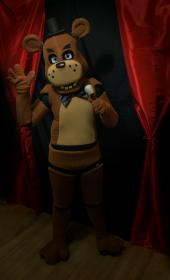
After the head was complete the rest seemed like a breeze. The upper torso was made larger than my own measurements to give me a box style body, much like the way they have in the game. This was cut from the mattress foam and again with the fleece. After cutting the fleece I cut the tummy area out. Using that cut out piece I cut it out of the lighter fabric with a seam allowance added. It was sewn into the body fleece to the tummy had a different color.
nThe back Velcro's shut.
nI added the shoulder pieces (half circles) that are sewn directly onto the suit. There is black elastic holding the upper arm portion to the bodysuit. Without that, the arm portions slip down a lot.
n
nThe legs and arms were made the same way as the torso, slightly larger than my own measurements and covered in fleece. After hand sewing the upper and lower edges of the fleece around the edges of the foam, I then machine stitched the seams in the back shut to close the arm/leg coverings. They just slide onto my arms and legs easily.
nThe underwear was made to slide on as well, the seam being in the back to match the back seam of the torso piece.
nThe upper leg portions also have black elastic holding them to the underwear to prevent them from slipping down.
n
nHands and Feet:
nThe gloves were easy enough. I traced out my hand (index and middle finger together. Freddy only had 4 fingers!) I made the gloves over sized so my hands matched the cartoon like appearance the rest of the costume has. The gloves just slide on and tuck under the lower arm cover.
n
nThe feet were the next most challenging thing of the costume. I left them to last and started to dread how to make them. I basically made them into giant slippers, similar to those ones for kids that look like animal feet.
nI traced the bottom of my foot then the side of my foot to get a general shape. I made them larger since I knew they would be stuffed to create paws.
nAfter the feet were made I stuffed them with scrap fleece to dispose of it. I then hand tacked down the 2 toe lines into the feet to create 3 toes total on each foot.
nI added a lining inside the feet to put my foot in, which also allows me to wear slip on shoes inside as well. The bottom of the foot is made with black felt.
Accessories:
I made the bow tie out of scrap satin I had, similar to the way I make my Sailor Moon bows. I may go back and make a none shiny bow to see how it reflects in photos.
nThe microphone was just a store bought one for $2 (I already had one for my Jem costumes.)
Under suit:
The under suit is a just a plain black spandex suit (My Lydia Deetz one to be exact!) I do plan on making an actual one to be used with this costume, but for now, the one I use works well enough.
Overall thoughts:
I've always had dreams to try and make a mascot costume so this was an absolute new learning curve for me. I'm pretty happy with the result. I had a great reaction at Halloween and every Trick or Treater knew exactly what character I was. It's surprising how many kids play this game!
nThe next one I plan on making is Foxy, since I can utilize the lower half of Freddy to work for Foxy..and try to make them semi interchangeable. - Personal Thoughts:
- When Five Nights at Freddy's became an internet phenomenon summer of 2014 I had to check it out and see what all the buzz was. After finding out it was an Indie horror game I was more eager to find out what this game was all about. After watching some various Youtubers do a "Let's Play" of the game (namely Markiplier!) I instantly loved the game mechanics of this new type of horror game. The game truly brings a childhood atmosphere into a sheer terror that nightmares are fueled by. <br />nOriginally I had plans to make a Chica costume since it was confirmed that was the female of the animatronics. Chica's head also posed to be the easiest to create of the mascot heads since it was a sphere, and that could be achieved with the paper Mache/beach ball technique. I decided on a whim to go ahead and make Freddy since he was a bit more challenging and was obviously, the poster boy of the game.<br />nThis is the first time I have ever made a mascot costume; I'd say it turned out pretty well. I also like to say that if I can do it, anyone can do it. So here's how I made it:
Add a Comment





Sorry, you must be a registered user of and logged in to view and add comments. Either log in or register now!