

ACParadise Network:
American Cosplay Paradise
American Cosplay Experience
American Cosplay Snapshots
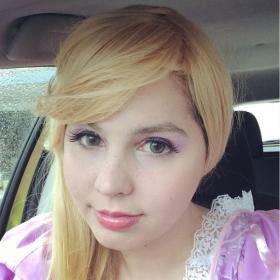
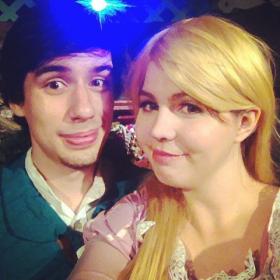
Cosplayer Jazqui > Costume of Rapunzel (Tangled)
- Most Recent Photo
- 12-29-2017
- Series
- Tangled
- Character
- Rapunzel
- Year Completed:
- 2016
- Construction Difficulty:
- Very Difficult
- Costume worn at:
- FanimeCon 2016

About this Costume
- Construction Details:
-
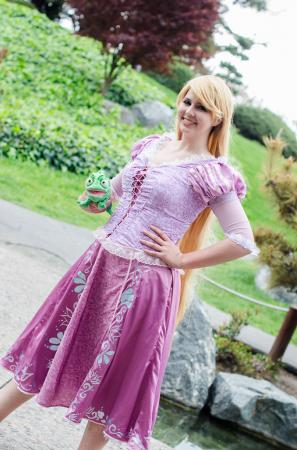
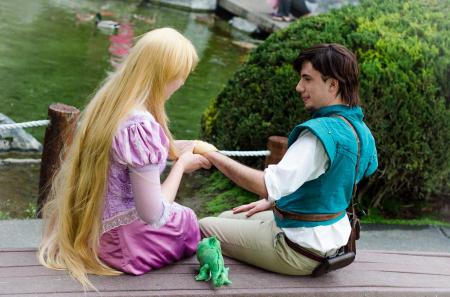
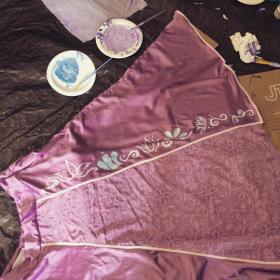
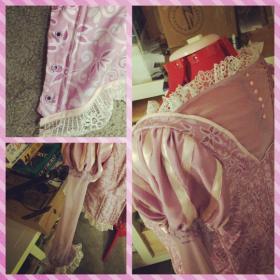
This costume is a DECEPTIVE MONSTER. I made the costume based off of Aimee's custom fabrics on Spoonflower--I used cotton sateen for the bodice and crepe de chine for the skirt. I took a couple swatches to Fabrics R Us and got matching satins, which are a lot more delicate than I would've liked, probably the most delicate fabrics I've worked with. I got thin pink bias and sewed it along the skirt and bodice edges.
n
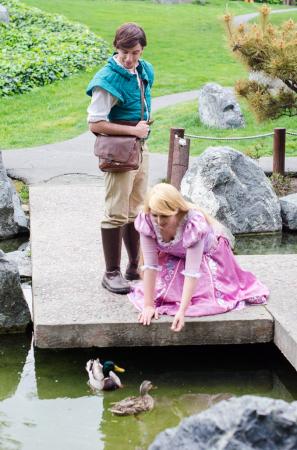
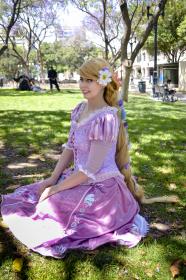
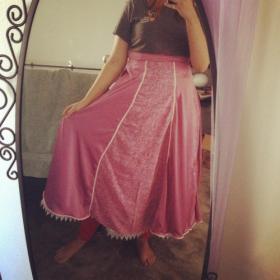
nThe skirt I started with because it was easy. It's an A-line skirt made in multiple panels. The lace is attached to a white petticoat of the same pattern. I hand painted the designs on with Jacquard Lumiere paints in pearlescent white mixed with small dollops of pearlescent blue and violet. This costume was pretty half-baked when I wore it to Mickey's Halloween Party, but I've since cleaned it up!
n
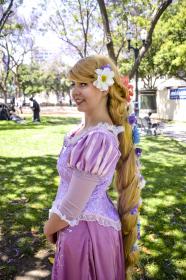
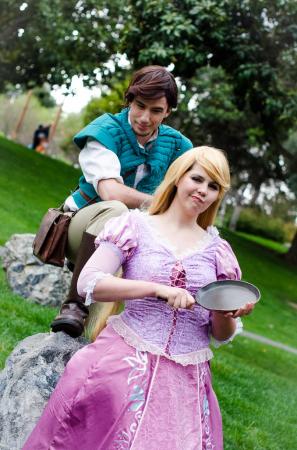
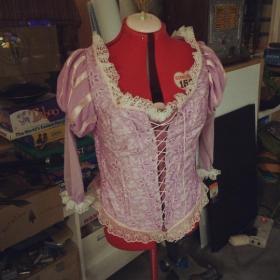
nI got matching floral/loopy pink and white laces at Joann because dyeing wasn't working well for me, and I gathered it along the sleeves/neckline of the bodice (but not the bottom). I dyed a lavender stretch mesh to be more pink to use as the sleeves. Sewed pink ribbon on the poufy parts to get the right stripes. The bodice was a mess to figure out--I wanted to make it screen-accurate but it was hurting my brain, so I caved and used a Butterick corset pattern I had that looked similar, altering it to have the same number of panels. I supported it with spiral steel boning. I painted the buttons and eyelets to match the rest of the costume, and I used a pink cord for the lacing. - Personal Thoughts:
- THIS COSTUME IS A /MONSTER./ IT WAS A MISTAKE. But a very cute mistake, it make all the boy mistakes go WAHHHHHH. I have since fixed it up but I'm keeping the comment because it makes me giggle. This costume was rough to make but it's so beautiful spring Disney princess and I'm so satisfied with my care.
Wig Details
- Styling Notes
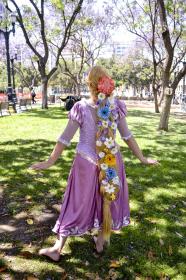
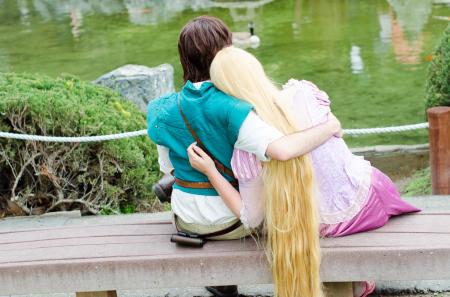
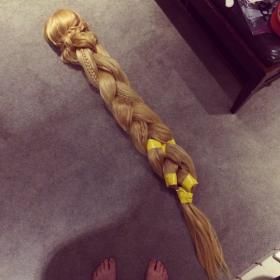
- OH GOODNESS, okay. I am not a wig styliing person and this is definitely the most complicated thing I've ever taken on. I made the cores for the braid out of 1/2 inch foam and sewing it into tubes before putting them in pantyhose to make them a more natural color/keep them more constrained. Then I took long wefts in a matching color and hot glued them in a small spiral around the top and middle of the tube--doing the middle first ensures the least mangling of other wefts while you're attaching a new tier. After a tier was done, I clipped the pantyhose and foam part of the top to a clotheshanger with a clothespin so it hung suspended and smoothed out all the hair, taping it at the very bottom with duct tape. At the middle tier, this left a tail. Then, I sewed each tube into very bottom of the wig along the elastic with fishing wire for additional support. Then, I put the wighead onto the arm of a tripod (pointed up), and raised the wighead to about the level of my head, as the wig almost touches the ground. Then I braided the tubes and taped the bottom with more duct tape. Covered the open spots with additional wefts and glued them in place. I ran out of wefts and will need more to cover the tape, so toooo be continued....
Add a Comment


-
 1469513 Visitors
 -
- Cosplayer Info
- Costumes Worn
- Costumes Made
- Props
- Wigs
- Items for Sale
- Favorites
- Videos
- Convention History


Sorry, you must be a registered user of and logged in to view and add comments. Either log in or register now!