

ACParadise Network:
American Cosplay Paradise
American Cosplay Experience
American Cosplay Snapshots
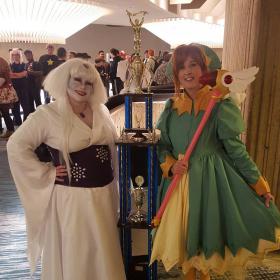
Cosplayer Lunaladyoflight > Costume of The Snow (Cardcaptor Sakura)
- Most Recent Photo
- 11-03-2015
- Series
- Cardcaptor Sakura
- Character
- The Snow
- Year Completed:
- 2015
- Construction Difficulty:
- Normal
- Awards
- Best in Show Youmacon 2015
- Costume worn at:
- Youmacon 2015

About this Costume
- Construction Details:
-
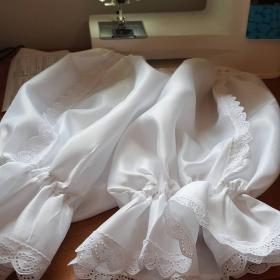
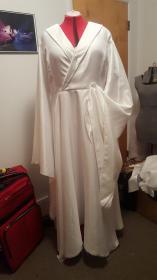
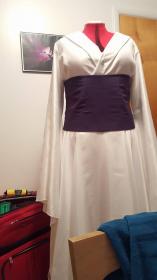
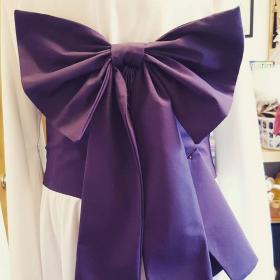
This costume was an experiment for me. I'm always encouraging people to use nicer fabrics and not use the cheap stuff before it plays a part in the overall quality of your costume. I definitely still stand by that because I got 20 yards of white satin for $26 and used it in this costume. It needed a full lining because it was so thin. I used the Simplicity Cersei Lannister pattern and altered the top to lay the correct way for a kimono. Instead of using the pattern skirt I cut two full circle skirts and used that. The fabric is edged in a rolled hem. I used Casa glitter satin from Joann to line the sleeves and make the collar. The Fauxbi (faux obi) is purple duck canvas and crepe back satin from Joann. It has 10 steel bones and four rigilene. The bow is also the crepe back satin, interfaced, and placed on a wire armature to stick into the corset. I then embellished the fauxbi and bow with snowflake crystals.
The gems on the wig and necklace were Idea-ology scrapbooking facets painted with three kinds of nail polish to give me an opalescent effect.
I cut small pieces of cellophane that are adhered to my eyebrows with Pros Aide to give me a frosty look. - Personal Thoughts:
- All the white!
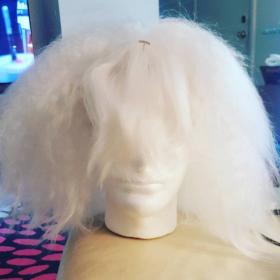
Wig Details
- Styling Notes
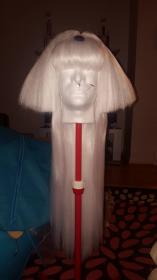
- Inigo plus Luthien in pure white. The Inigo was put into tiny braids, boiled in water for a few minutes, and then hang dried. Then I took out all the braids and fluffed and brushed the wig. I cut the top half off of the Luthien and stitched it into the Inigo at the elastic weft line. Then I used a straightener to straighten the Luthien and the top layer of the Inigo. I then cut the bangs and used a roll brush on them. Lastly I stitched the gem into the wig.
Add a Comment


-
 644180 VisitorsAcy's Pick: 07/2015
 -
- Cosplayer Info
- Costumes Worn
- Costumes Made
- Props
- Wigs
- Items for Sale
- Favorites
- Videos
- Convention History


Sorry, you must be a registered user of and logged in to view and add comments. Either log in or register now!