ACParadise Network:
American Cosplay Paradise
American Cosplay Experience
American Cosplay Snapshots
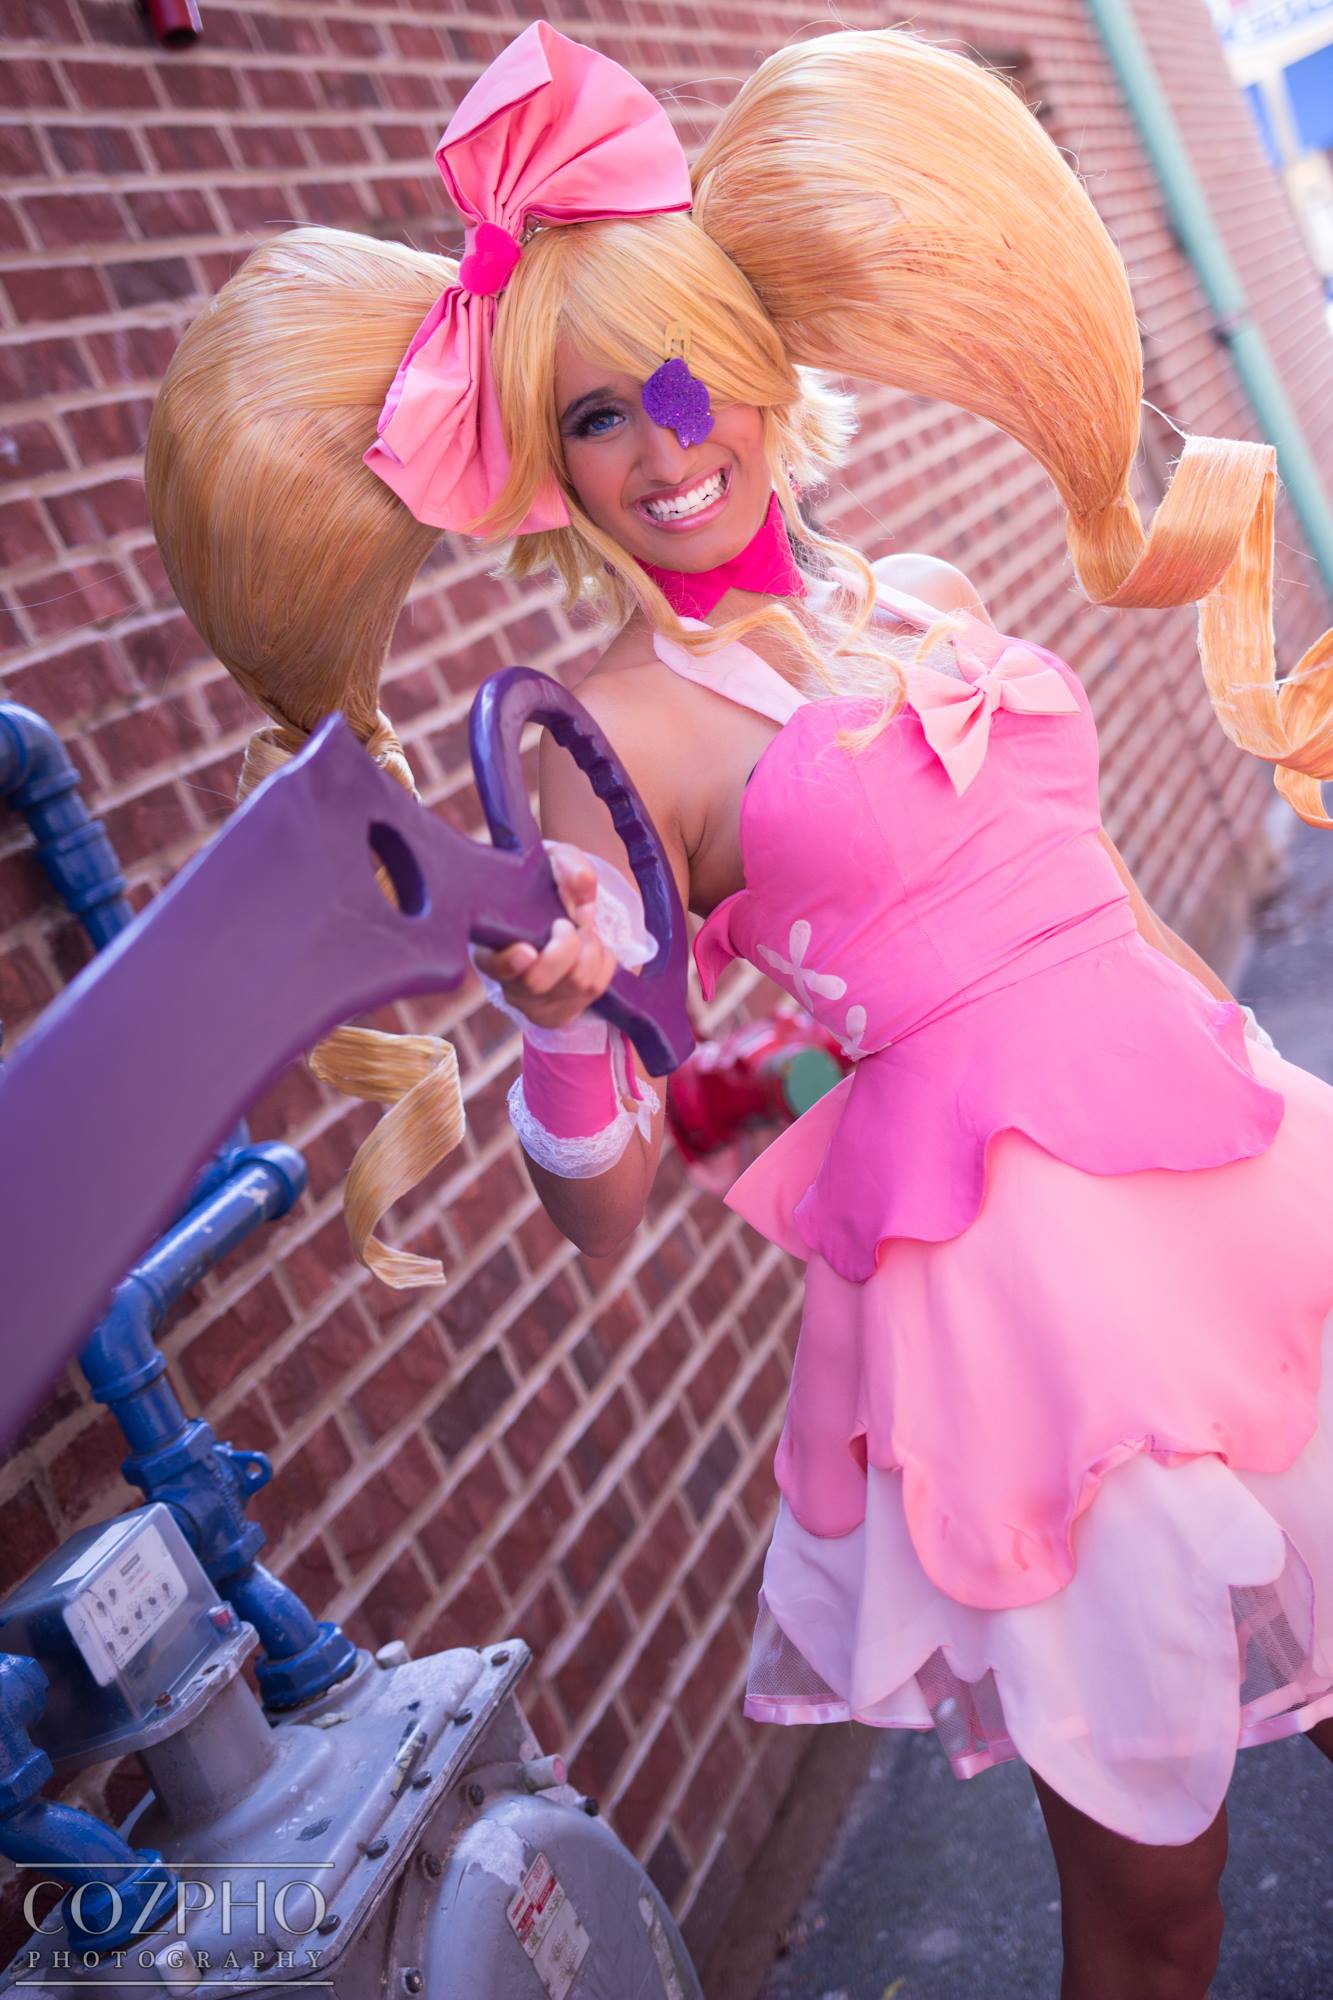
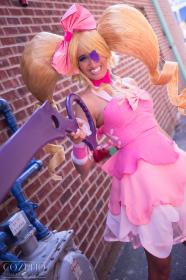
Cosplayer NekoNami > Costume of Nui Harime (Kill la Kill)
- Most Recent Photo
- 09-05-2014
- Series
- Kill la Kill
- Character
- Nui Harime
- Year Completed:
- 2014
- Construction Difficulty:
- Difficult
- Costume worn at:
- AnimeNEXT 2014
- Katsucon 2014
- Otakon 2014
- SpringFest NY 2014
About this Costume
- Construction Details:
-
Petticoat:
Materials:
Diamond tulle (Mood Fabrics) – 4 yards
7/8” ribbon (Joann Fabrics) – 16 yards
¼” twill tape – 1 yard
Made by following Sugardale’s petticoat tutorial (http://bit.ly/1vxvIrb). For detailed information on how to create this petticoat, follow her tutorial as it’s much more informative than my notes, which are only additional observations. It took a deceptively long time to finish (8+ hours), although it was simple to make. I was using my old sewing machine (which is super slow), so stitching multiple yards of length took a while. I used approximately 16 yards of ribbon sandwiched over the edges of the tulle and over the hems. NOTE: Never buy ribbon by the yard if you need large amounts of it (3+ yards) in NYC. You can find spools of 10-12 yards of ribbon for the same price online or at places like Michaels or Joann Fabrics. These spools are usually priced the same as 2ish yards of the same ribbon in NYC (so you do the math ;D). For the petticoat proper, I used 4 yards of pink diamond tulle from Mood – the super stiff and scratchy tulle. Gathering all the fabric was a pain, since I had to gather 16 yards of tulle… I used hook and eye closures for the top, so I can add more “eye” pieces to wear the petticoat at my hips, my waist, or in between.
Dress:
Materials:
All fabric is silk georgette (Mood Fabrics)
The dress bodice was patterned using this Princess seamed bodice pattern generator (http://bit.ly/1MQ8l1C). The top was modified to have a sweetheart neckline (i.e. I gathered it down a bit), and the back was modified to match hers. The two “bunny ear” sticky-uppy bits on the front of her dress were reinforced with wire to make sure they stood up correctly. The “laces” on either side of the bodice were appliqued on and satin stitched in place. The bodice is fully lined. The two bows are separate, and attach on with safety pins (so the invisible zipper in the back can go down far enough to fit my butt :3). The skirts are three full circle skirts, and the scallops on each were individually drafted (note: they ended up being wrong, and I had to finagle with the back of the dress to make sure it sort of matched). I was running super late when I originally made her dress, so I fudged the hems and fabric glued them in place. This ended up being a terrible decision because hey! You can see the glue through the seams! … well done (oops). Also, since the skirts are full circles, they aren’t lifted enough by one petticoat and thus look rather droopy. I’ll eventually make a couple more petticoats to go with the dress (and since I got a new sewing machine, it’ll be a lot faster this time around theoretically). I also wouldn't make it out of silk georgette. The fabric is really pretty, and if I used it now, I’d definitely be able to work with it, but when I made this dress I didn’t have the skill set to properly sew with the fabric. I needed to buy entirely new needles and pins to properly sew it and it was a super huge pain to accurately cut the pattern pieces for it.
Umbrella:
Materials:
Leftover dress fabric
Clear vinyl (from Joann Fabrics) - 2yards
Lace (from Pacific Trimming) - 10yards
Umbrella (from Walmart)
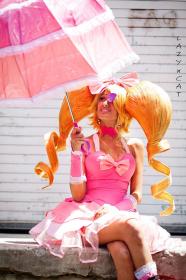
I bought an umbrella from Walmart cause it had the same style as the frame of Nui's umbrella, and a pink handle. I ripped off the umbrella cover and used it to pattern the colored sections. Since I was sewing with silk georgette, I had to sew everything with French seams to make sure they didn't fray when the umbrella was opened up and strained. And, since I wanted the umbrella to be waterproof, I had to sew layers of silk georgette and vinyl at the same time in French seams. It. Was. Hell. Any needle correct for the vinyl wasn't correct for the silk and vice versa. After a lot of patience it finally got done, but I ran out of fabric so the bottom lightest pink section of the umbrella is a little too small so it looks very dome-shaped. Sewing the lace on top was super simple, and it make it look extra pretty and hid my mistakes. But hey, lesson learned. Never try to sew silk georgette and vinyl at the same time. It's a terrible, terrible, terrible idea.
Scissor Blade:
Made by Shinigami-Spidey Cosplay (http://on.fb.me/WpQGHZ). - Personal Thoughts:
- This costume was definitely a learning experience, and with the knowledge I have now I would have gone about many things differently, but I'm incredibly happy I made this as it helped me gain confidence in my abilities ^_^rnrnIf you ever think a costume is out of you skill range, don't be reluctant to make it because of that! You'll learn many valuable skills along the way :)
Wig Details
- Styling Notes
- A tutorial has already been written :3 you can find it on my deviant art here (http://bit.ly/1MSf6zV).
- Wig Review
- This is the first wig I ever styled. Seriously. :3 I love the quality of Arda wigs, and the fact that they have matching wefts in every color ^_^
Add a Comment


 Upgrade Cosplayer
Sorry, you must be a registered user of and logged in to view and add comments. Either log in or register now!