ACParadise Network:
American Cosplay Paradise
American Cosplay Experience
American Cosplay Snapshots
Cosplayer sunnystars > Costume of Kaniehtí:io (Assassin's Creed 3)
- Most Recent Photo
- 12-30-2015
- Series
- Assassin's Creed 3
- Character
- Kaniehtí:io
- Year Completed:
- 2013
- Construction Difficulty:
- Awards
- Masquerade Laureate - Japan Expo 2013
- Costume worn at:
- FanimeCon 2013
About this Costume
- Construction Details:
-
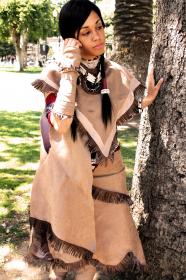
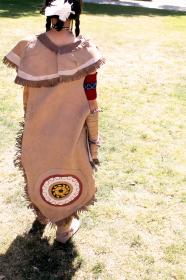
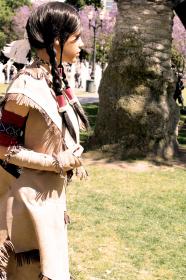
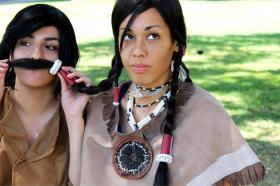
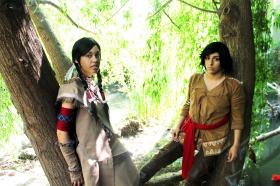
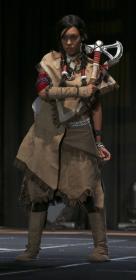
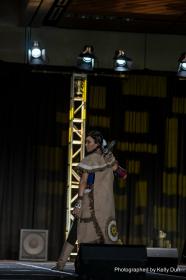
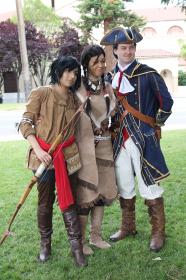
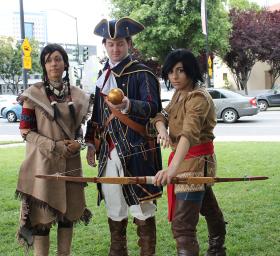
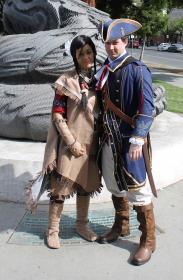
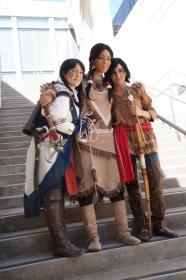
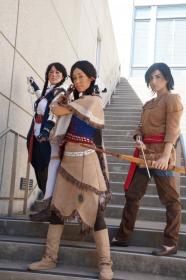
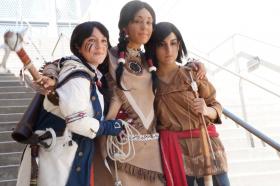
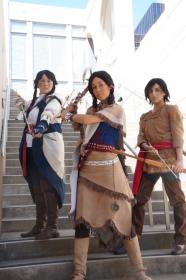
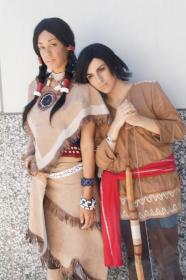
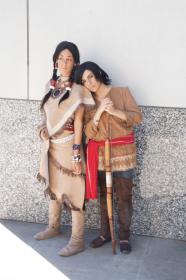
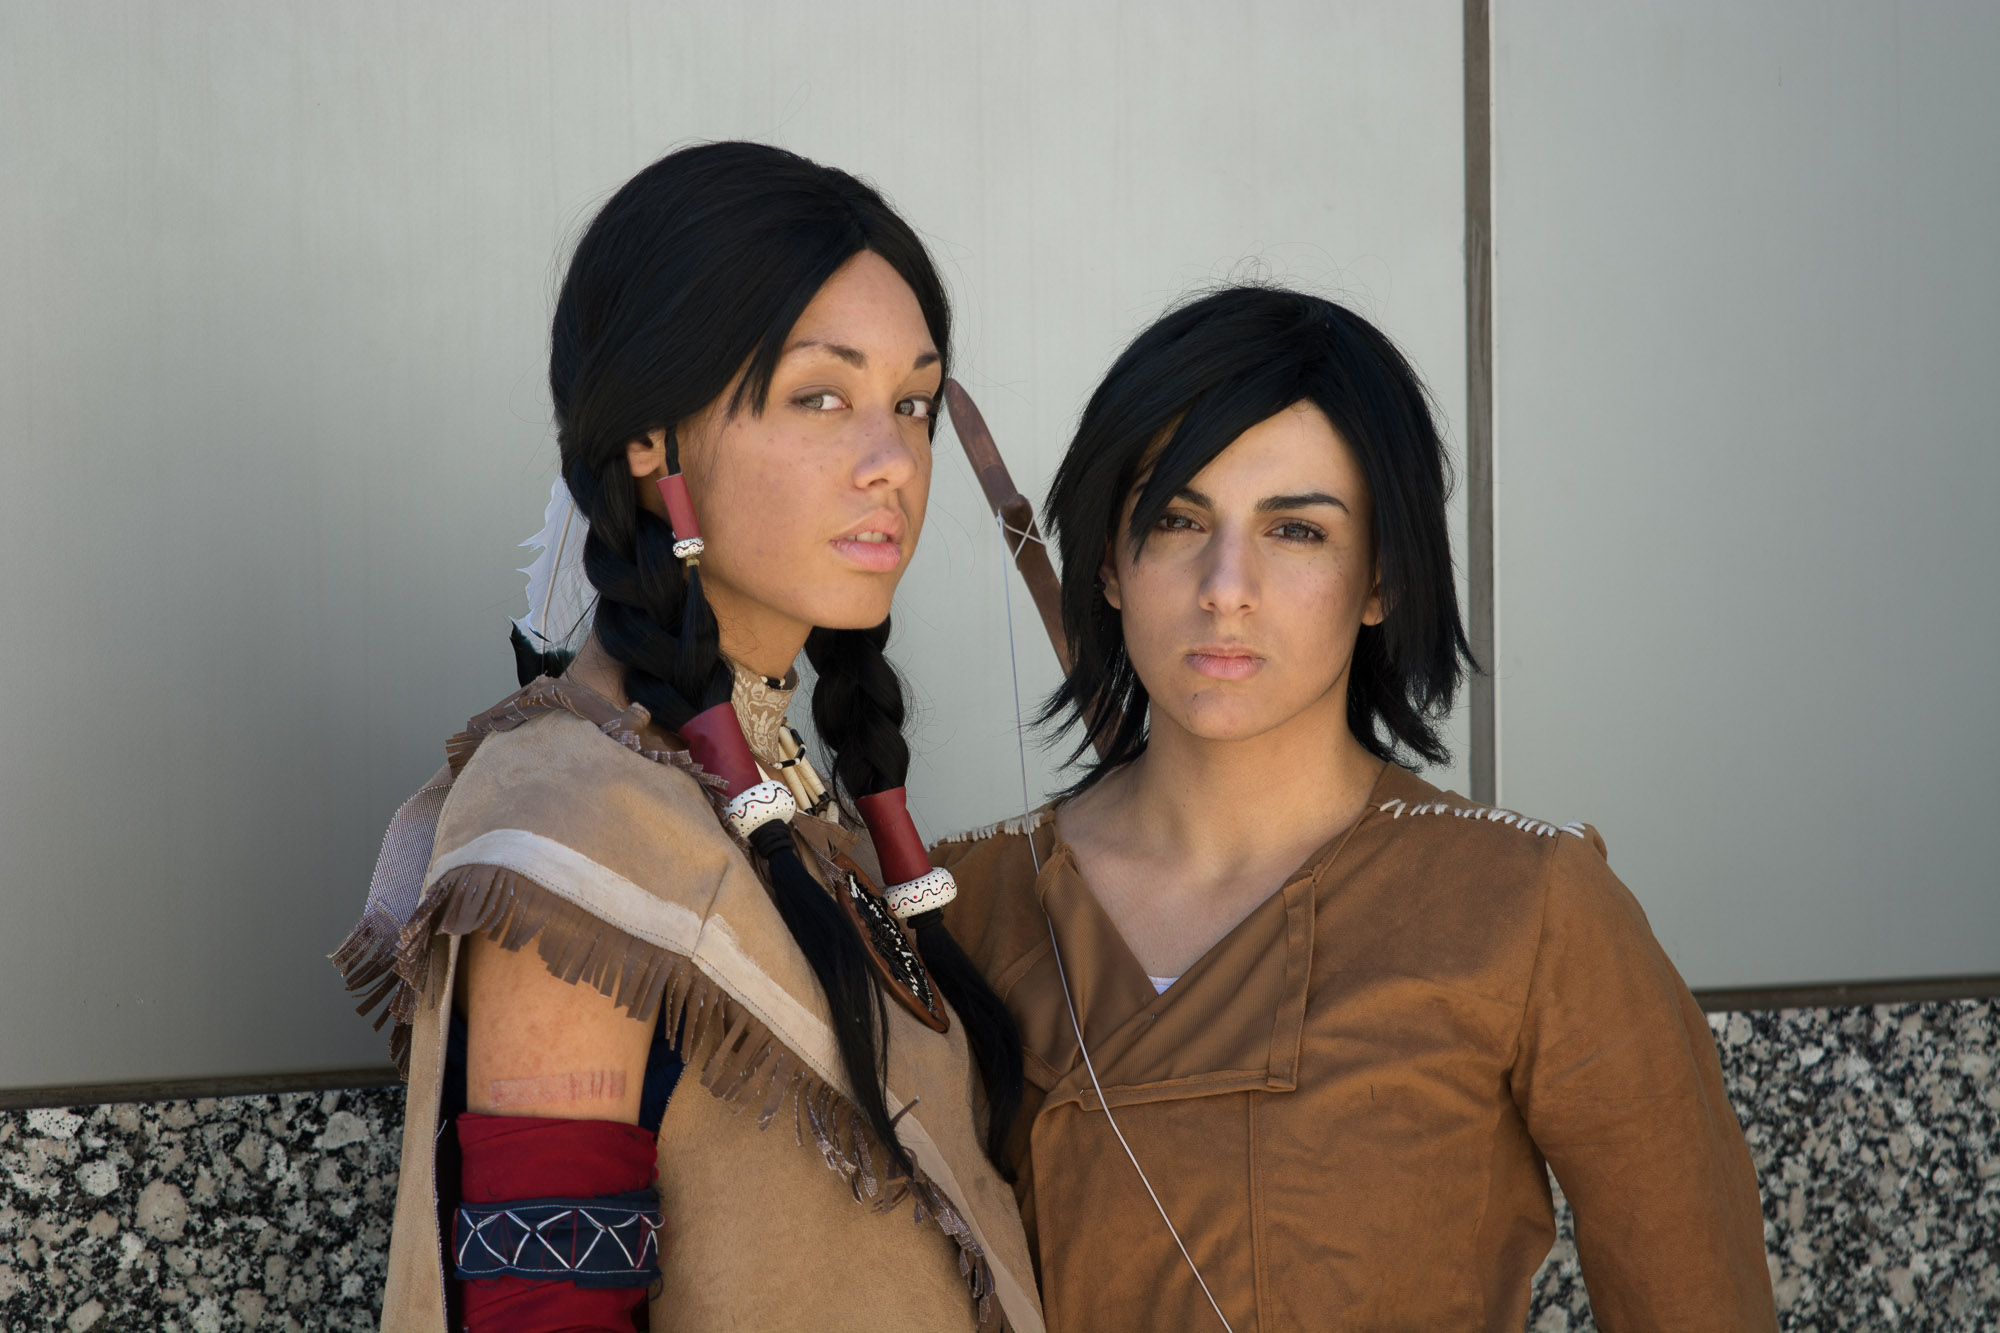
So, the skirt, wraps, armband, and neck-piece are made from microsuede fabric that I bought off of ebay. I draped old T-shirts onto my dress form, drew the shapes out with marker and cut away to make the right shape. The fringe is also made of the same fabric, just painted and cut.
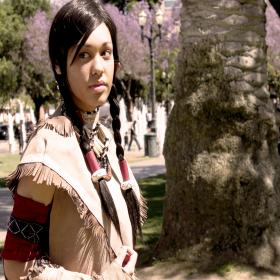
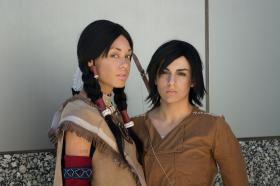
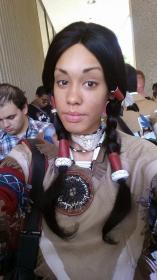
The wig is a black straight wig I had bought off of ebay, and braided. The white pieces are sculpey, and the red are spare pieces of faux leather I had bought from Joanns years ago.
The bracelets are wooden bracelets I had that I painted over.
The undershirt is hand woven by me, and made of broadcloth. I placed the warp strips on my dressform into the shape I wanted, and then began adding the weft strips of fabric. The time to make took about 2 weeks, and I plan on remaking it this summer.
The necklaces are made from bone beads bought from SunCountryGems, painted black in the appropriate places with acrylic paint, and strung onto leather cord and attached with clasps. The triple looped necklace attaches int he back, and clasps are attached to each end of the choker and attached to the cord of the triple looped necklace. I also plan to remake those this summer.
The neck-piece is a piece of microsuede that I painted the design on with fabric paint.
The pendant I had to improvise on, and I had to remake it 3 times before it looked the way I wanted it to. I took the closing loop of a memory wire and cut that off, and used it as my center point. I then used another memory wire as my outside frame. I took lengths of regular wire and wrapped it around the center loop, and strung bugle beads onto them to create the pattern. In some spots, I had to wrap wire around a strand and loop it off to the side to keep it looking full, since I could only wrap so much wire around the center. I finished it off by using another memory wire and making it slightly bigger that the 1st frame, and then weaving wire around both frames to keep it in place, and covering it with a spare piece of pleather.
The belt took 1 month to make alone, and was my first time doing any kind of embroidering. I took friendly felt from Joanns, and cut them into the widths I wanted. I had to cut out 3 to get the right length, and sewed them together. Then I took bugle beads bought from FusionBeads and ebay, and seed beads bought from Joann's, and embroidered them onto the felt using a pattern I had made. There are over 1500 bugle beads at least.
The leggings are faux-suede in a brown that I bought from Kmart.
The boot covers I made from the same material, and they are two pieces each. There are generic short-boot shapes that have a ballet flat inserted into them, and then the shin parts are a separate piece that I can tuck the top of the boots under, and then the flaps snap onto the boots.
- Personal Thoughts:
- This was my first super detailed costume that I spent about 3 months one, one of those months being spent solely working on the belt. It is my favourite costume to date.
Wig Details
Add a Comment
Photos
-
Photo 1
 0
0  621
621 -
Photo 2

 0
0  452
452 -
Photo 3

 0
0  328
328 -
Photo 4
 0
0  501
501 -
Photo 5
 0
0  323
323 -
Photo 6
 0
0  322
322 -
Photo 7

 0
0  327
327 -
Photo 8
 0
0  326
326 -
Photo 9

 0
0  354
354 -
Photo 10

 0
0  352
352 -
Photo 11
 0
0  373
373 -
Photo 12
 0
0  1081
1081 -
Photo 13
 0
0  457
457 -
Photo 14
 0
0  748
748 -
Photo 15
 0
0  432
432 -
Photo 16
 0
0  703
703 -
Photo 17
 0
0  404
404 -
Photo 18
 0
0  285
285 -
Photo 19

 0
0  370
370 -
Photo 20

 0
0  410
410 -
Photo 21
 0
0  254
254 -
Photo 22
 0
0  267
267 -
Photo 23

 0
0  299
299 -
Photo 24
 0
0  287
287 -
Photo 25
 0
0  298
298 -
Photo 26

 0
0  253
253 -
Photo 27
 0
0  672
672 -
Photo 28

 0
0  331
331 -
Photo 29

 0
0  300
300 -
Photo 30

 0
0  372
372 -
Photo 31
 0
0  378
378




Sorry, you must be a registered user of and logged in to view and add comments. Either log in or register now!