ACParadise Network:
American Cosplay Paradise
American Cosplay Experience
American Cosplay Snapshots
Cosplayer Owl Eerie > Costume of Maka Albarn (Soul Eater)
- Most Recent Photo
- 01-08-2015
- Series
- Soul Eater
- Character
- Maka Albarn
- Special Variation:
- Spartoi
- Year Completed:
- 2013
- Construction Difficulty:
- Difficult
- Awards
- Runner-Up, Journeyman, Youmacon 2013; 3rd Craftsmanship, ShinbokuCon 2014
- Costume worn at:
- ShinbokuCon 2014
- Youmacon 2013
About this Costume
- Construction Details:
-
Let's go head to toe!
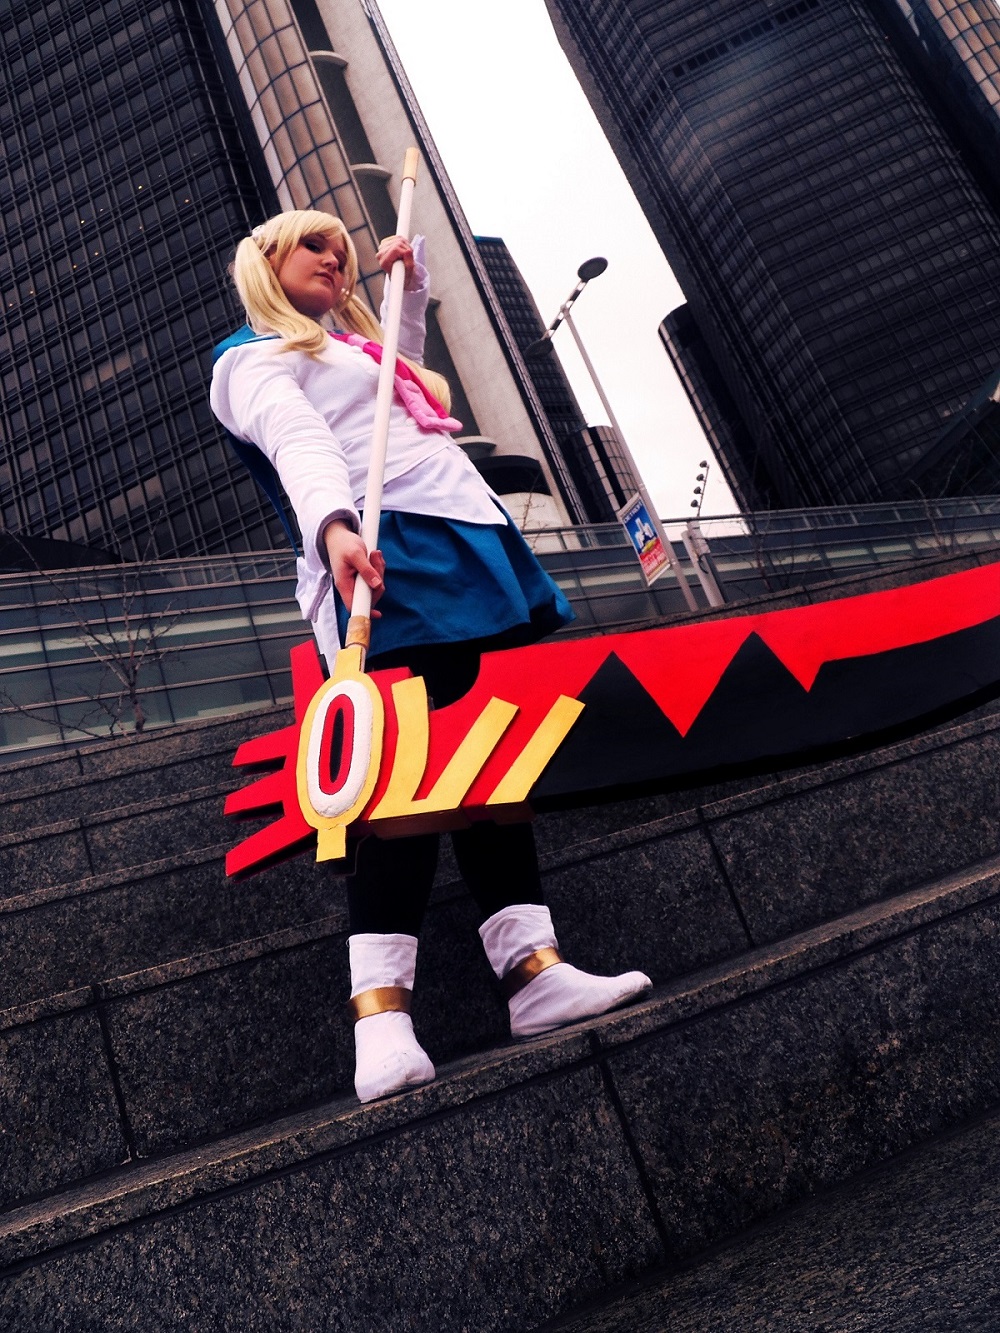
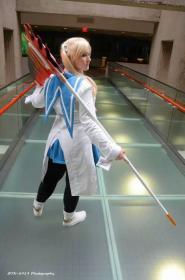
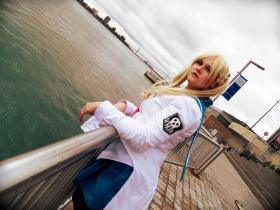
Skull pins - sculpted from polymer clay and molded using molding putty and then resin cast using white acrylic paint as the tint. The eyes/nose were painted with black acrylic and then filled in with more resin.
Wig - see below
Sailor collar - I custom dyed the collar and skirt with Rit dyes. The collar is made from a lightweight cotton, trimmed in bias tape made from the same material. I drafted the pattern to be able to incorporate the standing collar.
Shirt - made from a shirting fabric, custom pattern. The cuffs are attached to the shirt, and are stuffed with quilt batting. The stitches are made from unravelled nylon cord.
Trench coat - Another custom pattern, made from twill and fully lined. Closes via buttons and a snap on the top corner of the double breast.
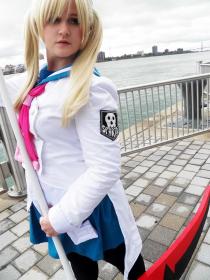
Spartoi patch - hand embroidered on canvas, backed with heat-bond interfacing, and satin stitched to finish the edges. Hand sewn to the jacket.
Skirt - custom dyed, side-zip, hook-and-eye closure. Needs to be re-pleated before I wear it next. =_=
Leggings - boughtrnrnBoot covers - completely removable covers, worn over a pair of Converse, so they're really comfortable
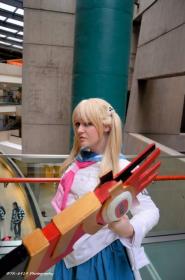
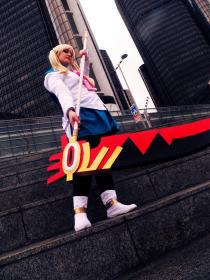
Scythe - The blade is made from white insulation foam covered with posterboard. The fins around the eye piece are foamboard, cut using a box cutter and patience; the eye piece itself is also foam and is spackled and coated with wood glue. The blade is mounted to a length of PVC pipe with a coupling piece that is used to join the blade to the shaft. To make the gold base piece, I used a dremel to sand off the lip inside two coupling pieces and slid them up the pipe. The pipe is capped with a third coupling piece and an end cap which was dremeled down to be hidden in the base. There is also a dowel rod that runs through the joint of the blade/shaft for added stability.
Everything is painted with acrylic paints and sealed with a clearcoat polyurethane spray paint. - Personal Thoughts:
- I've loved this variant since the first time I saw it, so I'm really happy to have been able to make it :)
Wig Details
- Wig Brand
- AnimeStuffStore
- Wig Name
- Nanako
- Styling Time
- 4
- Wig Quality Rating
- 3 / 5.00
- Styling Notes
- The base wig was rather fake-shiny, but I removed most of this by conditioning it. I was a little bit disappointed by the internal wefts (short fibers that were going weird directions, and also two colors of fiber??) but the part line for the pigtails is full and provides good coverage.
I had a little bit of trouble covering gaps around the temples when I redid the pigtails.
Add a Comment







Sorry, you must be a registered user of and logged in to view and add comments. Either log in or register now!