ACParadise Network:
American Cosplay Paradise
American Cosplay Experience
American Cosplay Snapshots
Cosplayer Lin-Z > Costume of Elsa (Frozen)
- Most Recent Photo
- 02-22-2014
- Series
- Frozen
- Character
- Elsa
- Special Variation:
- Snow Queen
- Year Completed:
- 2014
- Construction Difficulty:
- Difficult
- Wig styled by
- jeanralphio
- Costume worn at:
- Katsucon 2014
About this Costume
- Construction Details:
-
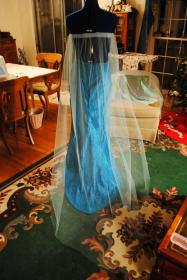
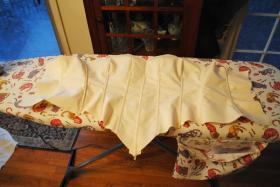
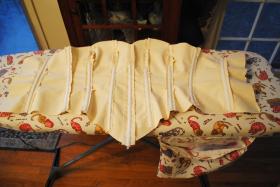
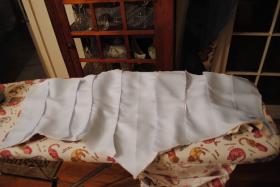
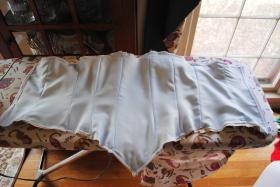
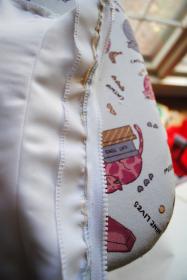
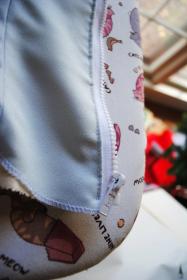
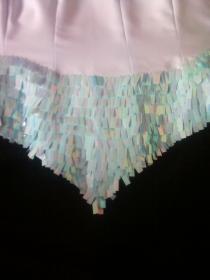
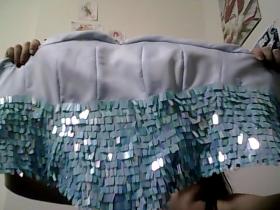
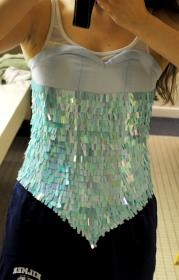
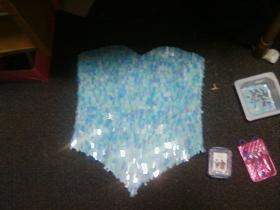
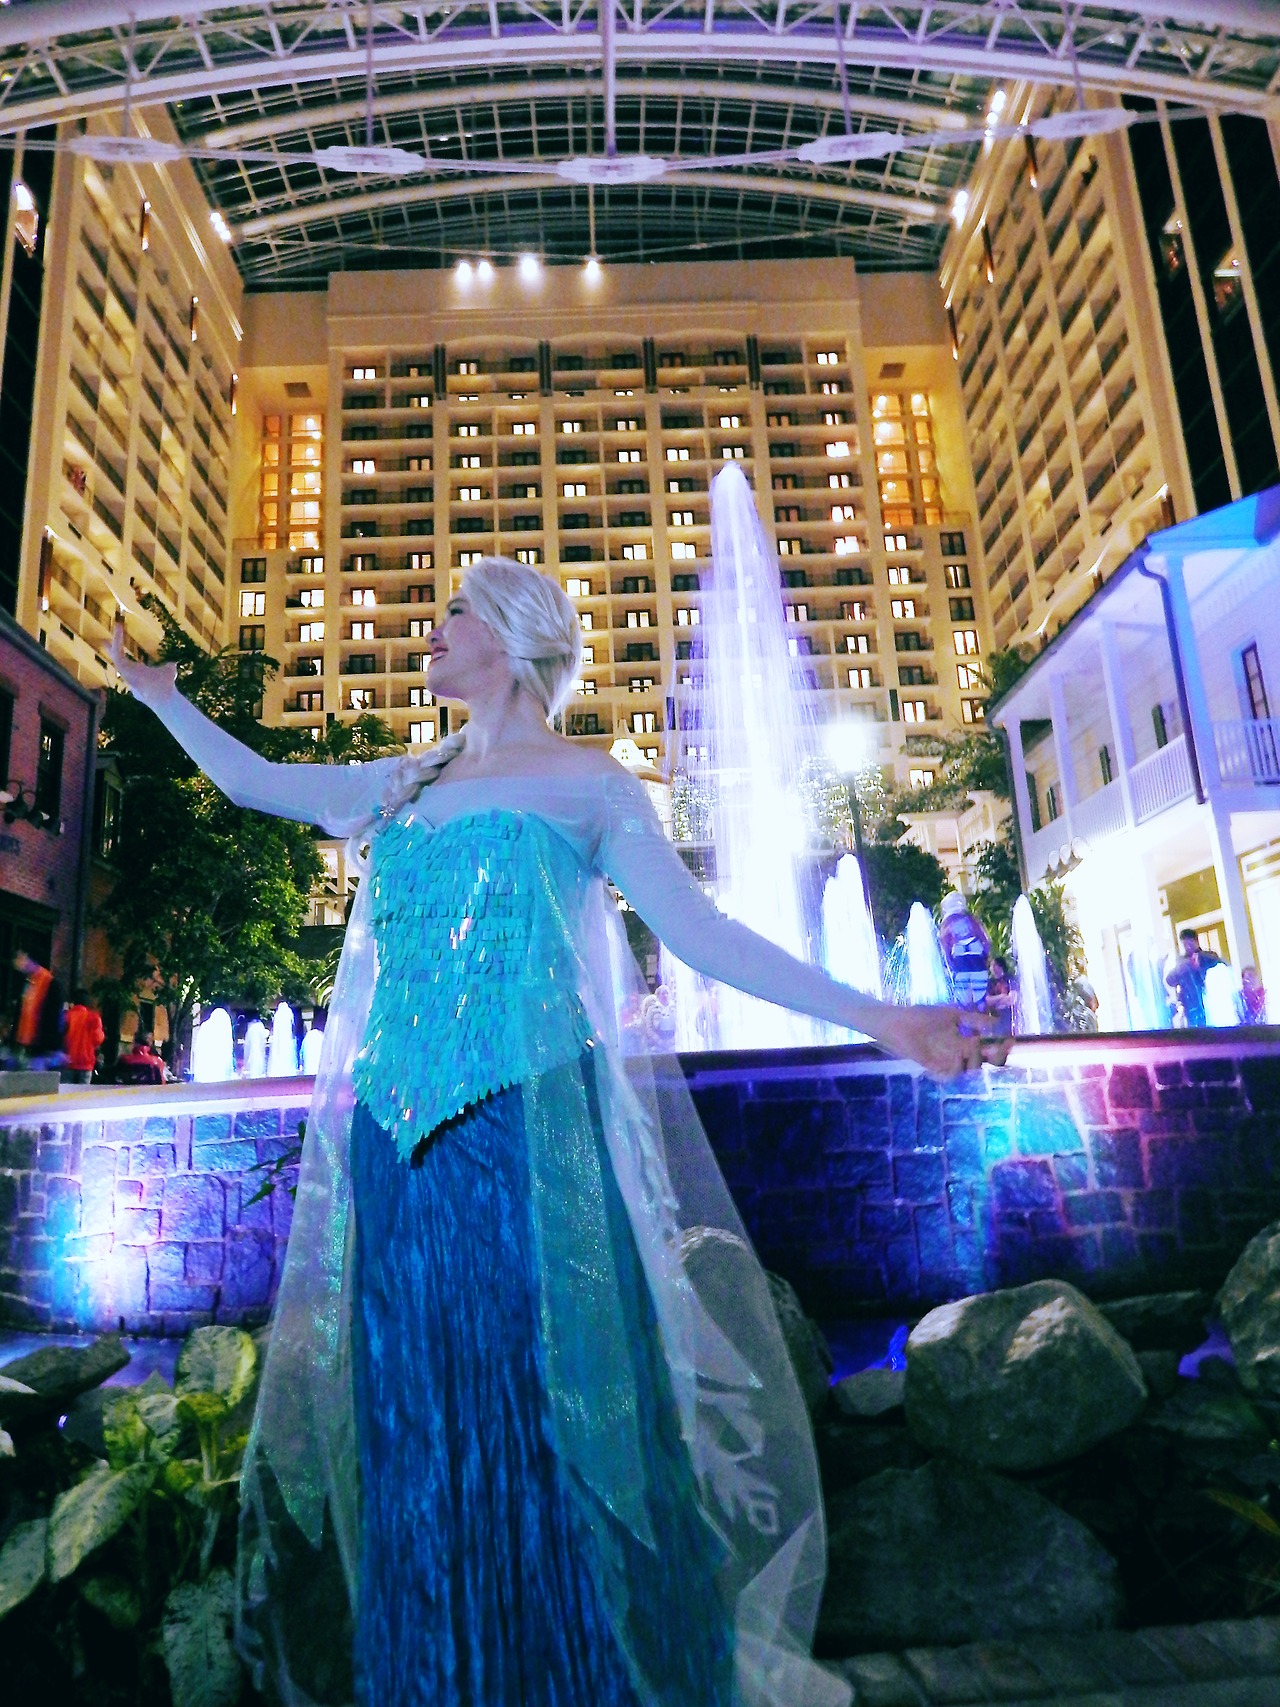
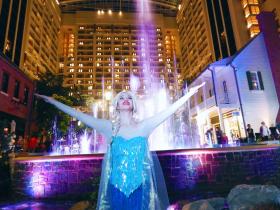
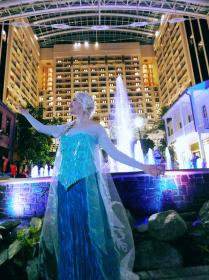
Over 80 hours went into this, a full 56 of them solely dedicated to the bodice. It took me about 15 hours to modify and sew a corset pattern to make the base, and 41 hours to hand sew each sequin onto the bodice (the sequins came from a seller in China). Curiously, in person, the sequins are much closer to a greenish aqua-blue, but photograph as the much lighter blue you see! There are three layers of fabric in the bodice; the innermost is leftover white casa satin, then a layer of cotton drill (like twill) to provide strength, and finally a decorative powder blue crepe. The bodice has a thick white zipper in the back, and contains 9 pieces of plastic boning.
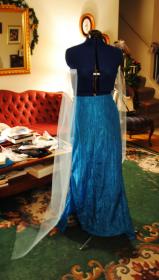
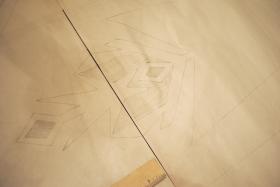
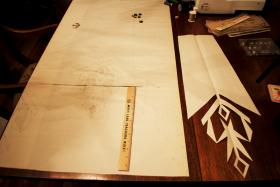
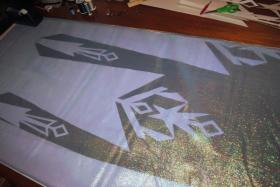
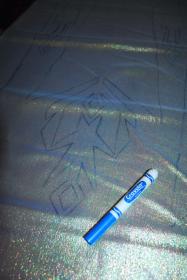
The cape took close to 20 hours and was constructed out of mesh netting and a "blue pearlized sheer" fabric from Joann's, plus some scrap matte blue cotton. I first cut the bottom of the netting into a triangle and then gathered the top to an appropriate width. I then had to hand-draft and trace a template for the shiny snowflake (the pearlized sheer fabric), trace it on to the fabric, cut it, and then apply fray check on the entire thing. Then I gathered the sheer fabric to the same width as the netting, sewed them into the matte cotton casing, and put snaps inside the casing and bodice where the cape would attach (this proved to be a really good idea, as several people stepped on my cape and the snaps let it pop out without too much damage). After all that, I hand sewed a bead to each point in the snowflake pattern - both for fanciness and to tack the sheer fabric to the netting (this I put off so I had to pull an all-nighter before catching a 7:38am train to Katsu WHOOPS). Because of the silver thread I was using, I had to put a dot of glue on each tack, which took up a lot of extra time.
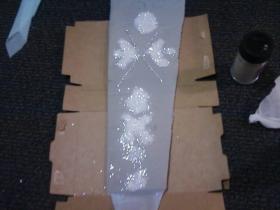
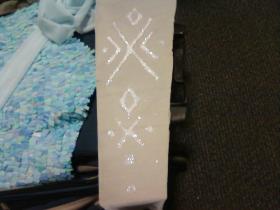
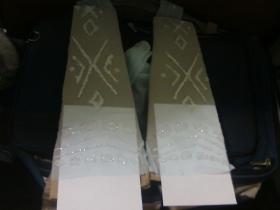
The shirt is light blue stretch mesh from Spandex House. The sleeve detailing was done with puffy paint that I covered with glitter and let dry. It's not as complete as I would like it to be, but it worked well enough for a debut run!
The skirt shown in these pictures is not the skirt I made due to an embarrassing and costly mistake (involving the all-nighter previously mentioned), but it is interestingly made out of the same fabric. The same, extremely not-the-color-I-thought-it-was-when-I-bought-it-online fabric. It's some kind of polyester teal crinkle lamé, so I couldn't even bleach it lighter. The skirt I made had horsehair trim in the hem and does actually have the slit in the side; the one I'm wearing in these pictures I bought from the dealer's room on Friday and has layers in the back for a bustle effect.
I wore pre-owned white sandals because I didn't have time to modify the heels I bought to suit Elsa.
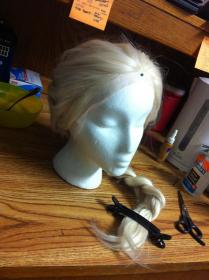
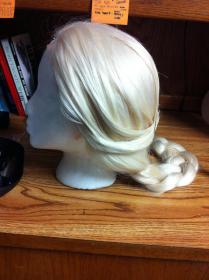
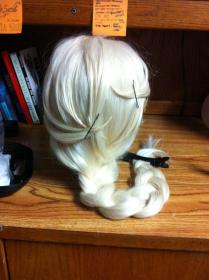
The hair snowflakes are - I kid you not - Martha Stewart brand jewel casings with Martha Stewart brand jewels inside bobby pinned into the wig. - Personal Thoughts:
- So pretty much right when I walked out of the theater, I turned to my little sister and said "I want to cosplay Elsa." She said she'd be my Anna, but she didn't want to do the coronation gowns (at the time) so I decided I would be snowy Elsa, which turned out to be an undertaking a little too big for the time I had to complete it haha.
Wig Details
- Wig Brand
- Unknown
- Wig Name
- Long Curly without Bangs
- Original Color:
- White Blonde
- Wig Quality Rating
- 3 / 5.00
- Styling Notes
- I bought this sucker from a seller on AliExpress so it didn't get to my house until I left for college, so my little sister took it to Jay's dorm where he styled it for me (you are both champs and I love you very much).
- Wig Review
- It's a little thinner than it needed to be to give the full Elsa volume to the pushed back bangs, but I'm super happy with the color and fit, especially for my first lace front!
Add a Comment
Photos
-
Photo 1
 0
0  337
337 -
Photo 2
 0
0  278
278 -
Photo 3
 0
0  252
252 -
Photo 4
 0
0  301
301 -
Photo 5
 0
0  251
251 -
Photo 6
 0
0  267
267 -
Photo 7
 0
0  242
242 -
Photo 8
 0
0  251
251 -
Photo 9
 0
0  318
318 -
Photo 10
 0
0  267
267 -
Photo 11
 0
0  302
302 -
Photo 12
 0
0  338
338 -
Photo 13
 0
0  253
253 -
Photo 14
 0
0  303
303 -
Photo 15
 0
0  255
255 -
Photo 16
 0
0  311
311 -
Photo 17
 0
0  338
338 -
Photo 18
 0
0  351
351 -
Photo 19
 0
0  314
314 -
Photo 20
 0
0  275
275 -
Photo 21
 0
0  267
267 -
Photo 22
 0
0  267
267 -
Photo 23
 0
0  259
259




Sorry, you must be a registered user of and logged in to view and add comments. Either log in or register now!