ACParadise Network:
American Cosplay Paradise
American Cosplay Experience
American Cosplay Snapshots
Cosplayer Dessi_desu > Costume of Elsa (Frozen)
- Most Recent Photo
- 03-25-2015
- Series
- Frozen
- Character
- Elsa
- Year Completed:
- 2014
- Construction Difficulty:
- Difficult
- Costume worn at:
- Katsucon 2014
About this Costume
- Construction Details:
-
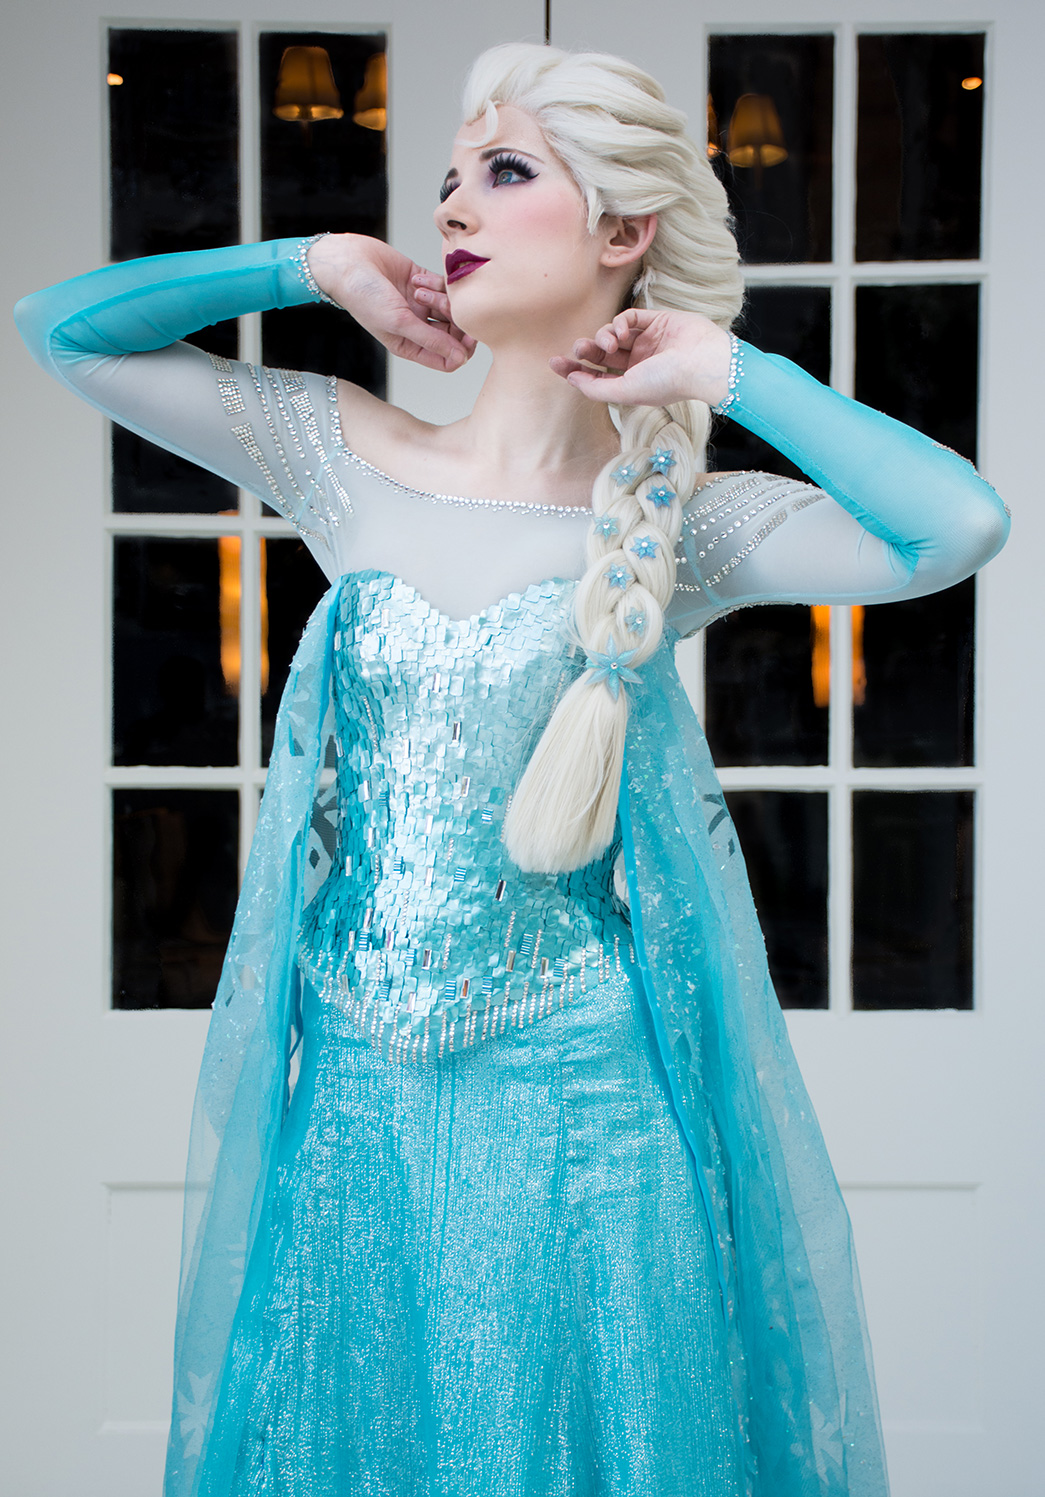
This costume has had two incarnations and is a massive learning experience in taking my time with experimentation. I wasn't feeling how the first incarnation of my Elsa turned out. After a much needed break, I developed some solutions that fixed a lot of the areas I was unhappy with.
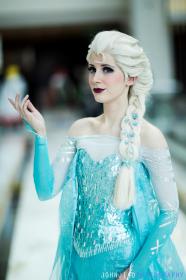
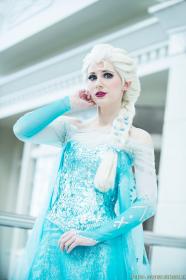
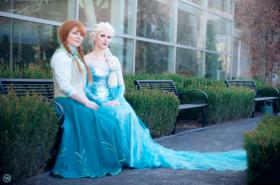
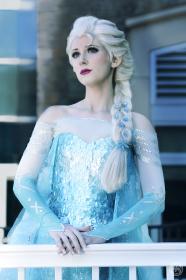
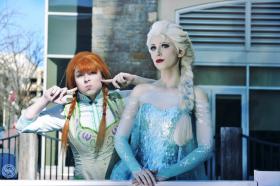
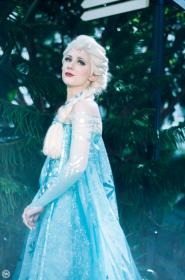
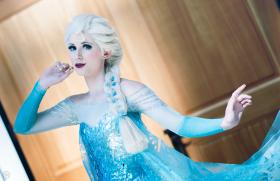
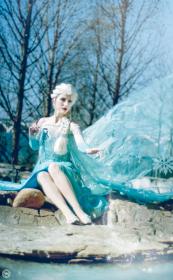
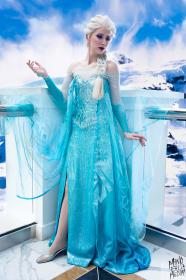
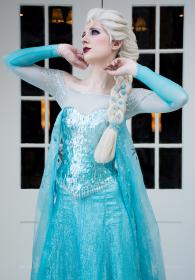
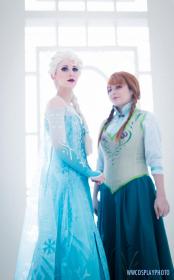
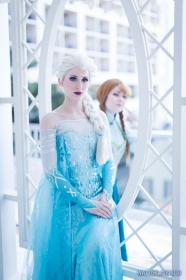
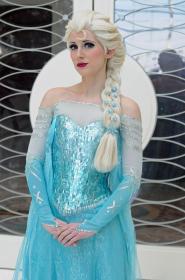
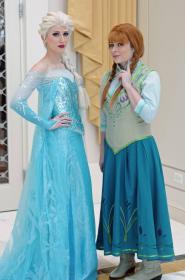
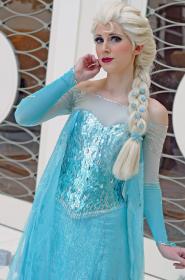
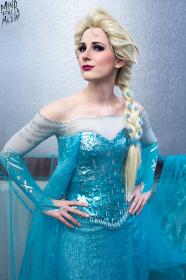
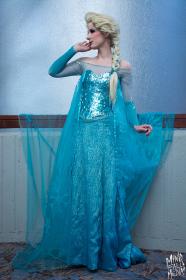
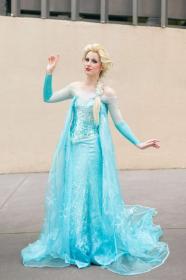
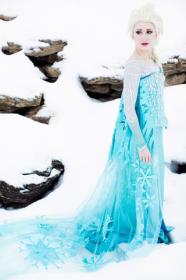
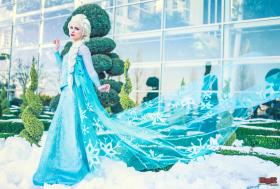
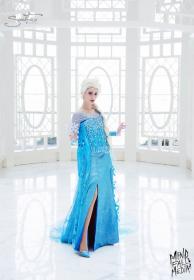
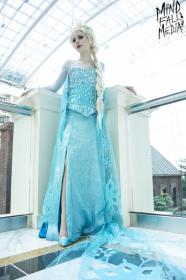
The bodice required a bit of critical thinking. How to retain sheen and have control over color? While looking for materials for my Aurora, I came across some clear plastic vinyl in the home decor department at Joann's. Yes, the same stuff grandparents like to cover their couches with. I decided to paint the back with some Jacquard metallic paints. I purchased "Pearl Turquoise," Pearlescent White," and "Sky Blue." I mixed the colors in two desirable turquoise/aqua blue colors, one lighter shade (for the top portion of the corset) and one darker shade (for the bottom portion of the corset). I did my best to mimic the "stacked" look of the rectangles on Elsa's ice bodice. I'm still not quite done with it and need to go back in with smaller sized rectangles. Along with the rectangles, the corset also has 3mm rhinestones, blue bugle beads, and rectangle-shaped rhinestones scattered throughout. All of the rounded rectangles and embellishments were applied using E-6000 on a steel boned corset I created from Simplicity 5006.
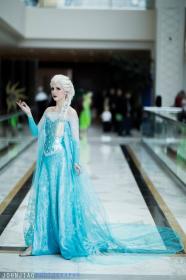
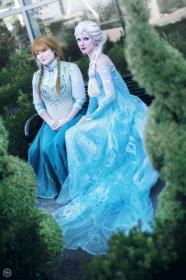
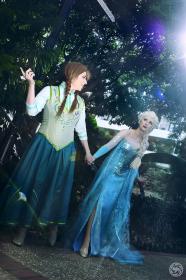
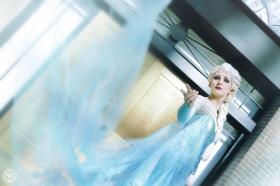
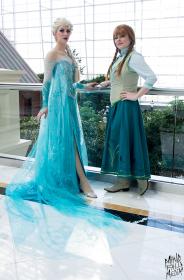
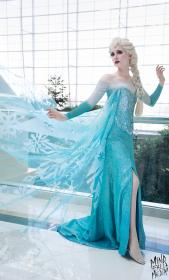
The main fabric of the skirt is made from a silk chiffon that has silver threads woven throughout. The fabric was found on Etsy and was quite temperamental to work with. In order to harmonize all the colors in the costume, I did have to dye the fabric using a Rit dye in 'Aquamarine,' along with adding a subtle gradient at the bottom in a darker blue. I used a dip dyeing technique to add the gradient. During the dye process, I dyed the fabric while it was wet and kept a spray bottle with water handy, so the gradient would have a soft transition and not be too harsh.
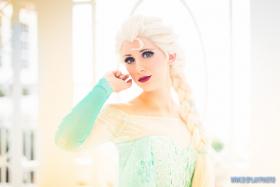
Elsa's undershirt is one of my favorite pieces on her costume. I love that she basically has no need for jewelry because it's all incorporated into her costume! I also adore the neckline. The undershirt is made from stretch mesh in baby blue from Spandex House. The gradient on the sleeves was added using floral spray, but it could also be easily added using an airbrush. I drew up templates of the designs on the undershirt, while referencing Elsa's concept art and scenes from the movie. Afterwards, the motifs and designs were created using 3mm rhinestones.
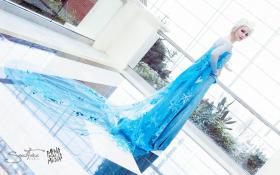
The train was created with glitter netting. At it's longest point, the train is 9 feet in length and is basically a massive half circle with a longer point in the middle. I created the snowflakes by -carefully- heat 'n' bonding organza snowflakes to the train and then sealing them in place with mod podge. I also added some snow confetti into the mixture to create a fallen snow look on top of the snowflake. I think the cape could use some more "snow," so I would like add some more in the future. - Personal Thoughts:
- I LOVE Elsa to bits. She was one of those characters I was immediately drawn to, when they revealed her backstory and design. Weirdly, I'm a huge Disney fan and had yet to cosplay from a Disney film, until Elsa. I relate so much to Elsa's reserved, introverted, and benevolent characterization, so I'm happy I made the decision for her to be my first Disney gal on my cosplay roster. This project isn't 100% done and I plan to continue improving it throughout the year, particularly my wig and cape.
Add a Comment
Photos
-
Photo 1
 0
0  515
515 -
Photo 2
 0
0  412
412 -
Photo 3
 0
0  386
386 -
Photo 4
 0
0  354
354 -
Photo 5
 0
0  328
328 -
Photo 6
 0
0  329
329 -
Photo 7
 0
0  310
310 -
Photo 8
 0
0  316
316 -
Photo 9
 0
0  301
301 -
Photo 10
 0
0  320
320 -
Photo 11
 0
0  315
315 -
Photo 12
 0
0  316
316 -
Photo 13
 0
0  403
403 -
Photo 14
 0
0  349
349 -
Photo 15
 0
0  318
318 -
Photo 16
 0
0  367
367 -
Photo 17
 0
0  723
723 -
Photo 18
 0
0  335
335 -
Photo 19
 0
0  312
312 -
Photo 20
 0
0  298
298 -
Photo 21
 0
0  347
347 -
Photo 22
 0
0  335
335 -
Photo 23
 0
0  360
360 -
Photo 24
 0
0  383
383 -
Photo 25
 0
0  497
497 -
Photo 26
 0
0  545
545 -
Photo 27
 0
0  594
594 -
Photo 28
 0
0  537
537 -
Photo 29
 0
0  1110
1110 -
Photo 30
 0
0  587
587 -
Photo 31
 0
0  981
981 -
Photo 32
 0
0  914
914




Sorry, you must be a registered user of and logged in to view and add comments. Either log in or register now!