

ACParadise Network:
American Cosplay Paradise
American Cosplay Experience
American Cosplay Snapshots
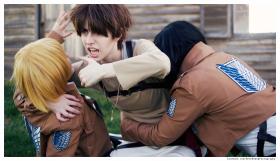
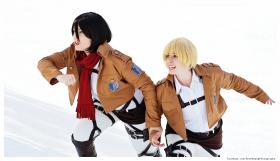
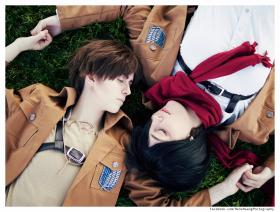
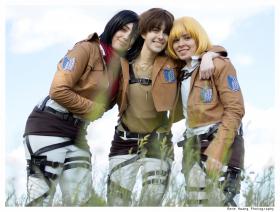
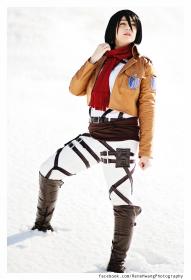
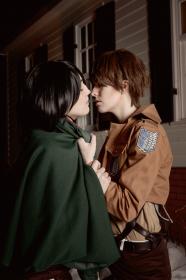
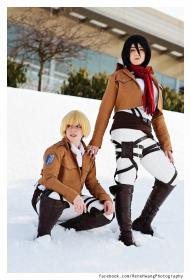
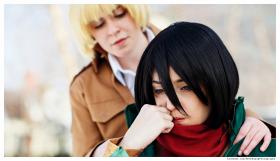
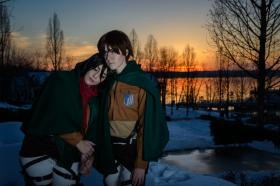
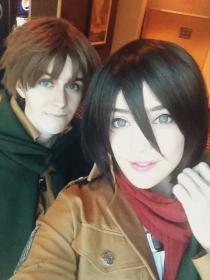
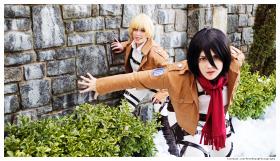
Cosplayer VintageAerith > Costume of Mikasa Ackerman (Attack on Titan)
- Most Recent Photo
- 06-26-2014
- Series
- Attack on Titan
- Character
- Mikasa Ackerman
- Special Variation:
- Scouting Legion
- Year Completed:
- 2014
- Construction Difficulty:
- Difficult
- Costume worn at:
- Katsucon 2014
About this Costume
- Construction Details:
-
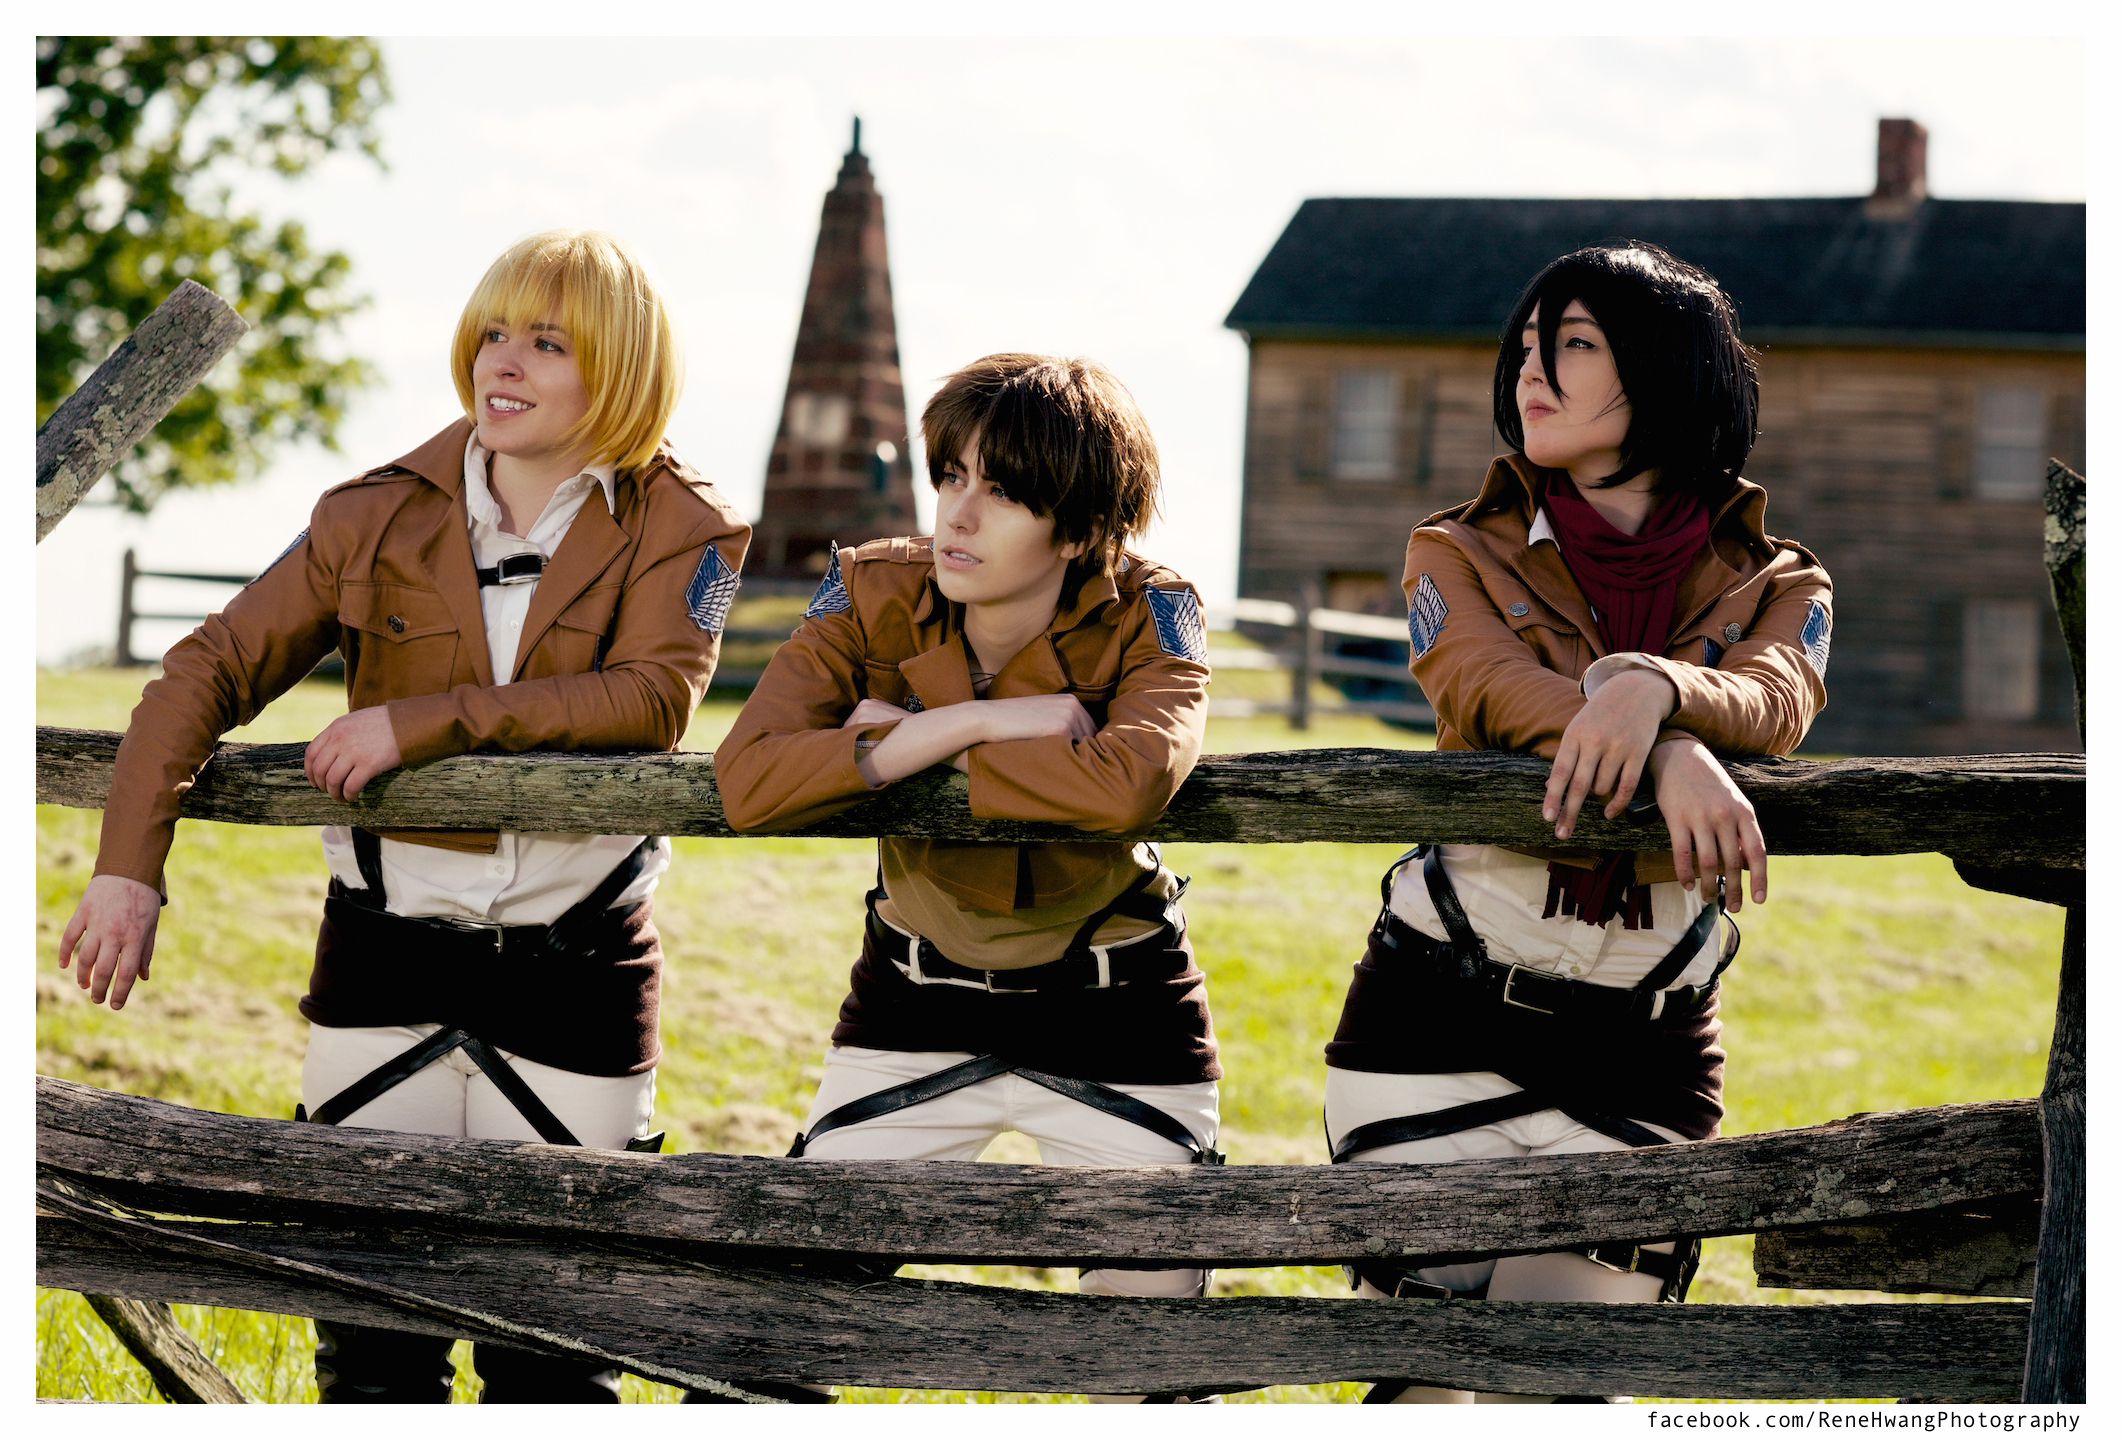
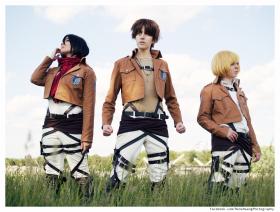
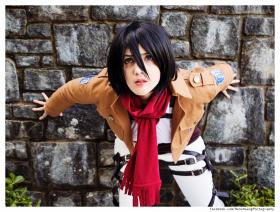
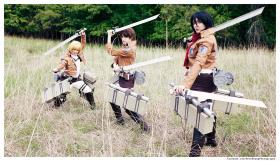
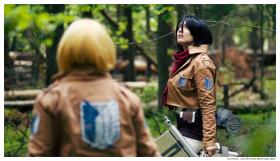
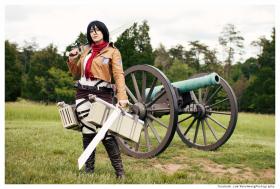
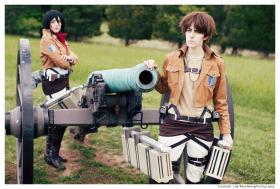
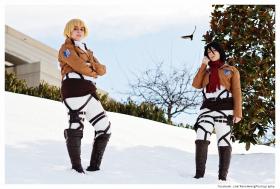
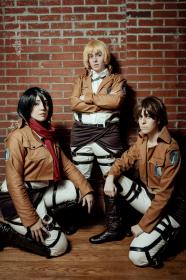
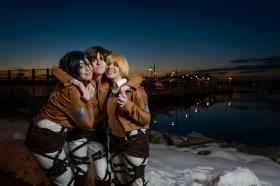
Made the jacket out of a warm brown twill based off a trenchcoat pattern. The buttons and pockets on it are all fully functional. I hand-sewed the embroidered patches to the jacket to avoid anything popping up. My Attack on Titan group all bought eggshell/khaki-colored jeans to match. I made my scarf for the child Mikasa cosplay I did previously, so I borrowed it for this costume too. The belts are all made of premium upholstery vinyl through which it was IMPOSSIBLE to get my machine needle (it worked, though, eventually, several broken needles later ;D). Skwinky and I spent two full days both making and fitting the belts and sewing them into loops at the ends so they could be adjusted when needed. They function just like the manga, including the foot stirrups which can't be seen in pics under the boots. I made our little buttskirts out of a brown ponte knit. We painted the boots with waterproof vinyl paint so all of our browns would match.
3DMG Breakdown:
The 3DMG still needs some finishing details—this is essentially what was required to get it about 85% of the way there.
TOASTERS:
My first thought was to cut rectangles of solid insulation board (two glued together for thickness), sand the edges, gesso, and paint, but unfortunately cutting insulation board gets very messy and sanding got too time-consuming for a less than perfect result. Therefore, my next thought was to construct the boxes out of regular science fair foamcore board, which would allow them to be hollow and have sturdy, flat planes. This process took roughly 10 hours for 6 boxes. Masking tape was used to reinforce the joints from the inside before gluing. The boxes were coated in acrylic sealant to keep the paint from eating the exposed foam edges, before being sprayed a dark beige.
The ‘bracers’ that enclose the toasters are cut from illustration board. I patterned them so they would be one solid shape with scores to make it bend around corners, in lieu of trying to glue the board perpendicular to other pieces at each joint. These took several hours since illustration board is difficult to cut (the long oval cutouts took the longest). The third bracer on each toaster is cut from craft foam. The planes that enclose the spare fuel tanks on top of the toasters are cut from craft foam and glued in place.
Eren aka shinjaninja constructed the spare fuel tanks from mailing tubes, with the tops of water bottles glued to PVC valves, coated in mod podge and spray painted silver.
The toasters attach to our belts via holes punched on the planes facing our legs, with wire threaded through and wrapped tightly around our main support belts. Thanks a million to Laura (terminallyxsadistic) and Tim (buttpilgrim) for sorting this out on location at the shoot when we were trying to get suited up! You guys saved the day!
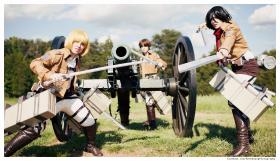
FUEL CHAMBERS:
Armin aka skwinky cut and assembled the fuel chambers out of illustration board and craft foam, following a pattern found online. She coated them in gesso, before spraying with a hand-hammered metal texture paint and distressing with black paint with the help of Eren aka shinjaninja. She also problem-solved how they would be attached to us—the chamber is supported by an L-shaped roofing material made of solid metal that is threaded onto our belts once we’re standing and ready to shoot. They’re ridiculously solid and well-made, she did such a good job!
SWORDS:
We first bought bike brakes, around which we drew the basic, clunky shape of the blade handles (providing a slot in which to shove the bike brakes). Skwinky’s father was able to print out the pattern we made and cut us six handle bases out of plywood. We took these and built upon them—having something sturdy enough to hold the bike brakes was a life-saver. I took paperclay and molded it in the general shape of the ‘gun grips’ before pressing a wire basket onto it for texture. Once dry, I painted these brown and attached them to the handles. The bottom of the hilt is accented with craft foam. The blades are made of thin sheets of balsa wood, scored to give the “box cutter” blade effect, gesso’d, painted, and given a blade edge with extra-shiny duct tape. They are light enough to be supported on the blade handle with just glue, but durable enough to sustain being swung around. Thanks to Eren aka shinjaninja for putting these all together at the end!
GRAPPLING HOOK FIRERS:
I constructed the hook firers out of hand-patterned craft foam pieces. We bought hydraulic tubing which was sprayed silver to attach to the back of the firers and the bottoms of our blades, but unfortunately couldn’t find a steady way to do so in time for this shoot. This will be a task for another time.
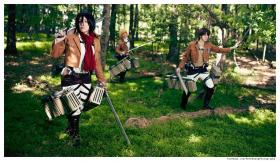
All told, with the combined efforts of Skwinky, Shinjaninja, Buttpilgrim, and myself, three sets of 3DMG took about 75-80 hours of work. I can’t wait to keep embellishing them and improving things based on trial and error! - Personal Thoughts:
- sweet bro hella belts
Add a Comment
Photos
-
Photo 1
 0
0  481
481 -
Photo 2
 0 411
0 411 -
Photo 3
 0 380
0 380 -
Photo 4
 0 391
0 391 -
Photo 5
 0 404
0 404 -
Photo 6
 0 357
0 357 -
Photo 7
 0 331
0 331 -
Photo 8
 0 347
0 347 -
Photo 9
 0 370
0 370 -
Photo 10
 0 392
0 392 -
Photo 11
 0 384
0 384 -
Photo 12
 0 390
0 390 -
Photo 13
 0 364
0 364 -
Photo 14
 0 385
0 385 -
Photo 15
 0 392
0 392 -
Photo 16
 0 356
0 356 -
Photo 17
 0 506
0 506 -
Photo 18
 0 367
0 367 -
Photo 19
 0 422
0 422 -
Photo 20
 1 339
1 339 -
Photo 21
 0 339
0 339 -
Photo 22
 0 399
0 399 -
Photo 23
 0 386
0 386 -
Photo 24
 0 377
0 377 -
Photo 25
 0 332
0 332 -
Photo 26
 0 322
0 322
-
 1498682 Visitors
 -
- Cosplayer Info
- Costumes Worn
- Costumes Made
- Props
- Wigs
- Favorites
- Videos
- Convention History


Sorry, you must be a registered user of and logged in to view and add comments. Either log in or register now!