

ACParadise Network:
American Cosplay Paradise
American Cosplay Experience
American Cosplay Snapshots
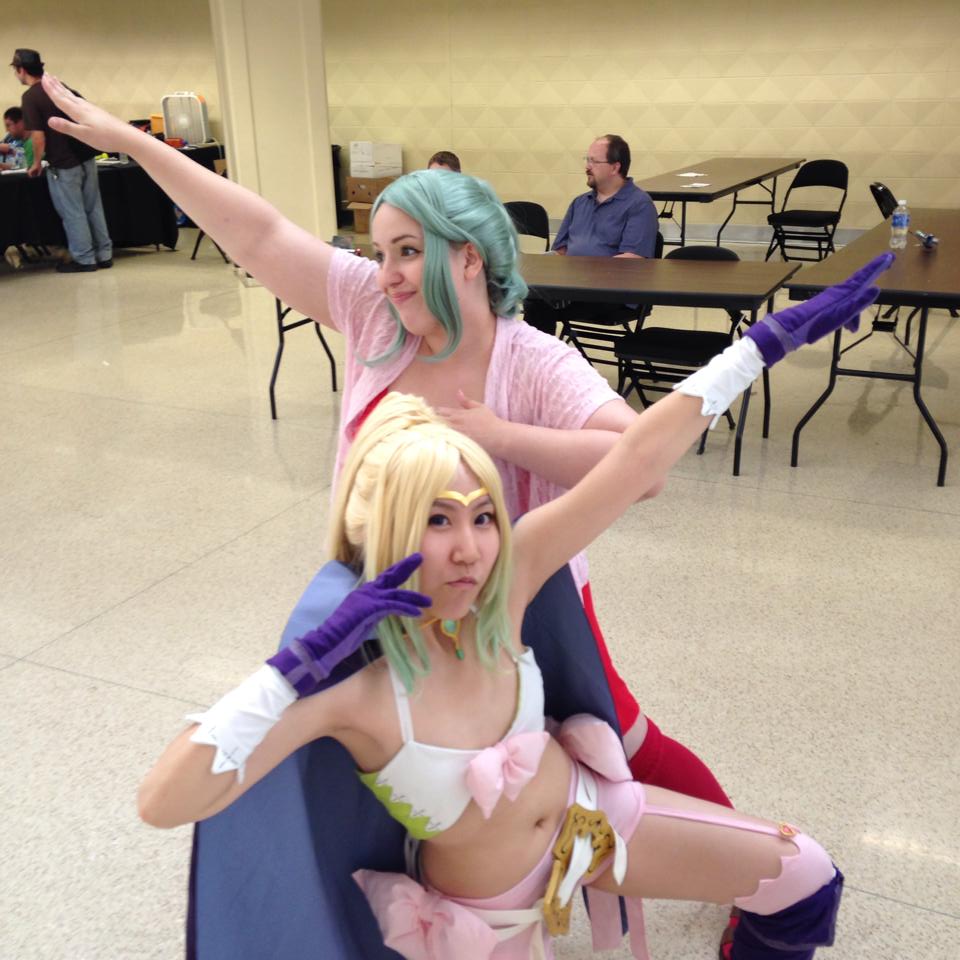
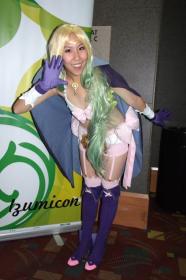
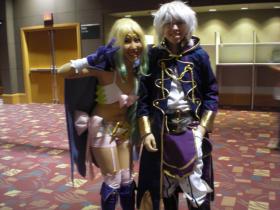
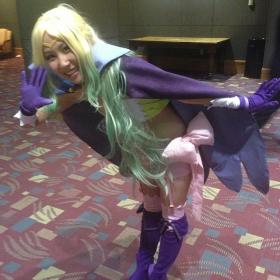
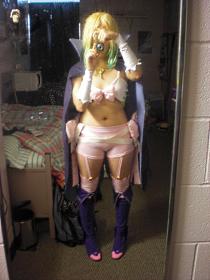
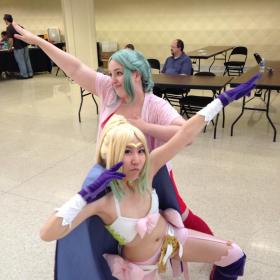
Cosplayer JieKi > Costume of Nowi (Fire Emblem: Awakening)
- Most Recent Photo
- 08-26-2014
- Series
- Fire Emblem: Awakening
- Character
- Nowi
- Year Completed:
- 2013
- Construction Difficulty:
- Normal
- Costume worn at:
- Izumicon 2013
- Tokyo in Tulsa 2014
About this Costume
- Construction Details:
-
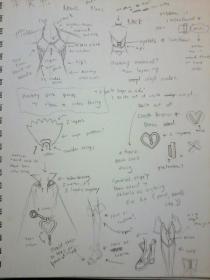
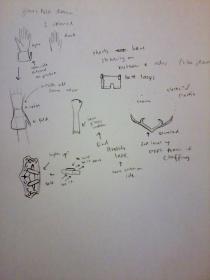
I always like to draft things out on paper, even if it's just simply redrawing the references. It definitely helps with the thinking process.
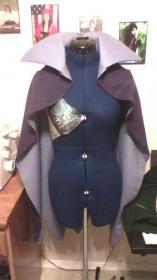
Cape: Two layers, like Lucina's. The layout has a strange stitch in it to create the part where it rests on the shoulder, and the popped collar is made by sewing interfacing inside. The scallops on the bottom have notches cut into them to ensure the shape when being turned inside out. VERY IMPORTANT. Also, I'm slapping on the details by glueing felt on the back of the gold "buttons" and sewing that onto the cape. The gold cord is a 5 string friendship bracelet that can be slipped on and off the buttons in the front. Also, in the back of the cape there is a little piece of velcro that goes around the top white part to make sure the cape doesnt slip off backwards, because without it, it does.
Detailing: I made the details with acrylic gems and clay. I sculpted around the gems and carefully popped them out so I could bake it. I then painted the clay with acrylics and for the gems I used cheap nail polish (they were original clear colored). It turned out really nicely actually. I'm happy the way they came out.
Also, on the pendant thing, Nowi's tiny weird tear drop shaped one is also sculpted out of clay, and painted with the two mediums listed above. I then tied clear elastic string through both pendent and heart parts and glued the knot to make sure it will not fall off. It's pretty sturdy I say.
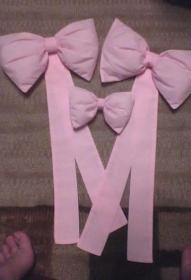
Pants: Seriously, I made the shorts out of a pink T-shirt. Really. and I'm glad I did because it works just fine! There is an elastic band on the top to hold it, and the ribbons on the sides are made from cotton and stuffed to give it a stiffer, 3D effect. Truthfully, all I did was forget the interfacing, but the stuffing works just fine (I might actually like the way it looks more than if i did use interfacing...) The bows are sewn on the belt loops at the side.
Also, I didn't make my pants the conventional way, but more like... underwear with pant legs, because I didn't like the like the line in the middle of the pants.
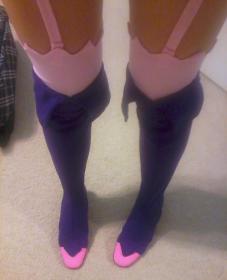
Socks: They aren't really actually socks, but more or less like little knee cap warmers HAHA. They are made out of the same t-shirt material, and the "lace" part was just a second layer sewn in, flipped over, and glued down. I made the garters the same way, but then I sewed that onto the pants! So now the pants, garter, and socks are all one part! It's kinda strange to put on, but very convenient because nothing will snap or slide off. Also, The heart detail is sewn/glued by the same way the cape buttons are.
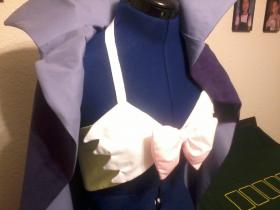
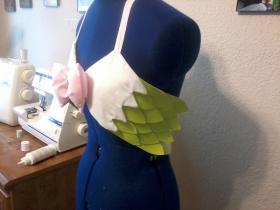
Top: First, I drafted the top with newspaper, then made a base out of simple cotton. The top has darts around the chest area for various reasons. (I still plan on taping the edges to myself tho; JUST IN CASE.) I created the white section with flat, stretchy white cotton and then whip stitched it onto the green part. I then connected the two pieces with the little pink bow (out of simple cotton) in the middle, and sewed on a white ribbon for the halter part. Finally, I spray painted vinyl and BOY WAS THAT A BAD IDEA. IT WAS STICK AND GROSS AND EW. So then I just cut out scale shapes and sewed those onto the base under the white area (the "lace part" wasn't sewn down). I layered and cut and had colors stuck on me, but I finished eventually. Finally, in a moment of brilliance, I painted over the scales with MODGE PODGE AND FINALLY THEY STOPPED BEING STICKY WHY DIDN'T I DO THAT FIRST. It was great. Oh, then I painted the designs on the lace with puff paint HAHA.
Also, I found out that the top fit my mannequin so perfectly around the chest that I didn't fit me, because... that area is larger than me. HAHA. So I fixed that by just taking in a bit at the ends, added eyelets, got white ribbon, and TADA! It's done!
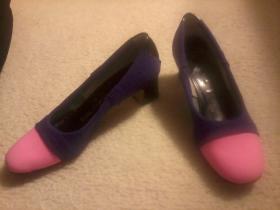
Shoes: MY FIRST PAIR OF ACTUAL BOOTS (Unlike Lucina, who was shoe base then socks to LOOK like boots). I got black pumps, painted the toes pink, and then covered them with purple t-shirt fabric, then created a boot cover like thing but with the front design on the bottom (and not the shoe base, I know that sounds confusing, but I have pics so yeah) Then I just pieced everything together like I did with my Lucina shoe, and added the top flaps and then elastic. Truthfully, I wish I made the boots longer, but being the frugal girl i am, I got lazy and made them lower... : ( Oh well. Anyway, the lighter purple edge is just painted on, because I'm stupid and accidentally bought glow in the dark paint, the edges glow in the dark HAHA! Anyway, after finishing the top part, I carefully glued it onto the shoe base white wearing the shoe. Be careful because I burned myself. Finally, the lighter purple part on the toe is actually another painted acrylic gem, then glued on.
Belt buckles: Foam board and craft foam and spackle baby. That's all it is. Spray paint and things. I tried carving the designs, but accidentally filled them in with spackle. OH WELL. They will be looped through the belt pieces (which are just white vinyl) and taped on to ensure them not to slip off. That's all.
Gloves: Made glove patterns with two types of fabric, then added an end piece to be folded out. Painted edges with same purple glow paint and purple puff paint (same technique as shoes). - Personal Thoughts:
- This is a strange costume HOPEFULLY IT WILL BE FINISHED AND FUN TO WEAR. SO SCANDALOUS.
Getting in shape yeah.
Edit~ This cosplay is getting super fun LOL BUT SO TEDIOUS I HATE GLOVES SO MUCH OMG
v2 - Never mind it wasn't as bad now that I understand why it went wrong the first time haha.
WHAT A GREAT COSTUME TO WEAR DURING THE WINTER TIME!! (sarcasm)
EDIT* FINALLY WEARING THIS WHEN THE WEATHER IS APPROPRIATE
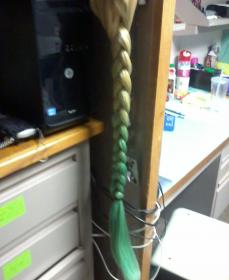
Wig Details
- How was the wig colored?
- Sharpie Spray Dye
- Styling Notes
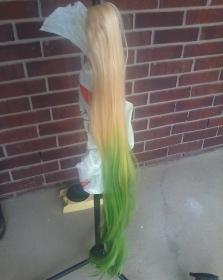
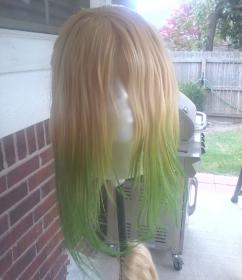
- I gradient dyed that thing with the help of my mic stand and a plastic bag. Just go for it. I accidentally washed it a bit too early, so the dye kinda got lighter, but now it's a pretty sea foam green YUM. Edit. JK I LIED BE SURE TO WASH YOUR WIG VERY CAREFULLY BECAUSE THE DYE WENT ALL OVER MY COSTUME BAHAHAHAHAHA sad day.
- Wig Review
- I will never take out a jeannie from the base without knowing how to put it back in. Never again. But I got it figured out in the end! By myself... Sorta.
Add a Comment

-
 413883 VisitorsAcy's Pick: 05/2018
 -
- Cosplayer Info
- Costumes Worn
- Costumes Made
- Props
- Wigs
- Favorites
- Convention History


Sorry, you must be a registered user of and logged in to view and add comments. Either log in or register now!