- Most Recent Photo
- 06-18-2015
- Series
- Avatar: The Last Airbender
- Character
- Katara
- Special Variation:
- The Promise/ The Search
- Year Completed:
- 2013
- Construction Difficulty:
- Normal
- Costume worn at:
- Anime Expo 2013
- Anime LA 2015
- Anime LA 2014
- Comic-Con / San Diego Comic Con International 2014
- Comic-Con / San Diego Comic Con International 2013
- FanimeCon 2014
- Construction Details:
-
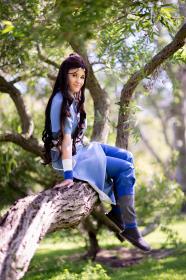
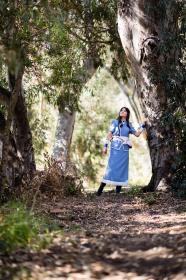
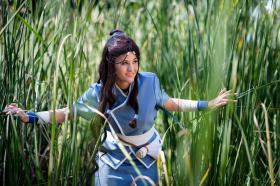
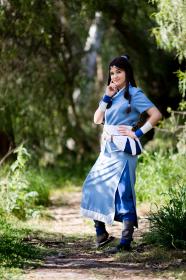
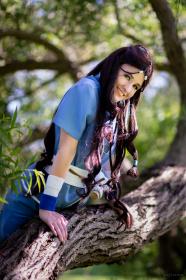
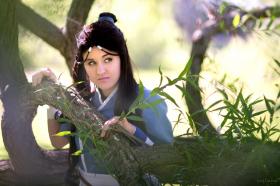
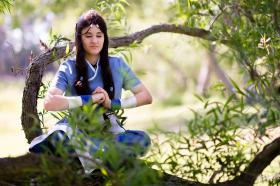
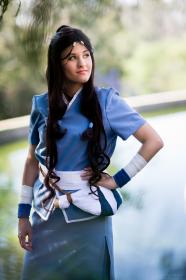
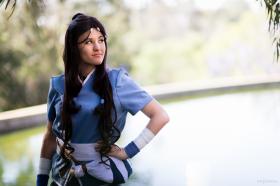
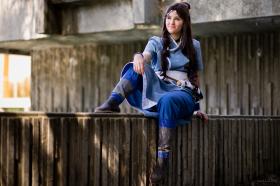
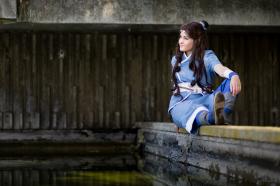
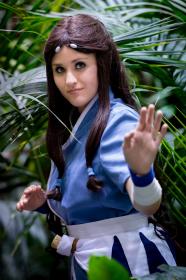
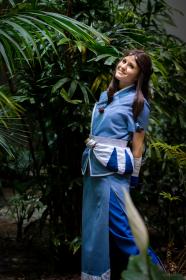
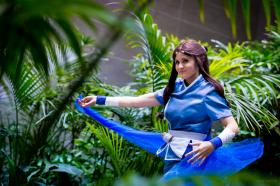
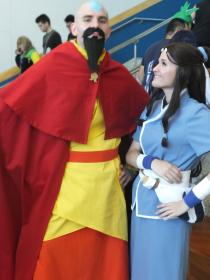
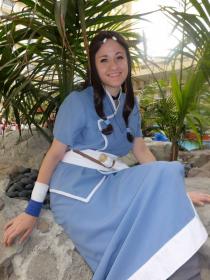
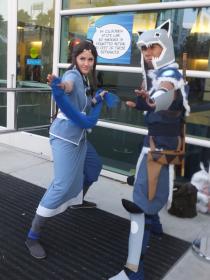
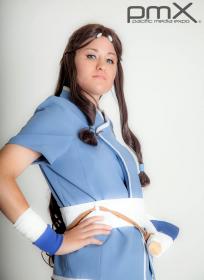
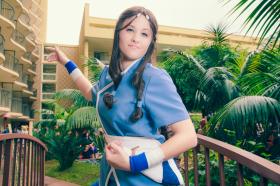
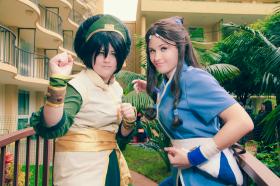
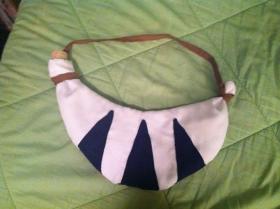
The skirt, top, and pants are made out of a polyester. The top for Katara was the hardest part to make. I can't remember what pattern I used, but my mom and me flipped a Chinese top pattern because the collar was going the wrong direction! We then patterned it out and made a mock up. The white is bias tape. The skirt was made with Simplicity pattern 4552. We just added the split and decoration. The pants were made with a typical pants pattern and they have elastic in the ankles. The wrist bands and the leg covers are made out of stretch fabric. I patterned out a half moon shape for the water pouch and sewed the blue triangles on top before sewing the pieces together. A cork was added to the end. There is a belt hoop on the waist sash for the rope to slide through. However I also safety pin the pouch to me since it fell off once!
- Personal Thoughts:
- I really like this costume! :)
- Wig Brand
- Epic Cosplay
- Wig Name
- Hera 38" Wavy
- Original Color:
- Dark Brown
- Styling Time
- 4 hours
- Wig Quality Rating
- 5 / 5.00
- Styling Notes
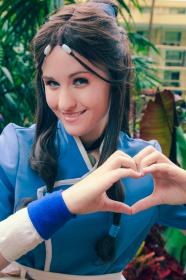
I used a Hera in Dark Brown for Katara. Basically I separated the hair i wanted for the sides and what I wanted to pull back into the bun first.
For the bun, with the help of bobby pins, I rolled the hair up (took a few attempts) into a nice roll and then used many bobby pins to keep it up and nice.
Afterwards I pulled the long bangs to the sides and put them into little hair ties. I used these ties to help me securely pin the long bands around the bun so that it looks like the side hair is part of the bun. I topped the bun off with a hair tie I made with some of the fabric from my top. The hair tie has velcro on it so it can be put on without messing up the bun. I have a bobby pin holding onto it so it doesn't fly off.
I had kept a tiny bit of hair for Katara's "hair loopies" in the front. I put small black rubber bands on them and pushed some beads onto them. The rubber bands make sure the bead does not slide down. Then I pinned the "loopies" into the sides.
For the side pieces that go with the main part of the hair I took some black rubber bands and tied one on each side about 3 inches above the end of the hair. I then folded the hair up (so I have a little loop) and tied another rubber band next to where the first one is. And put another one on top of that. This is so that the hair bands I made will not slide off and will cover the rubber bands. I had to attach the hair ties by hand sewing the sides of them together over the hair. They are not detachable unless I want to open them up and sew them back on again.
- Wig Review
- I really like Epic wigs. I like how they are easier to detangle and shiney. This is one of my favorite wigs.
-
Photo 1
 0
0  492
492 -
Photo 2
 0
0  391
391 -
Photo 3
 0
0  360
360 -
Photo 4
 0
0  372
372 -
Photo 5
 0
0  392
392 -
Photo 6
 0
0  348
348 -
Photo 7
 0
0  334
334 -
Photo 8
 0
0  459
459 -
Photo 9
 0
0  396
396 -
Photo 10
 0
0  368
368 -
Photo 11
 0
0  344
344 -
Photo 12
 0
0  401
401 -
Photo 13
 0
0  482
482 -
Photo 14
 0
0  546
546 -
Photo 15
 0
0  456
456 -
Photo 16
 0
0  421
421 -
Photo 17
 0
0  376
376 -
Photo 18
 0
0  484
484 -
Photo 19
 0
0  463
463 -
Photo 20
 0
0  347
347 -
Photo 21
 0
0  339
339 -
Photo 22
 0
0  363
363 -
Photo 23
 0
0  431
431




Sorry, you must be a registered user of and logged in to view and add comments. Either log in or register now!