ACParadise Network:
American Cosplay Paradise
American Cosplay Experience
American Cosplay Snapshots
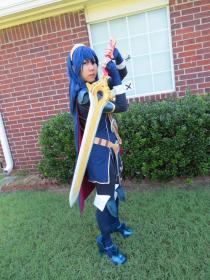
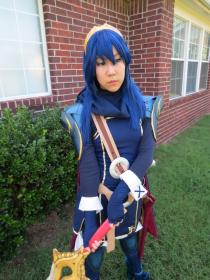
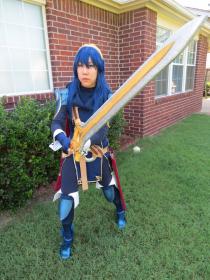
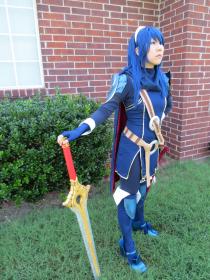
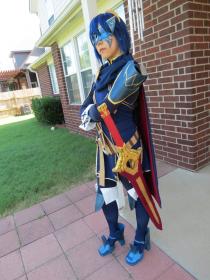
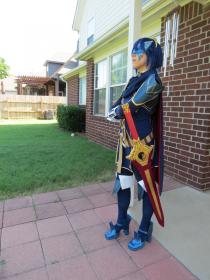
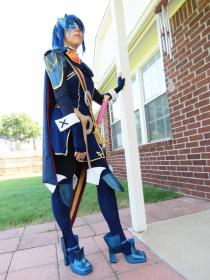
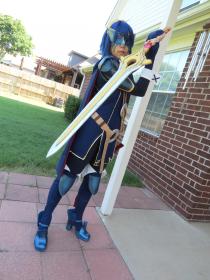
Cosplayer JieKi > Costume of Lucina (Fire Emblem: Awakening)
- Most Recent Photo
- 06-03-2014
- Series
- Fire Emblem: Awakening
- Character
- Lucina
- Year Completed:
- 2013
- Construction Difficulty:
- Very Difficult
- Awards
- TnT 2013 - Rising Star Beginner
- Costume worn at:
- A-Kon 2014
- Tokyo in Tulsa 2013
About this Costume
- Construction Details:
-
Because this was such a fun costume I'm writing everything out I'm sorry. You can use this as reference though! if it's good enough... please credit me though! That would be nice...
~
Started off staring at reference pictures for about a month, drafting everything out, redrawing everything out. When it came to crunch time I first drew the patterns on newspaper (because I'm cheap and make my own patterns! HAHA!) then I just winged it. Literally.
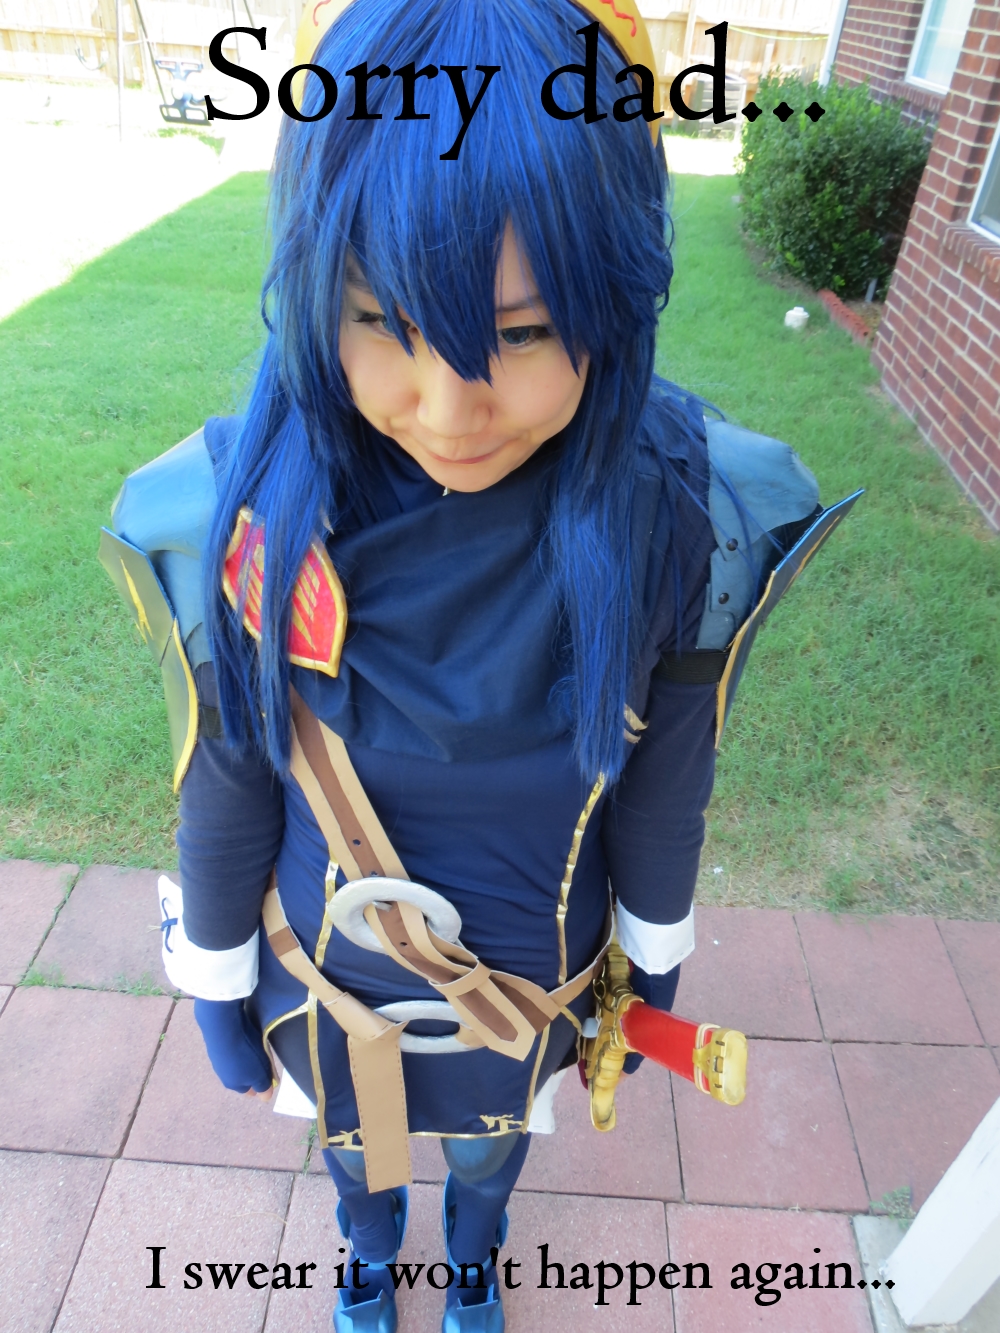
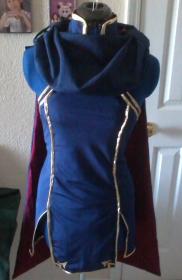
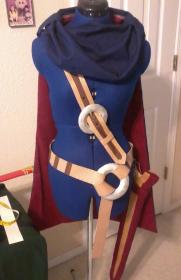
Dress: Slapped weird pattern together. First made the general outline with three front pieces all bordered with gold bias tape (first time using it so it was a pretty bad job...). Then sewed those pieces together to get the front side. Back side was pretty self explanatory. Added strange blue border piece with more gold bias tape. Sewed that sucker on. Did not add collar and back until the end because I was lazy. Also winged that too. DONE.
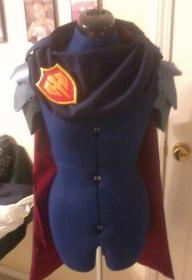
Cape: First thing I sewed because I like to start making things that confuse me first (to get that out of the way) I laid out a few ideas but did not like any of them, but then I had an epiphany and everything worked out. The front is a scrunched up rectangle piece sewn on sideways onto a bigger rectangle with another strange round piece in the back... I'll put up pictures for this to make more sense... added in ring things last.
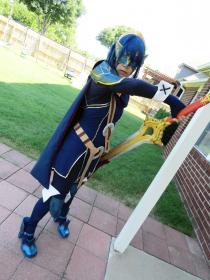
Mask, Crown, Brooch: I lied this was the first thing I made (for the same reason as the cape) I've never used craft foam before, so I experimented and all that jazz. Did the heat warping with an iron : ). The mask started out as two pieces, and is (sadly) based on the mask from the first concept art of Lucina that came out... so it is not accurate with the in-game model (however, I like the way mine came out anyway (more like too lazy to remake it). Crown is craft foam on a headband. Brooch is clay! (Surprise! Never worked with that either!) It has two pins sewn on to felt then glued on HAHA.
Belt: Vinyl is something I've worked with once, so I knew that I cannot run it through my sewing machine because it's too ghetto. So I hand stitched everything plus a little help from friendly old hot glue. Simple belt pattern, layering goes vinyl on top, then basic cotton brown on bottom. Buckles and weird big belt thing were foam board, and wire and clay was used for the actual buckle part (and it actually works! But it's really ghetto). The holes in the belt were made by cutting holes in it, then glueing the extra fabric behind and around the hole, then gluing tiny square vinyls behind them for support. I added two rings on the side and back for the sword holder thingy--which was cardboard with fabric on top and rings and clips to clip them into the belt! So this way I can take off the sword if I wanted to! Fun fun.
Sword: FIRST WEAPON I'VE EVER MADE YEAHHHHH. Made it also pretty early in the whole process for similar reasons as above. Foam board, a layer of useless paint, spackle, spray paint, craft foam, and normal acrylic paint! I used some foam board weapon tutorials online, but was too ghetto to follow instructions when it called for gesso (because at the time, I did not know where to get it...) So I used spackle. I sanded like crazy, but not crazy enough because there are imperfections EVERYWHERE. oh well. I then made all the details with craft foam and I REALLY LOVE THE WAY IT TURNED OUT. Painted with acrylics blah blah blah.
Sword cover thing IDK: Wrapped the sword with paper, then took clipboard cardboard and cut out the general outline of the sword, taped it all together with duck tape, then literally hot glued red fabric around it. Then I just smashed some gold puffy paint onto the designs and colored it with gold acrylic. Took a brown marker to it to make it look like it was sewn. BAM!
Socks/Gloves: Pieced the socks together because it looked like her shoe things had designs on them, and I had no idea how to approach the problem so I started from scratch, added elastic around the top. Sewed on white with blue string, added that stiff stuff you use to hold things up... And that was that. For the gloves I traced my hands and just hand stitched that sucker. Added white around that too. Cheated and cut holes in the while parts to sew in the X's on the gloves. The gloves are nice because the white part (which isn't stretchy) isn't sewn on all the way to make sure you can slip them on anyway.
Shoes: FINALLY WENT THRIFT SHOPPING FOR THESE SHOES!! First pair of shoes ever made from "scratch" too! I first painted the heel, bottom, and strap with blue and black fabric paint. Then I drafted another pattern of the weird shoe parts with paper and masking tape. Afterwards I cut them out from craft foam, ironed them for shape, then did the glue paint thing. Last I just glued the pieces on. Oh, the back heel detail was made with 3d puffy paint, then painted over.I then took another marker and drew in stithed lines around the shoe part... because the concept art called for it.
I think that's all! It was a super hard project, but a super fun one. 10/10 would do again. Somehow. HAH! - Personal Thoughts:
- BEST THING SINCE... I don't even know. This was a huge experiment spanning from the time Fire Emblem was first announced until July 12, 2013.... It was fun. So fun. To work on EVERY SINGLE PART OF THE COSTUME.
It was a huge project of "first times"... You understand right?
Although it's super hot to wear (perfect winter cosplay!) it is def way way way too hot for summer... OH WELL IT'S WORTH IT.
~I WON SOMETHING! AHHHH!!
Wig Details
- Wig Brand
- Cosplay-Wig
- Wig Name
- 58 cm Long Straight
- Original Color:
- Blue + Black
- Styling Time
- 2+ hours
- Styling Notes
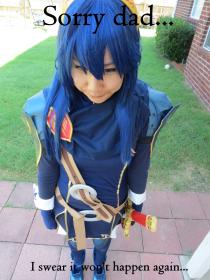
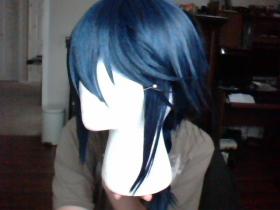
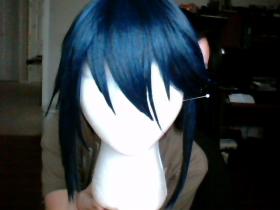
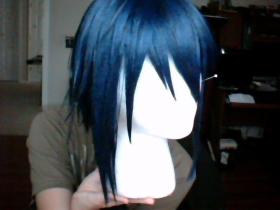
- Wig: Dude I had no idea what I was doing. I've never cut hair in my life. So I winged it by first just attempting to draw steps out for me, but failing, so I just used a short wig as reference and cut in "layers". I suck at life. Hairspray and Spiking glue later, I got this.
- Wig Review
- It was pretty before I did anything to it. HAHA!
Add a Comment




Sorry, you must be a registered user of and logged in to view and add comments. Either log in or register now!