ACParadise Network:
American Cosplay Paradise
American Cosplay Experience
American Cosplay Snapshots
Cosplayer Seifer-sama > Costume of Lina Inverse (Slayers Next)
- Most Recent Photo
- 06-06-2014
- Series
- Slayers Next
- Character
- Lina Inverse
- Year Completed:
- 2013
- Construction Difficulty:
- Costume worn at:
- FanimeCon 2014
- FanimeCon 2013
- Sac-Anime Summer 2012
About this Costume
- Construction Details:
-
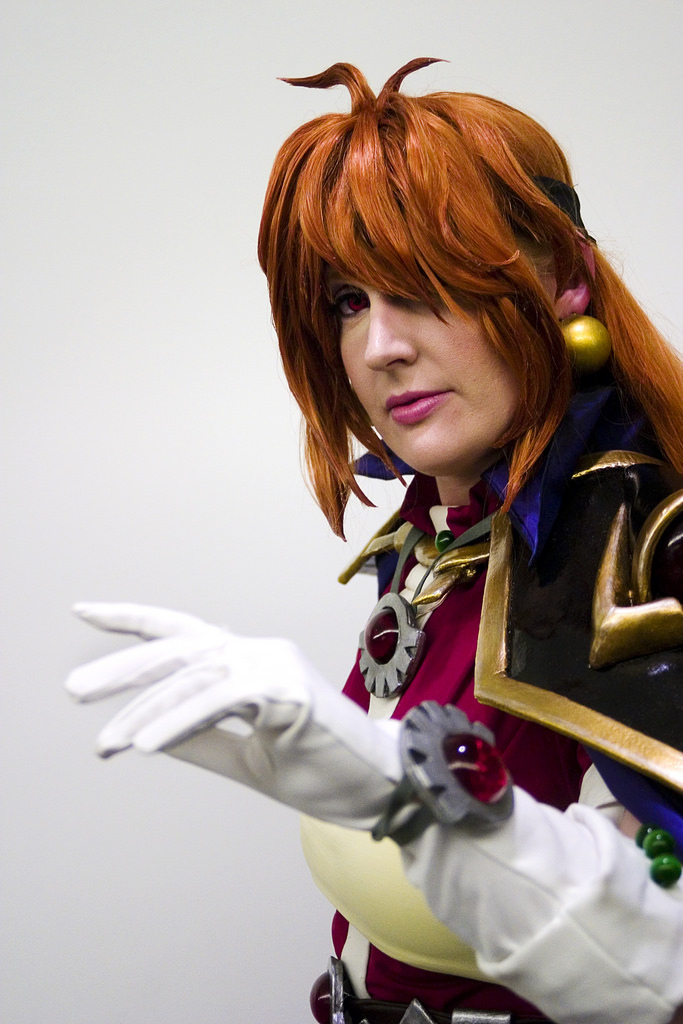
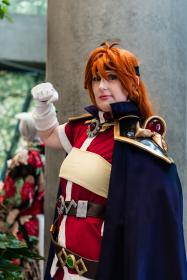
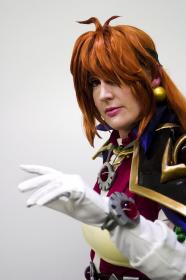
The tunic and pants are a spandex I found from an online store. I absolutely love the color, it's perfect! The gloves, boots, and white detail on the shirt are a moleskin. I cannot believe how expensive white moleskin is... but I wanted to use it for the gloves and boots, so I forked over the money anyway. The cape, omg I love the cape, is a purple black taffeta for the outside (of course) and a purple lining. The bikini is just a cream yellow knit. The headband is a black spandex and was probably the easiest part of the costume. The earrings are painted ping pong balls.
Now for the remade pieces, originally I made suede belts, but they weren't holding up as well as I wanted, so I remade them with a brown vinyl fabric, which I like much better. The green beads were originally green resin, but I swapped out those for some huge cat's eye beads I found. It seemed perfect for Lina. The talismans are made of foam with some elastic straps to hold them in place. The resin gems on these babies do have LED lights in them, so expect a cool casting shot at some point. The rest of the armor pieces are all made out of wonderflex. Getting the shape right on the pauldrons was actually much easier the second time around.
I still need to make the dagger, I ran out of time before Fanime. I would also like to make a better cape setup. I had some issues with it sliding around under the armor. Other than that though, I am so pleased with this costume and I had such a blast wearing Lina!! - Personal Thoughts:
- Omg! I can't believe I am finally posting my Lina costume! I originally started her about a year and a half ago, finished her, wore her once, and sold part of it. The wig, belts, and armor pieces are all new!
Wig Details
- Styling Notes
- The wig was not as challenging as I thought it would be. I started with a long base wig from Arda and then added short wefts in the front to make the crazy bangs. Lots of Got2B Glued and Tacky Glue hold her together. The original wig was a straight wig, so I had to curl it myself using foam curlers and heat, which actually worked out really well.
Add a Comment


Sorry, you must be a registered user of and logged in to view and add comments. Either log in or register now!