ACParadise Network:
American Cosplay Paradise
American Cosplay Experience
American Cosplay Snapshots
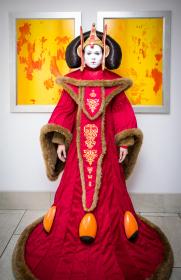
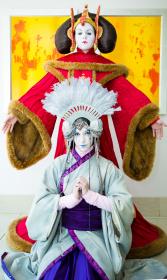
Cosplayer Tham > Costume of Queen Amidala (Star Wars Episode 1: The Phantom Menace)
- Most Recent Photo
- 02-18-2014
- Series
- Star Wars Episode 1: The Phantom Menace
- Character
- Queen Amidala
- Special Variation:
- Red Invasion Gown
- Year Completed:
- 2013
- Construction Difficulty:
- Very Difficult
- Costume worn at:
- Dragon*Con 2013
About this Costume
- Construction Details:
-
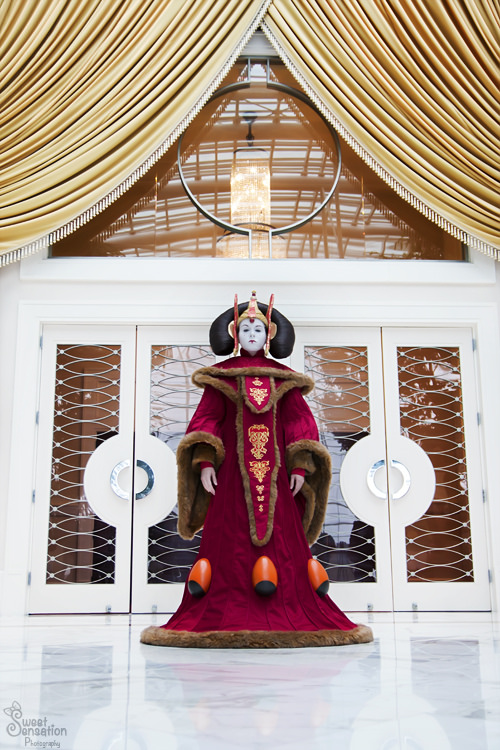
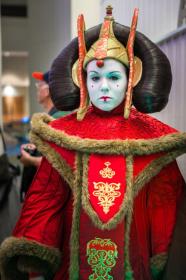
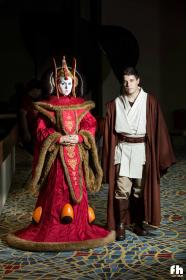
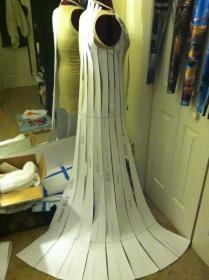
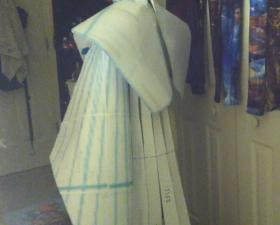
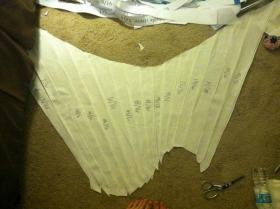
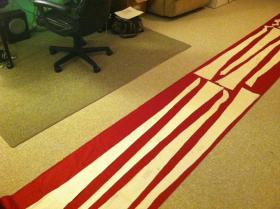
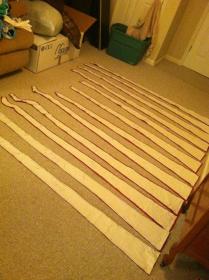
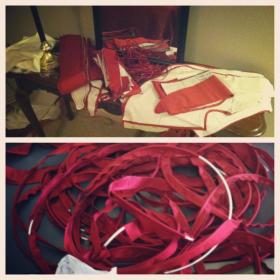
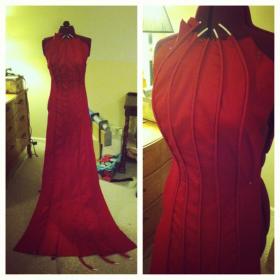
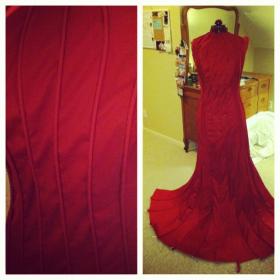
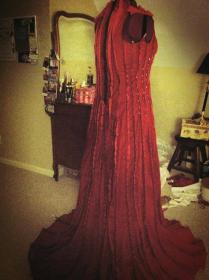
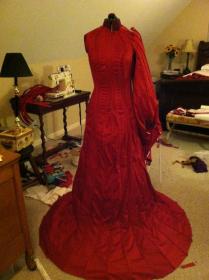
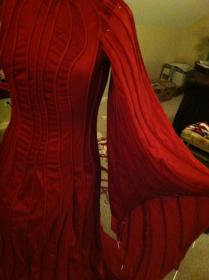
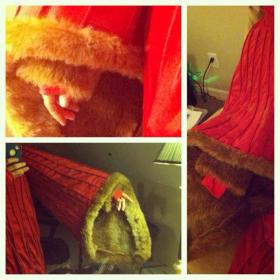
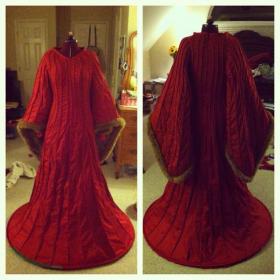
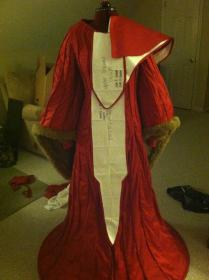
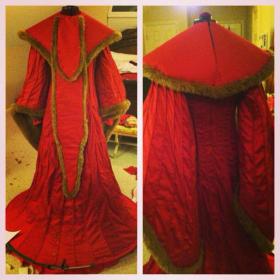
There is over 200 hours of work in this costume. Completely hand-drafted as well. The entire dress, piping, tabards, and collars are made from red stretch sateen. The piping is all hand made and totals over 100 yards. The entire costume is completely lined, included all 3 sleeves. Fur lines the sleeves and the trim of each collar, sleeve, and tabbard.
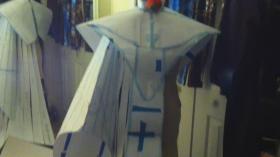
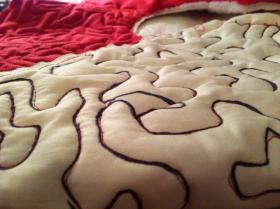
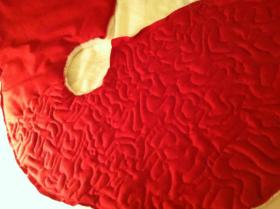
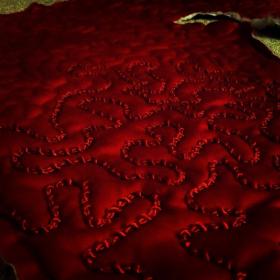
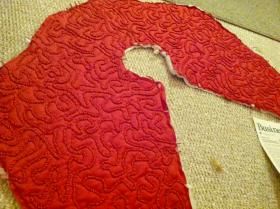
The top-most collar is stitched in a quilt-like fashion and contains 15 hours of hand-stitching the piping on top of the seams. The collars zip on and are all fully lined. The fur trim is hand-stitched on.
Hoop steel is at the bottom of the dress in order to hold the bell shape.
The LEDs in the eggs are push lights so that I can easily install the eggs and change batteries. The eggs attach via velcro.
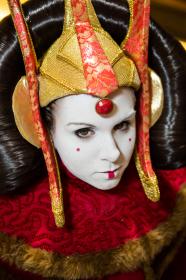
Makeup is Ben Nye Creme Colors in White. One .25 oz pot easily worked for 3 applications (makeup test, on-location shoot, and D*Con) and I could probably get 5-8 more out of it. Sealed with white Ben Nye sealing powder. The red details are Maybeline lip liner and lip stick. The lenses worn are from The Dolly Eye.I added eyeliner and mascara since it compliments my face better than leaving my eyes bare like Padme does in the movie. - Personal Thoughts:
- This was a total dream costume of mine since I saw the prequels. It took me 5 years to gather the courage to attempt it.
Wig Details
- Wig Brand
- Arda Wigs
- Wig Name
- Long Ponytail Clip
- Original Color:
- Spanish Brown
- Styling Time
- 20+ hours
- Wig Quality Rating
- 5 / 5.00
- Styling Notes
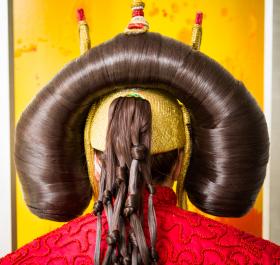
- So the wig listed is the pony tail clip, mostly because the long wefts weren't an option, but also because I used a long ponytail clip that went unnoticed for the most part, haha. I molded the structure of the haipiece out of styrofoam, upholstery foam, and healiner foam. A ton of hot glue was involved. Following the completion of the structure, I glued the small stitched part of the weft to the underside of the structure and used got2b hair gel to smooth it over. Using that gel helped prevent any possible flyaways from happening. I used 2 full packs of long wefts and could probably have used an entire second for perfect coverage (only one spot kind of showed, but I'm a perfectionist). The ponytail was gelled, tied in knots and tied off at the base of each knot. The headpiece is completely craft foam, foam core and spandex + lace. And hot glue/super glue. Oh and beads. Mainly on top. The hairpiece is hotglued in place. I use a spandex strap to hold it on my head, though it's tight enough to not need it.
- Wig Review
- Loved the headpiece once completed, just wish I made it a tad bit more loose around the ears. Days later and they're still sore. Also have 3 huge knots on my head that are still tender from 8 hours of wear, haha.
The wefts were smooth and easy to work with. Loved them! Should have ordered one more pack though.
Add a Comment







Sorry, you must be a registered user of and logged in to view and add comments. Either log in or register now!