

ACParadise Network:
American Cosplay Paradise
American Cosplay Experience
American Cosplay Snapshots
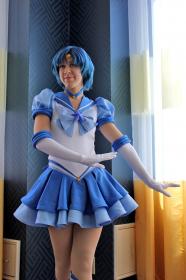
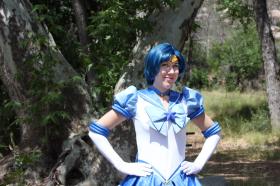
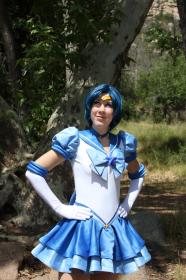
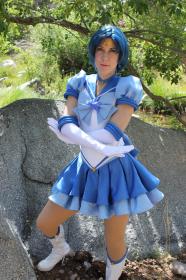
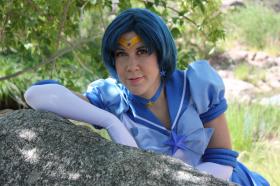
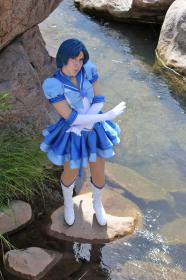
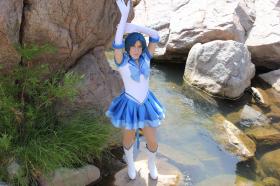
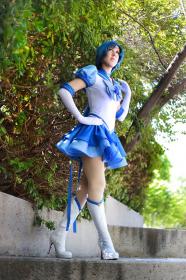
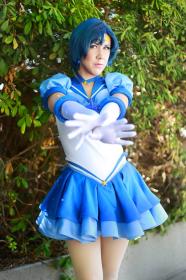
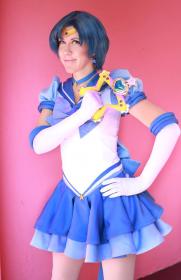
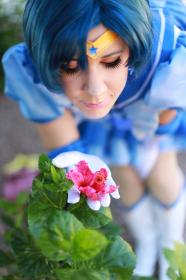
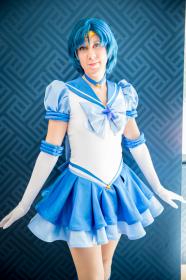
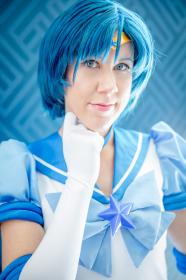
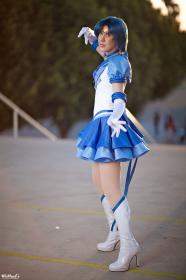
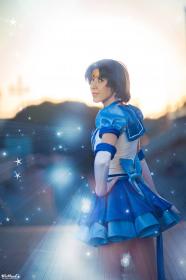
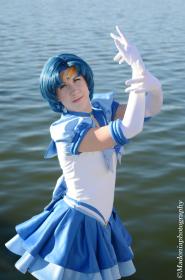
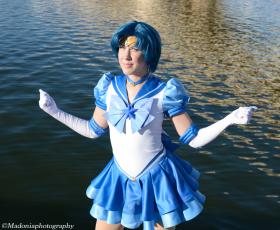
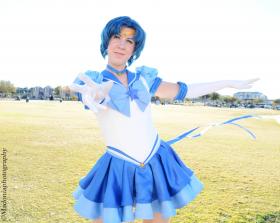
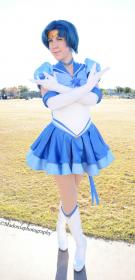
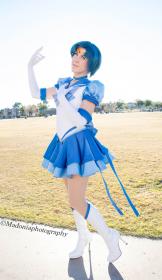
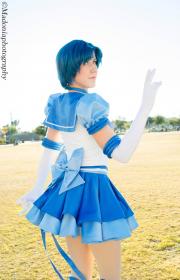
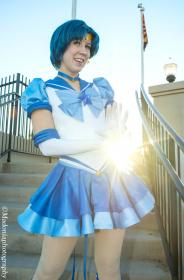
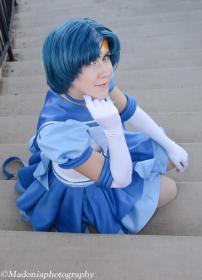
Cosplayer NyuNyu > Costume of Eternal Sailor Mercury (Sailor Moon Sailor Stars)
- Most Recent Photo
- 02-06-2016
- Series
- Sailor Moon Sailor Stars
- Character
- Eternal Sailor Mercury
- Year Completed:
- 2013
- Construction Difficulty:
- Difficult
- Costume worn at:
- Anime Expo 2014
- FanimeCon 2013
- Saboten-Con 2013
About this Costume
- Construction Details:
-
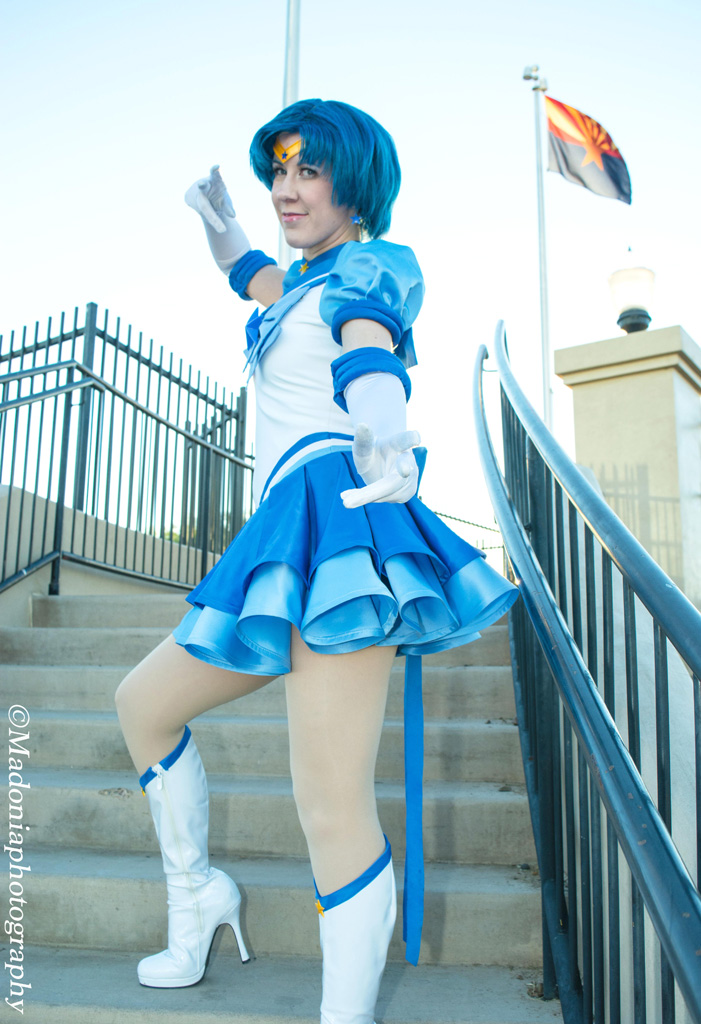
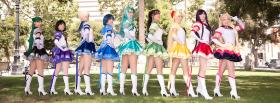
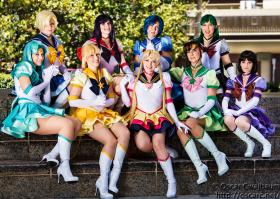
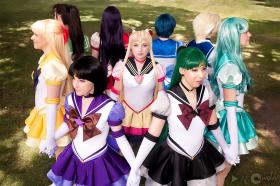
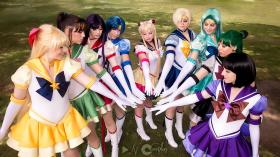
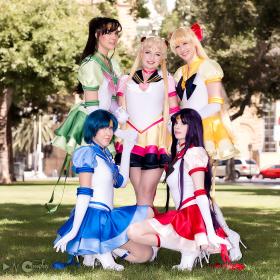
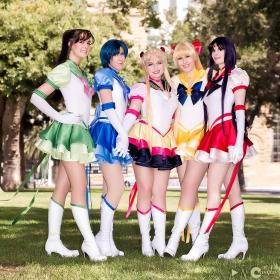
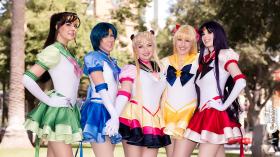
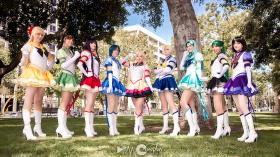
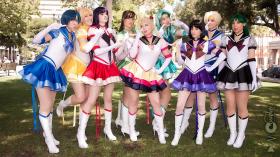
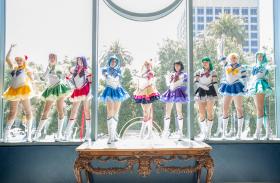
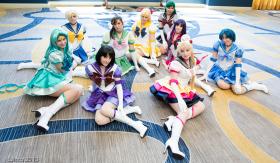
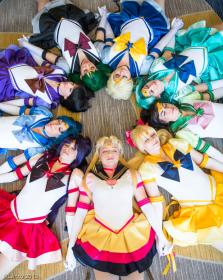
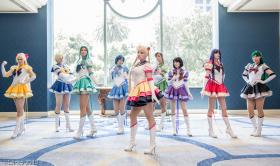
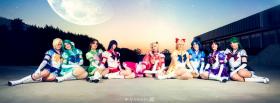
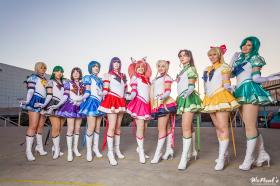
Where to start - this was a big coordinated group effort, although each girl primarily made her own costume.
I am only rating this a 4 because of the skirt. Nothing else was too bad.
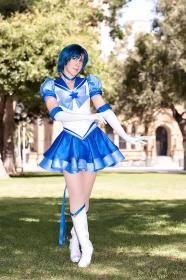
The main leotard was made from some cheap 4-way stretch spandex and a super super modified Green Pepper ice skating pattern. I added side seams to fit better and changed the neckline to accommodate the sailor collar. All the blues were Casa Satin, with the darker blue being the lighter blue custom dyed with iDye Poly. What a mess! But I finally acheived my desired color.
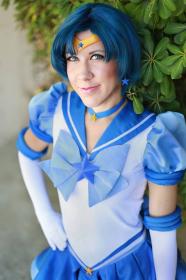
I drafted the patterns for the collar, sleeves, and bows and the group used those. The collar just snaps on over the leotard. The little puff sleeves make me so happy! They are flat lined on the inside with tulle to keep them soft but keep their shape. The bands are tubes of satin, cut on the bias, and then stuffed with piping filler. The same thing goes on the gloves. The gloves were from We Love Colors, and I totally recommend them! Super nice quality and totally worth the price.
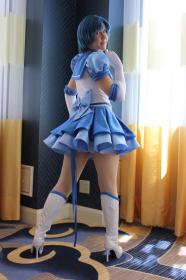
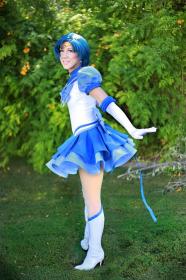
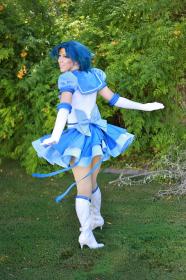
THE SKIRT. Here is the real beast. Our Venus, SparklePipsi, is the mastermind behind this one. It's a pleated circle skirt that is essentially two circle skirts x 2 tiers. So much ruffle! I did multiple mockups and actually made real fabric skirts twice because I had so many issues with it. Math goes out the window as the fabric wants to stretch on the bias. The bottom is hemmed with horsehair braid to give it that shape.
The stripes on the waist were also made from the same blue satins. I cut them on the bias, used the pattern that SparklePipsi made, interfaced all the pieces so they wouldn't stretch out, and sewed them in. Then I ripped out the interfacing, to give the pieces as much stretch as possible. It's still a little tricky to wiggle the suit off.
All the stars as well as the tiaras were cast by our Moon, WindoftheStars. Aren't they pretty?
The boots: All the girls ordered the same model of boot in their size and modified the tops. To do this, you have to cut the zipper, so make sure to do a buttonhole stitch on top of the zipper pull so it doesn't fall off! I cut the V into the boot, and then basically created bias tape out of the blue fabric and sewed it on as you would bias tape.
The bows were again, my pattern - they are 4 separate pieces to really create the manga appearance. Heavy interfacing helps with these, but I like to attach pin backs in the center and sides to make sure they stay in place. The choker and tails in the back were done the same way: by double backing fabric using Heat 'N Bond. It doesn't fray, and I couldn't find ribbon in the right color anyway - DIY matching ribbon! Tip: use fashion tape to secure it to your neck! SM chokers like to slide around. - Personal Thoughts:
- Daydreamer Nessa invited me in to this group for Fanime 2013. It was amazing to have all 9 senshi together with coordinated costumes!
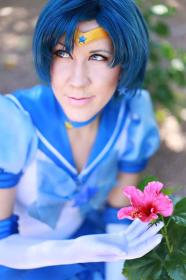
Wig Details
- Styling Notes
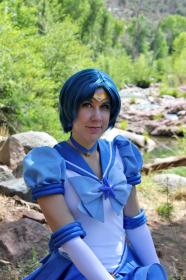
- This was a pretty easy one- I reparted the wig and curled the bangs under a bit. It needed a little more fluff and curl overall, but nothing major. I considered dying it, but the blend actually looks really nice and doesn't clash with my fuku.
- Wig Review
- This wig is a good quality heat resistant wig, but was harder to style even with the hottest tools I have. The blend does have some green in it, but it looks nice! It's got a small skin top in the front.
Add a Comment
Photos
-
Photo 1
 0
0  722
722 -
Photo 2
 1 1592
 -
Photo 3
 3 1166
 -
Photo 4
 0 1069
 -
Photo 5
 0 967
0 967 -
Photo 6
 0 1194
 -
Photo 7
 0 829
0 829 -
Photo 8
 0 764
0 764 -
Photo 9
 0 868
0 868 -
Photo 10
 1 799
1 799 -
Photo 11
 0 683
0 683 -
Photo 12
 0 1154
 -
Photo 13
 0 724
0 724 -
Photo 14
 0 717
0 717 -
Photo 15
 0 695
0 695 -
Photo 16
 0 637
0 637 -
Photo 17
 0 536
0 536 -
Photo 18
 0 681
0 681 -
Photo 19
 0 625
0 625 -
Photo 20
 0 740
0 740 -
Photo 21
 0 633
0 633 -
Photo 22
 0 745
0 745 -
Photo 23
 1 696
1 696 -
Photo 24
 0 671
0 671 -
Photo 25
 0 640
0 640 -
Photo 26
 0 735
0 735 -
Photo 27
 0 670
0 670 -
Photo 28
 1 641
1 641 -
Photo 29
 0 509
0 509 -
Photo 30
 0 751
0 751 -
Photo 31
 0 690
0 690 -
Photo 32
 0 596
0 596 -
Photo 33
 0 991
0 991 -
Photo 34
 0 518
0 518 -
Photo 35
 0 456
0 456 -
Photo 36
 0 529
0 529 -
Photo 37
 0 901
0 901 -
Photo 38
 0 1310
 -
Photo 39
 0 462
0 462 -
Photo 40
 0 357
0 357 -
Photo 41
 0 362
0 362 -
Photo 42
 0 423
0 423 -
Photo 43
 0 336
0 336 -
Photo 44
 0 352
0 352 -
Photo 45
 0 342
0 342 -
Photo 46
 0 378
0 378 -
Photo 47
 0 375
0 375 -
Photo 48
 0 387
0 387 -
Photo 49
 0 342
0 342 -
Photo 50
 0 833
0 833
-
 1659582 Visitors
 -
- Cosplayer Info
- Costumes Worn
- Costumes Made
- Props
- Wigs
- Items for Sale
- Favorites
- Videos
- Convention History


Sorry, you must be a registered user of and logged in to view and add comments. Either log in or register now!