ACParadise Network:
American Cosplay Paradise
American Cosplay Experience
American Cosplay Snapshots
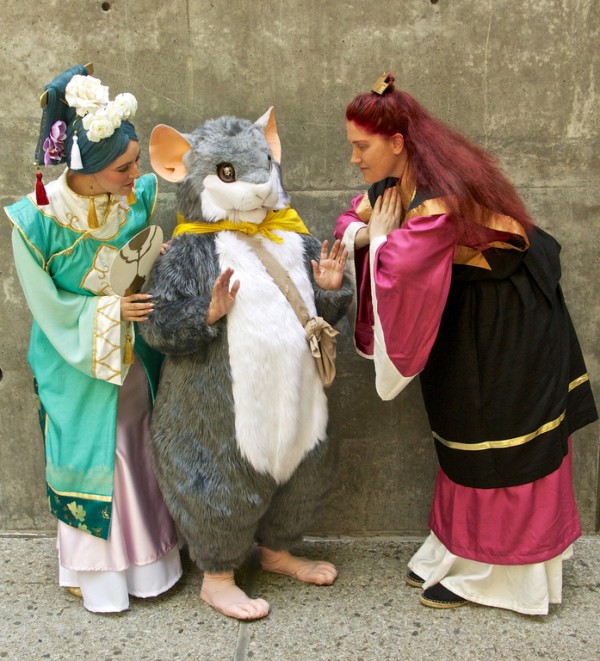
Cosplayer Lady Tenkage > Costume of Shoukei (Twelve Kingdoms)
- Most Recent Photo
- 04-02-2013
- Series
- Twelve Kingdoms
- Character
- Shoukei
- Special Variation:
- Princess of Hou
- Year Completed:
- 2012
- Construction Difficulty:
- Difficult
- Awards
- NDK 2012 Cosplay Director's Choice
- Costume worn at:
- Nan Desu Kan 2012
About this Costume
- Construction Details:
-
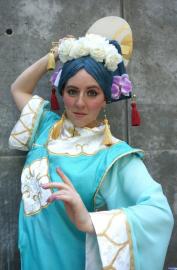
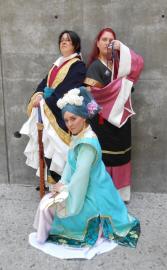
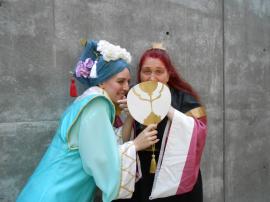
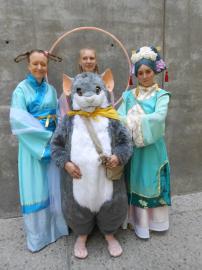
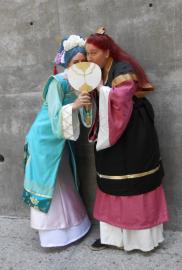
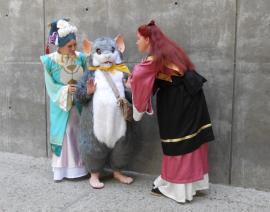
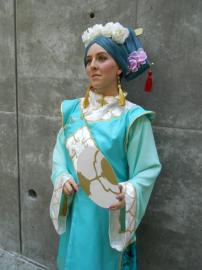
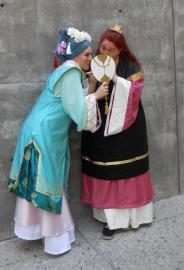
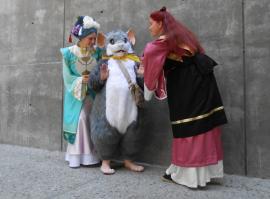
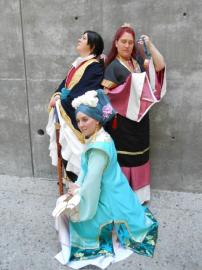
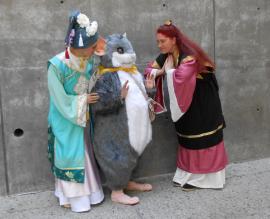
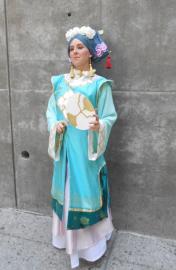
A lot went into making this. Starting with the patterns, everything had to be designed or modified. The fabrics I got at Joann's when they were having a sale on brocades. The top dress is a unique design, with dark green detailing on the bottom, white cloud designs around the neck in sakura brocade, and soft gold detailing trimming everything. I even made my own piping for this dress! There are metal frogs at the neck, and snaps concealed inside.
The inner shirt and skirt are fairly simple, and the jewelry was a bit tricky, since I had to figure out how to get my pins through those gold tassels. From there, I threw in a few small details, like long painted nails with decals, Shoukei's fan, and some gold flats for shoes.
On a side- note, I do have to mention that Shoukei was very warm, and was the first costume I have ever experienced heat exhaustion with. - Personal Thoughts:
- Shoukei was a secret project I made for Fanime 2012, and I am immensely pleased with how she came out. Fabrics and details combines to make what I think is one of my most beautiful costumes, yet. Plus, she really challenged my skills, and made me take up my abilities. I love this cosplay!
Wig Details
- Wig Brand
- Amphigory
- Wig Name
- Really Long
- Original Color:
- grey-blue
- Styling Time
- 40+ hours
- Wig Quality Rating
- 4 / 5.00
- How was the wig colored?
- None
- Styling Notes
- Shoukei's wig was a very unique experience. I made it out of two wigs, to begin. One I used as a base, and I created an interior anchoring piece out of friendly plastic that was quite heavy. I sewed in anchoring combs as well. The back piece is separate, originally made out of a card board cut-out, with grey-blue felt attached on. Then, I wrapped around lengths of hair from the second wig, securing them with hot glue. the gold piece at top is actually an incense stand, if you can believe it, and the gold ends are made out of rock candy sticks- a very sweet way to accessorize! More jeweled tassels were added on, and I put two spikes into the piece to push into the base on the main wig. I later learned that just holes in the anchoring base wasn't enough, and later bought two gold knitting pins, sawed them off, and stuck them into the friendly-plastic base for additional support. Turned out to be a great idea, recommended to me by my friend. From there, I selected a number for flowers to adorn the wig, starting with a large rose at the top. The attachment wig is adorned with a few lavender orchids, and then there are the four smaller roses, which are actually attached to a large clip I insert through the top of the wig for additional anchoring.
- Wig Review
- While lovely-looking, this wig still has some tweeks that need to be made. There's a glob of glue in the back that's plainly visible, and the cardboard sides of the back are also visible upon inspection. Still, not bad for my first heavy-duty wig project!
Add a Comment
Photos
-
Photo 1
 0
0  288
288 -
Photo 2
 0
0  296
296 -
Photo 3
 0
0  277
277 -
Photo 4
 0
0  232
232 -
Photo 5
 0
0  272
272 -
Photo 6
 0
0  242
242 -
Photo 7
 0
0  236
236 -
Photo 8
 0
0  257
257 -
Photo 9
 0
0  303
303 -
Photo 10
 0
0  274
274 -
Photo 11
 0
0  224
224 -
Photo 12
 0
0  287
287 -
Photo 13
 0
0  231
231 -
Photo 14
 0
0  227
227 -
Photo 15
 0
0  275
275 -
Photo 16
 0
0  294
294 -
Photo 17
 0
0  326
326 -
Photo 18
 0
0  259
259 -
Photo 19
 0
0  240
240 -
Photo 20
 0
0  244
244 -
Photo 21

 0
0  342
342




Sorry, you must be a registered user of and logged in to view and add comments. Either log in or register now!