ACParadise Network:
American Cosplay Paradise
American Cosplay Experience
American Cosplay Snapshots
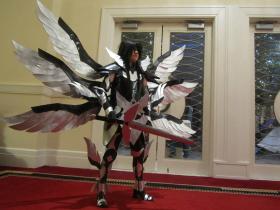
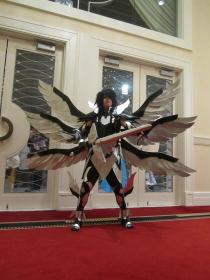
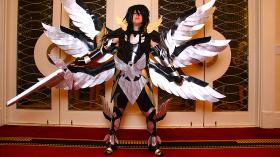
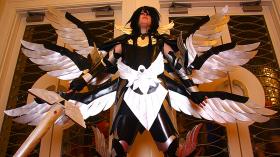
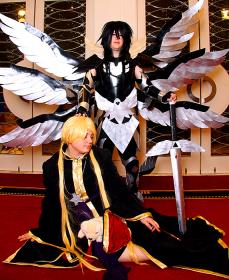
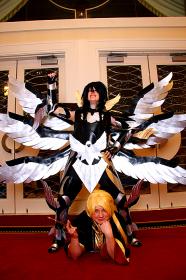
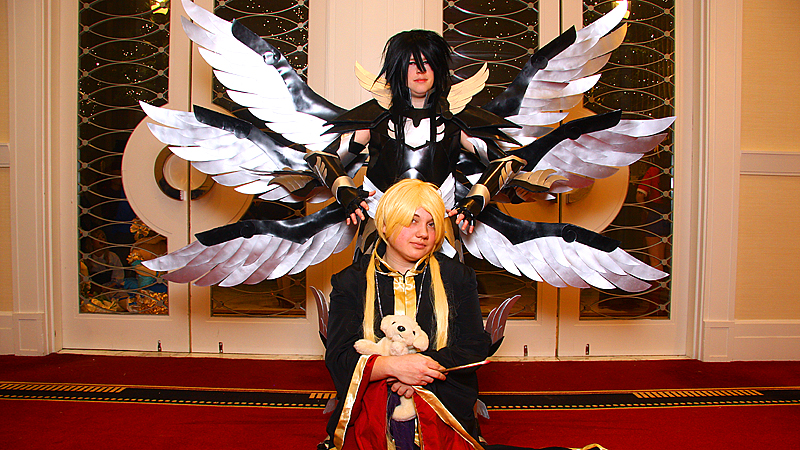
Cosplayer Lyn Hargreaves > Costume of Lord Hades (Saint Seiya)
- Most Recent Photo
- 02-27-2014
- Series
- Saint Seiya
- Character
- Lord Hades
- Year Completed:
- 2013
- Construction Difficulty:
- Very Difficult
- Awards
- Judge's award - Katsucon 2013 Hall Costume Contest
- Costume worn at:
- Katsucon 2014
- Katsucon 2013
About this Costume
- Construction Details:
-
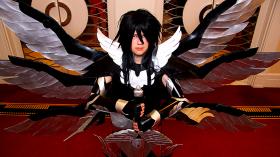
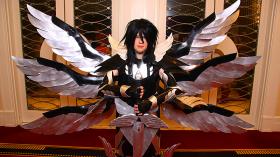
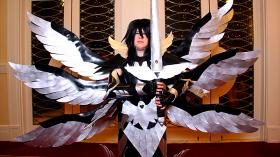
I basically spent over a year working on this thing though there were big breaks in the beginning where i just worked a little here and there. Spent most of the time just doing research on armor methods and materials and just playing with the plastic styrene to kinda learn its limitations. The bulk of the construction didn't really start until November & December of 2012 and then pretty much every day in Jan & Feb.
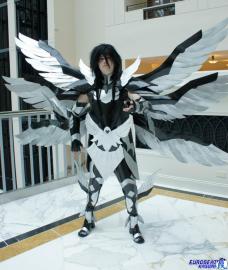
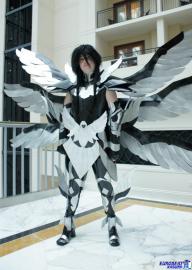
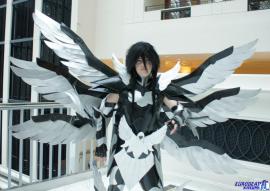
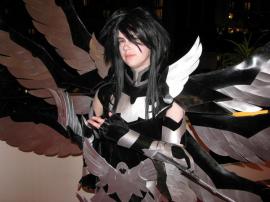
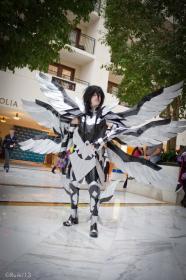
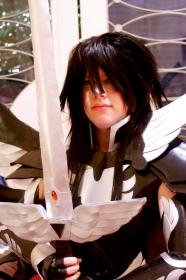
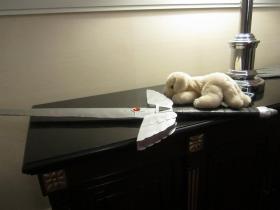
The armor itself is all made of craft foam as the base with plastic styrene on top. Every single piece was individually patterned out on paper first with the use of my Hades God Cloth figure (those things are amazing btw if you ever want to do Saint Seiya cosplay as you can get a better idea of how the pieces work together). The under shirt and pants were made of a thin stretch knit. The base of the gloves were also made of this fabric and then the armored fingers & knuckles were glued on.
The gauntlets were the first pieces I ever made on this and despite the fact they are a little top heavy and thus like to move out of position, they are one of my favorite parts. The wings on these pieces have wire in them to help keep their shape. They close easily with velcro. This same method was used for the upper arm pieces and the thigh pieces. The thigh pieces also have velcro on the inside which attaches to my pants in order to keep them from sliding down my legs. The knee pieces are attached to elastic so that I could still bend my legs when walking.
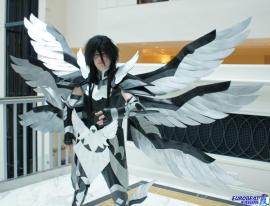
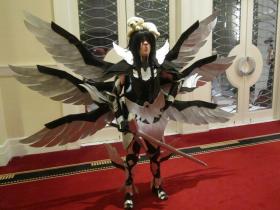
The feathers for all the wings and wing decals were all made individually and then glued together and attached to their respective bases. This was time consuming but resulted in the desired design I wanted.
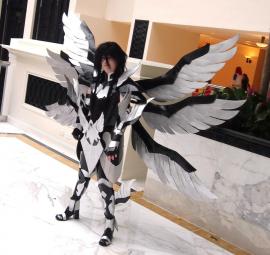
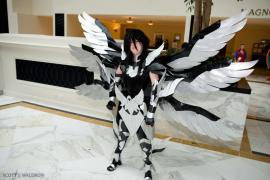
The boots were originally Go Go boots that I then attached the boot pieces to. The ankle wings were the most obnoxious to figure out since I had to figure out a design where I'd still be able to use the zipper on the boots. The larger wings on the boots are held up with wire that extends through the larger silver pieces on the boots themselves. Due to these pieces and the ankle pieces, these are by far the most fragile part of the costume unfortunately. But they are also my favorite.
The body armor all attaches with the use of various buckles. The shoulder pieces, hip pieces, etc all snap to the chest piece. The neck piece then slides in and has velcro on it to reinforce its position.
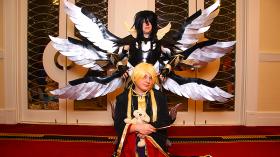
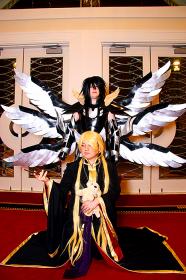
Then there are the wings... I decided early on that I needed to develop a system so that they could be easily attached/removed by my handlers so I wouldn't have to worry about trying to move and get into elevators with them on. So I have a backpiece made of wood which has six curved connectors bolted into it. There's a piece of foam underneath to prevent any of the bolts from digging into my armor/me. This was the most hardware I've ever dealt with on a project but my father helped me figure it out. XD I definitely feel a lot more knowledgeable about bolts and screws now at least. Then each wing has a piece of pvc pipe as its base and this slides into each connector. I had to sand the bottoms of each pipe to get them to the exact size for each connector and every wing is labeled so my handlers can now where to put each wing. Surprisingly enough they're a lot lighter than you would think. The wings themselves took the longest time to construct and the most plastic. I used up about 5 sheets of plastic styrene in the end, I believe. - Personal Thoughts:
- This has been my dream costume for...a very long time. Something that I've always really really wanted to make but never thought I'd have the skill to do it. Then a few years ago I made the joke that if the world is going to end in 2012, I should at least go out with a bang and finally make this thing. And well...didn't get it actually done until 2013 but at least the world didn't end? XD
But yeah, I have an insane amount of love for Saint Seiya and Hades is just bloody awesome and has the coolest design of the whole series. I honestly still don't think I do him justice but I'm happy I finally got the chance to live this dream. There's a lot I'm not happy with and I had some pieces fall off of me the first night I wore it which almost caused me to give up. I was also frustrated that I couldn't move well or do much poses and that I was limited in where I could stand at the con. But I forced myself to wear it again the next day and things went a lot better. I now know what I need to fix on it and how I can improve so I think this will be an ongoing costume for a while still.
Wig Details
- Wig Brand
- Arda Wigs
- Wig Name
- Jareth Long
- Wig Quality Rating
- 4 / 5.00
- Styling Notes
- Spiked the wig up a little bit more than I did for the LC version but didn't have enough time to do actual styling. I need to do some cutting in the future for this. Especially the bangs so they don't eat my face. XD
Add a Comment
Photos
-
Photo 1
 0
0  286
286 -
Photo 2
 0
0  509
509 -
Photo 3
 0
0  372
372 -
Photo 4
 0
0  348
348 -
Photo 5
 0
0  382
382 -
Photo 6
 0
0  403
403 -
Photo 7
 0
0  454
454 -
Photo 8
 0
0  363
363 -
Photo 9
 0
0  455
455 -
Photo 10
 0
0  311
311 -
Photo 11
 0
0  307
307 -
Photo 12
 0
0  267
267 -
Photo 13
 0
0  536
536 -
Photo 14
 0
0  336
336 -
Photo 15
 0
0  253
253 -
Photo 16
 0
0  308
308 -
Photo 17
 0
0  294
294 -
Photo 18
 0
0  296
296 -
Photo 19
 0
0  457
457 -
Photo 20
 0
0  285
285 -
Photo 21
 0
0  262
262 -
Photo 22
 0
0  304
304




Sorry, you must be a registered user of and logged in to view and add comments. Either log in or register now!