ACParadise Network:
American Cosplay Paradise
American Cosplay Experience
American Cosplay Snapshots
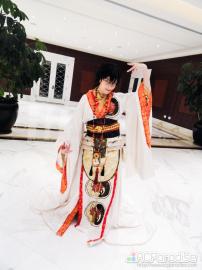
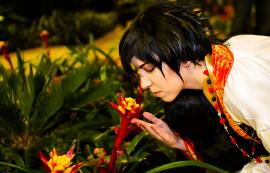
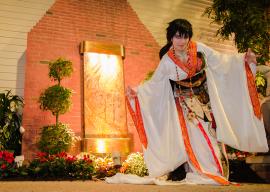
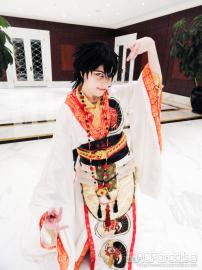
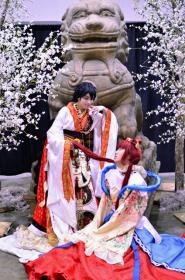
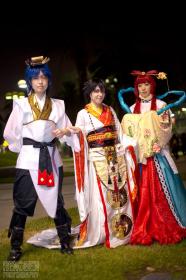
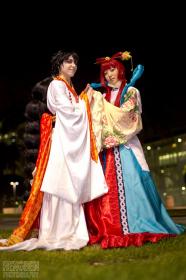
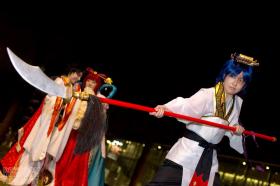
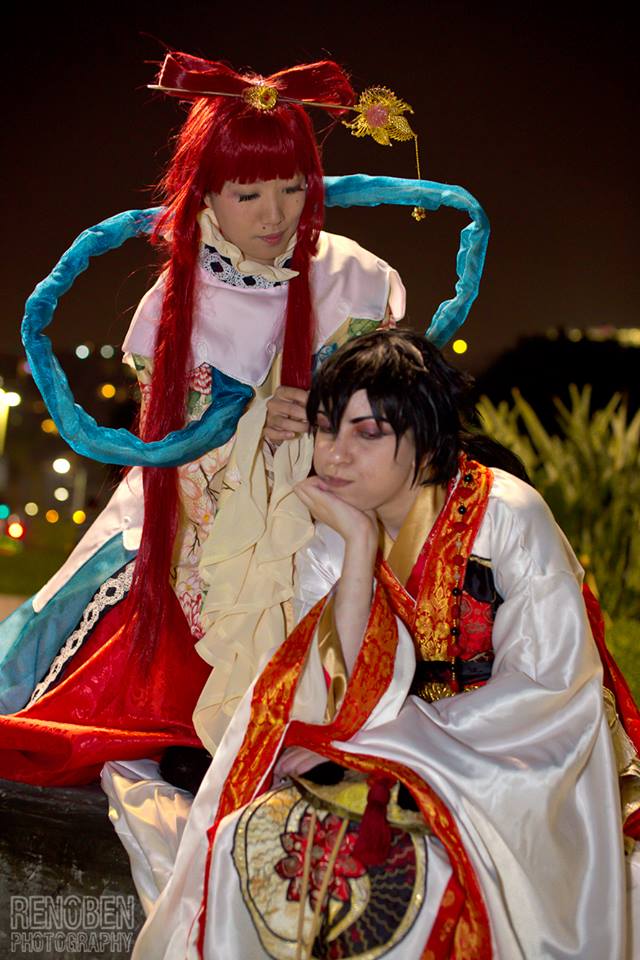
Cosplayer faecakes > Costume of Judar (Magi Labyrinth of Magic)
- Most Recent Photo
- 07-30-2013
- Series
- Magi Labyrinth of Magic
- Character
- Judar
- Special Variation:
- Ceremonial Outfit
- Year Completed:
- 2013
- Construction Difficulty:
- Difficult
- Awards
- Judge's Choice Craftsmanship KatsuCon 2013, Best Journeyman Craftsmanship KatsuCon 2013, Best in Show Kitsune Kon 2013, Best Master Sakura Con 2013
- Costume worn at:
- Anime Expo 2013
- Katsucon 2013
- Kitsune Kon 2013
- Sakura-con 2013
About this Costume
- Construction Details:
-
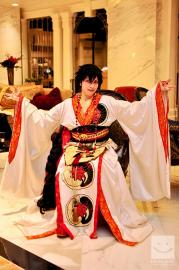
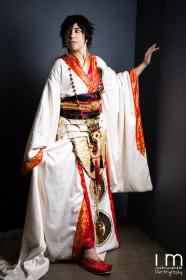
From inside out:
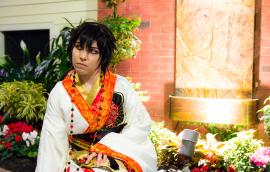
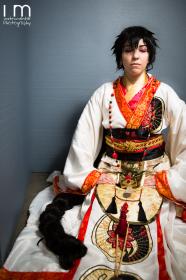
Inner Kimono: Inner Kimono is the basic Simplicity Kimono pattern with red and gold brocade and gold trim for the collar. I plan to redo it with a better brocade.
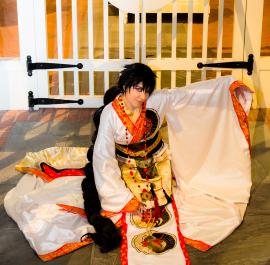
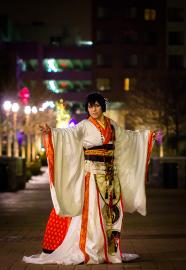
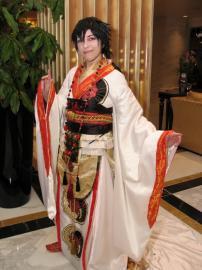
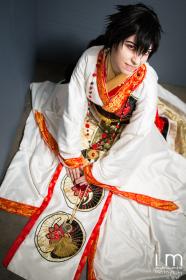
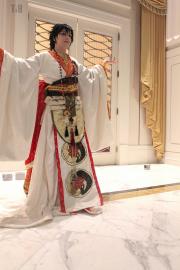
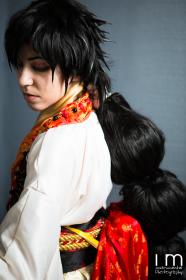
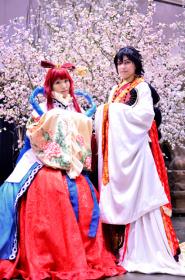
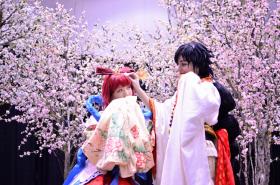
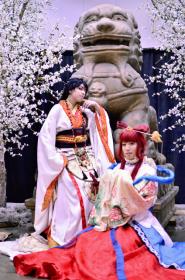
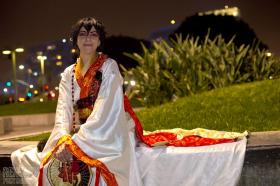
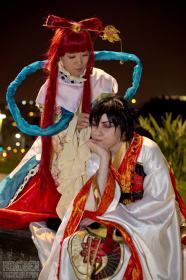
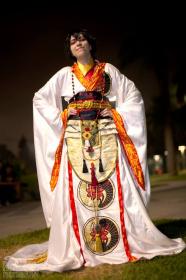
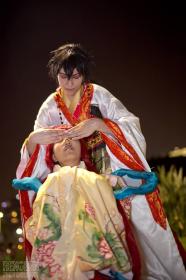
Base Kimono: Off-white stretch satin lined with muslin this kimono was created combining the simplicity kimono pattern and a McCall's wedding dress pattern. I also extended the sleeves both outward and downward to get that 'moe moe moe kawaii desu' appearance. I also extended the bottom so it matched with the train. I lined the edges with a custom trim I created that was a border CAREFULLY stripped from a Sari fabric and turned into its own border and stitched on with silk thread. I then embroidered the emblem on following the self-made pattern used later in the front panel with 3 different brocades and an interfacing for a stabilizer.
Front Panel: Other then the math involved trying to merge patterns on the base kimono this was the second most difficult part to make. I attached some remaining strips of the sari fabric I had cut out for my first attempt at making a the inner kimono. This created a cohesive border with what would later be the obi drape and the border around the kimono. Continuing using the stretch Satin (baaaad idea) I drafted the pattern for the circular designs on the outfit. While colouring my template to go by I noticed the design had a yin yang element with a center piece. Upon further examination I noticed what looked like fins as I was colouring and knowing the impact of koi I went with a yin and yang koi design with a star flower center. I stitched on the base gold and cream brocade first, then stitched in the fish, then embroidered it all with a satin stitch using black and gold silk thread. Then using a quilting stitch on my Machine I created the scales and fin lines. After which I stitched on the center star and embroidered it in place. I did this a total of 3 times.
Extra panels: The cream and green panels were pretty fast. I swapped fabrics so they were again cohesive, and I thought green would be a nice element to add in and give the outfit a bit more flavour. Making 3D borders was hard... :c Lining all the panels up I then decided to stitch on the trim in layers on the cream panel. After words all the frontal panels were stitched together and attached onto the obi with a final grueling machine stitching. Later I beaded it all with red oriental beads, onyx, coral, coins, bamboo, tassels, and agate stone.
Obi: The Obi was pretty simple, using the same black brocade I had used for the black koi and the red I had used in the embroidered center stars I stitched it on and then carefully knotted the gold cording double over. Once knotted I slipped the red and gold chord through and glued them down. I was not about to hand stitch all that chord and risk it looking yucky. I capped the cords with red and gold ribbon since there was no way it would go through my machine and then attached 4 skirt clasps onto the back to close it up.
Gold Skirting: Although it's hard to see in most of the photos there's a gold skirting beneath the obi drape that has the trim used in the front. I used the remaining gold brocade from the circular designs and folded them over in pleats with two levels. There is some trim hiding on the sides of Judar's outfit but because I couldn't get my hands on tassels that large or make it without having to revamp my other trim, I decided to create some panels to get a similar effect.
Pillow Support: Pillow support with a leaf embroidered on it for some fandom fun >w>
Obi Drape: Since my first attempt at the inner kimono didn't work out I turned it into my drape to cover the obi closing. I added on the black brocade used on the obi and koi to tie it all in, adding in the tassels for some extra beauty. I then pinned the sleeves together, sewing them closed and using the decretive pin to my advantage. It hangs on the pillow support with 3 extra large hooks.
Shoes: My first time making shoes! I used some thrift shoe sandals and ripped off the heals with a bread knife (YURGH :U) getting the shoes to curl up. I then stitched a triangular piece of felt together and hot glued it on to the tip for the pointed toe. I surged two tubes of red brocade I had used for the center star and obi for cohesiveness and glued it down and around. Then glued on some gold trim. For the base of the shoe I used thick foam with metal gold paint and a matte finish to seal it.
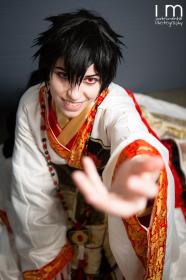
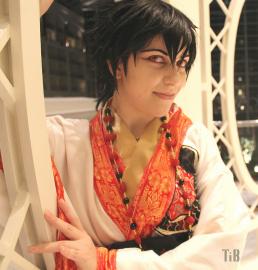
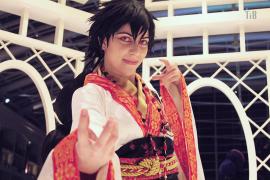
Necklace: The necklace is beaded with button thread using metal gold beads, onyx, jade, and red oriental beads, The center block is two pieces of wood painted with blended metal paints and glued together with some remaining tassel. The red gem is resin cast, backed with a mirror and edged with hot glued painted over with metal paint. The corners are metal scrap booking pieces. - Personal Thoughts:
- my precious precious baby and one of my most difficult pieces currently if for the designing aspect alone. This outfit is based off Ohtaka's sketch of Judal in his formal attire of the Kou Empire. There is absolutely no colour what so ever and the sketch is very hard to make out. I had to use a lot of creative thinking and colour / culture research to make this work.
I also gain a harem when I need to travel. (usually they hum the wedding march)
Wig Details
- Styling Notes
- Original wig styling in original Judal photograph. Since then It has had 2 surgeries removing six balls and added over two layers of wefts. It is currently prepping for it's 3rd surgery.
- Wig Review
- Each time I wear this wig I LITERALLY pay for it.
Judal you high maintenance BRAT.
Add a Comment
Photos
-
Photo 1
 0
0  444
444 -
Photo 2
 0
0  475
475 -
Photo 3
 0
0  354
354 -
Photo 4
 0
0  316
316 -
Photo 5
 0
0  398
398 -
Photo 6
 0
0  315
315 -
Photo 7
 0
0  341
341 -
Photo 8
 0
0  431
431 -
Photo 9
 0
0  280
280 -
Photo 10
 0
0  772
772 -
Photo 11
 0
0  337
337 -
Photo 12
 0
0  364
364 -
Photo 13
 0
0  387
387 -
Photo 14
 0
0  270
270 -
Photo 15
 0
0  306
306 -
Photo 16
 0
0  367
367 -
Photo 17
 0
0  316
316 -
Photo 18
 0
0  323
323 -
Photo 19
 0
0  272
272 -
Photo 20

 0
0  273
273 -
Photo 21
 0
0  256
256 -
Photo 22
 0
0  271
271 -
Photo 23
 0
0  252
252 -
Photo 24
 0
0  259
259 -
Photo 25
 0
0  353
353 -
Photo 26

 0
0  280
280 -
Photo 27
 0
0  331
331 -
Photo 28
 0
0  320
320 -
Photo 29
 0
0  284
284 -
Photo 30

 0
0  280
280 -
Photo 31
 0
0  241
241




Sorry, you must be a registered user of and logged in to view and add comments. Either log in or register now!