ACParadise Network:
American Cosplay Paradise
American Cosplay Experience
American Cosplay Snapshots
Cosplayer NyuNyu > Costume of Lina Inverse (Slayers)
- Most Recent Photo
- 09-25-2013
- Series
- Slayers
- Character
- Lina Inverse
- Year Completed:
- 2013
- Construction Difficulty:
- Difficult
- Awards
- Best Master Craftsmanship at Con-Nichiwa
- Costume worn at:
- Anime LA 2013
About this Costume
- Construction Details:
-
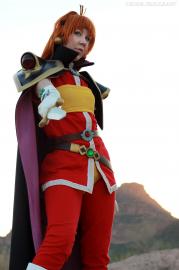
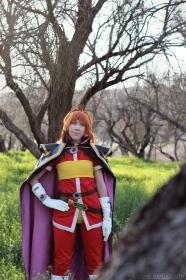
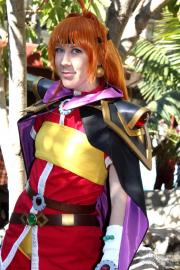
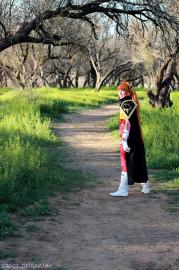
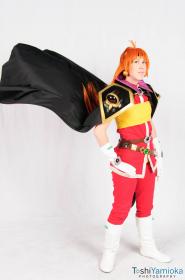
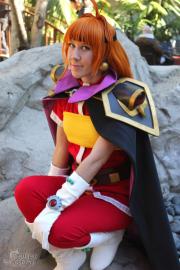
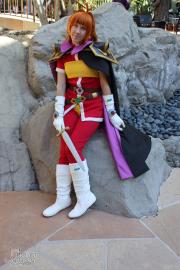
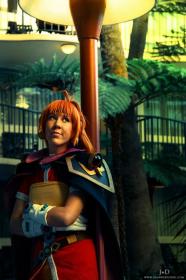
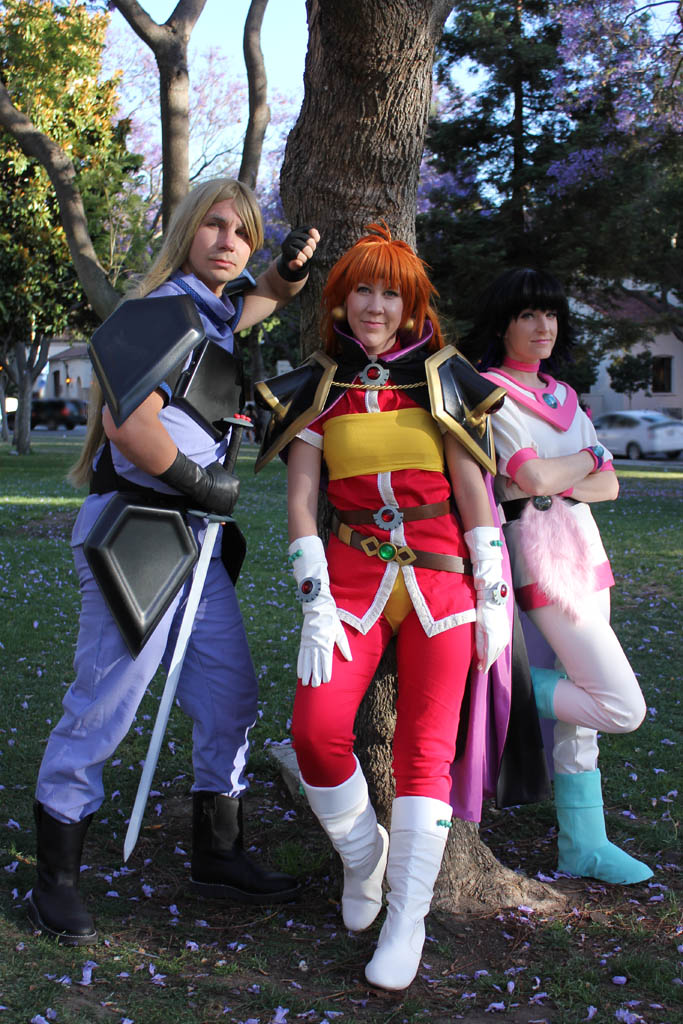
The wig is an Arda Ferrari and a long Epic Cosplay wig sewn together. Neither made me happy for the massiveness that is Lina's hair, so I combined them. I put extra hair into the bangs and wefted the ahoge in separately. I styled it with hairspray and hair glue. I love my earrings! They are ping pong balls painted with Rub 'N Buff epoxied to an earring back. Super light weight!
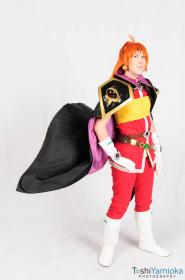
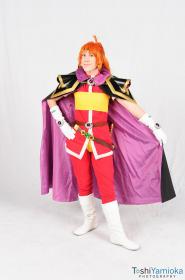
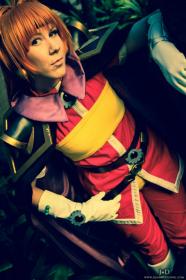
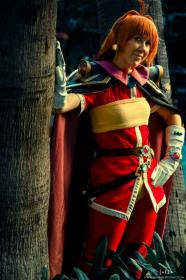
The tunic was the most difficult sewn part. I drafted out my own pattern and sewed it from a nice berry stretch twill. It was tough, because I wanted the tunic to be a heavy fabric and the pants to stretch like leggings, and they don't fit as snug as I'd like. I wanted something special for the trim other than a plain white bias tape, so I ordered a decorative ribbon and combined it with the white trim to edge it and hide the edge where it curved. I really like how that came out! It closes up the front with hooks.
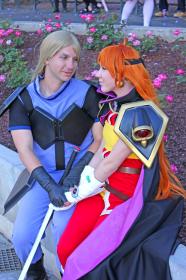
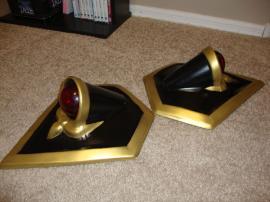
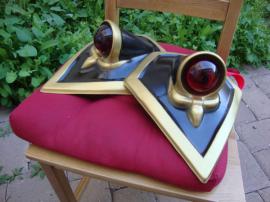
The old armor is craft foam with a resin gem. I wasn't happy with that, so the new one is made from vacuum formed polystyrene. To make the buck, I used a heavy plastic, Sculpey, and a holiday cup! The gems are the same resin gems from before, glued on after forming and painting. Styrene is awesome and takes paint very well - found an awesome "no primer" plastic paint for the black, and did all the gold details by hand with acrylic, sanding between the layers to keep it smooth.
I don't know why Lina wears her underwear on the outside! The tube top piece is just a doubled up tube of yellow knit. For the panties, I used the panties that go with the Green Pepper Crystal Lake skating outfit, which gives really awesome directions on how to close up the legs with elastic. They are WAY HUGE and granny like, so I redid them, cutting them up higher on my legs.
The cape was a pretty simple partial circle design. Both the outside layer and purple lining are a taffeta. The collar is stiffed with crazy interfacing. I recently changed the front closure to have a nice frog clasp.
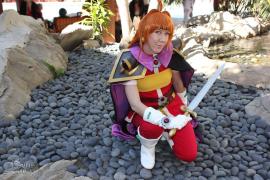
The belts are cut up belt blanks, and my boyfriend made the metal hooks to attach the scabbard, which is just simply made from vinyl fabric. The details on it are painted craft foam and a plastic ring.
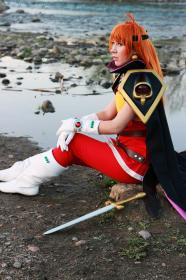
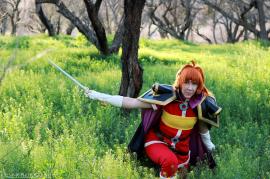
The short sword (I call it a Hobbit sword lol it's SO small) is made from wood. The boyfriend cut it and sanded to get the basic shape. I combined the pieces, added the hilt details with wood shapes and paperclay, sanded it all smooth, primed, and painted it. It's so cute; even though Lina doesn't use it a lot, I like to pose with it.
I found the boots and vinyl gloves on Ebay, and modified them to have the puffy top. I sewed the same faux turquoise beads onto both of them. I did cast green gems, but I had some bad luck with the gem casting, and decided the beads added some texture to the costume that I liked, anyway.
All of the larger gems are cast resin, with craft foam and/or plastic details around them. The red amulets on my neck/belt/wrists were made from 2 layers of craft foam and just painted with acrylic. - Personal Thoughts:
- I've wanted to be Lina pretty much forever. Slayers was my "gateway anime" as I've heard it explained. This is a dream costume for me that took awhile to get things just right!
Add a Comment
Photos
-
Photo 1
 0
0  636
636 -
Photo 2
 0
0  589
589 -
Photo 3
 0
0  618
618 -
Photo 4

 0
0  503
503 -
Photo 5
 0
0  583
583 -
Photo 6
 0
0  589
589 -
Photo 7
 0
0  566
566 -
Photo 8

 0
0  519
519 -
Photo 9

 0
0  512
512 -
Photo 10
 0
0  997
997 -
Photo 11
 0
0  646
646 -
Photo 12
 0
0  606
606 -
Photo 13

 0
0  559
559 -
Photo 14

 0
0  511
511 -
Photo 15
 1
1  525
525 -
Photo 16
 0
0  536
536 -
Photo 17
 0
0  610
610 -
Photo 18
 0
0  708
708 -
Photo 19

 0
0  509
509 -
Photo 20

 0
0  521
521 -
Photo 21
 0
0  488
488 -
Photo 22
 0
0  484
484 -
Photo 23
 0
0  511
511 -
Photo 24
 0
0  664
664 -
Photo 25
 0
0  807
807




Sorry, you must be a registered user of and logged in to view and add comments. Either log in or register now!