

ACParadise Network:
American Cosplay Paradise
American Cosplay Experience
American Cosplay Snapshots
Cosplayer Kapalaka > Costume of Super Sailor Mars (Sailor Moon Super S)
- Most Recent Photo
- 03-23-2015
- Series
- Sailor Moon Super S
- Character
- Super Sailor Mars
- Year Completed:
- 2012
- Construction Difficulty:
- Difficult
- Awards
- Best in Show AFO 2012
- Costume worn at:
- Anime Festival Orlando / AFO 2013
- Anime Festival Orlando / AFO 2012
- Dragon*Con 2012
- FanimeCon 2013
- MegaCon 2013
- Otakon 2012
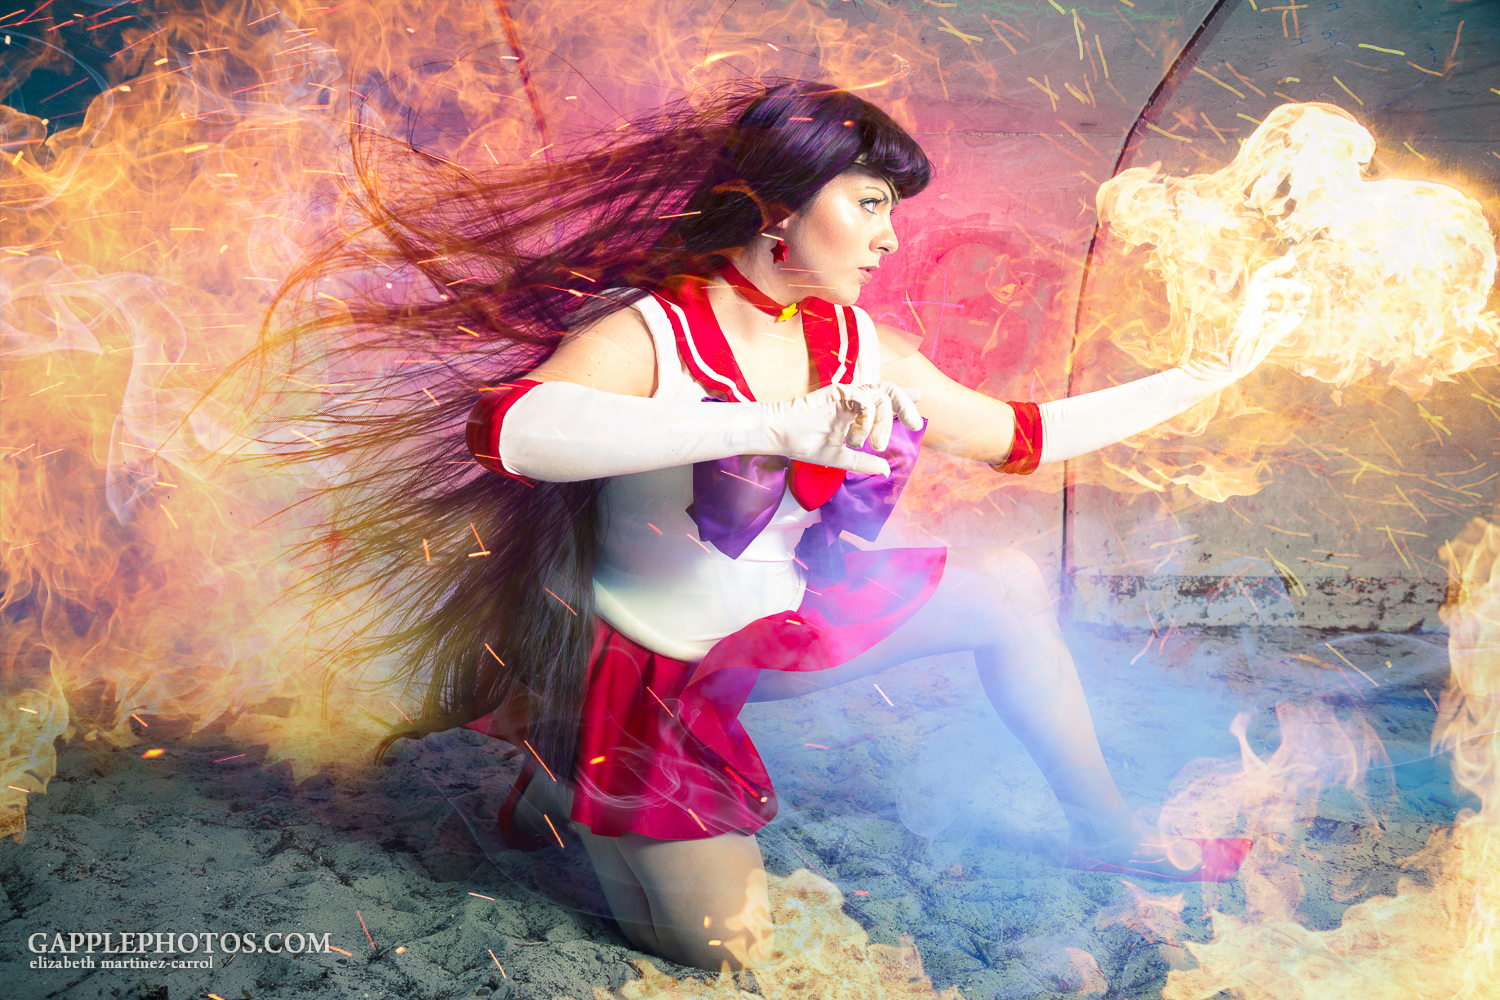
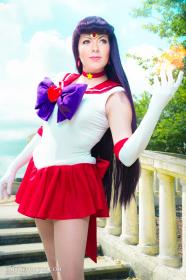
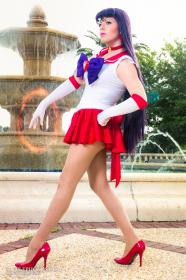
About this Costume
- Construction Details:
-
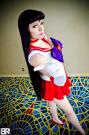
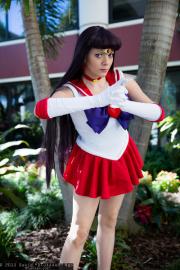
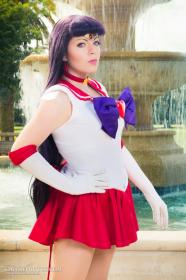
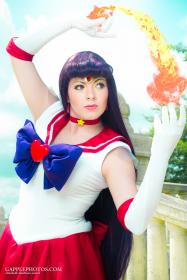
This costume is deceptively simple. I am glad I waited as long as I did to make Mars to give my skills more time to develop. I made the base fuku modular so I could cosplay any senshi in the future. :D I followed Cupcake Cosplay's tutorial for the most part and made changes to allow for modularity.
Fabrics
white - 4way matte spandex from StretchHouse in New York
red & purple - bridal satin donated to me by my friend Terry Chu
frosted wings - frosted vinyl from Joann's
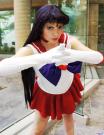
Fuku: I used Green Pepper's pattern #517 and modified it as explained in Cupcake Cosplay's tutorial. Despite how thick the spandex is, I flat-lined it so that the fuku would not be transparent anywhere. I wore a bright red bra underneath my fuku and you can't tell at all in photos. I hand-sewed a large snap that would connect to the bow and a bunch more along the neck and waist for the sailor collar and skirt to attach.
Gloves: I ripped apart some old gloves to draft a pattern and hand-sewed my gloves so they would match my fuku. I made the red glove rolls by cutting the long strips on the bias to allow for max stretchy comfort, stuffed them, and then finished the end with some thick elastic. This held the rolls in place and the elastic was stiff and thick enough to hide underneath the elbow rolls.
Heart pendant: I used a heart-shaped cookie cutter as a mold then filled it with black plastic resin. As it cured, I dipped a large safety pin in and the heart became a broach. I then took it to the belt sander to reshape it since the cookie cutter was too long of a heart and had no dimensionality. After shaped, I hand-sanded it smooth. ] I primed it white and spray painted it with Tamiya Clear Red paint since I had no red spray-paint at home. It held the paint extremely well and did not rub off on my costume at all.
Sailor Collar: I drafted my own pattern for this and cut two pieces. I then topstitched a ribbon down and then lined the ribbon piece. I then cut a toilet-seat shaped u and faced the neckline so no ugly seams or topstitching would show along the edges and then put snaps in the front. The collar drapes as a cape.
Shoes: I painted my pumps with Angelus shoe paint and sealed them with Angelus High-Gloss leather sealer.
Skirt: the skirt is an entirely separate piece and fits over my head and snaps down in place.
Tiara: I made the tiara myself and I am most proud of it. A lot of work went into it and I can't explain it well with words, so please check out the tutorial I made for it with pictures here. - Personal Thoughts:
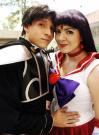
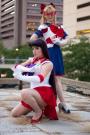
- Sailor Mars was the first anime character I fell in love with and I am elated to finally have made the costume. I made this senshi suit to be modular so all I have to do is make other senshi accessories in the future, but I wanted to make sure to make this costume the best it could be for Mars.
Wig Details
- Wig Brand
- Arda Wigs
- Wig Name
- Le Tigre Long
- Original Color:
- dark purple
- Wig Quality Rating
- 3 / 5.00
- Wig Review
- Disappointed Arda thinned out their Le Tigre to make it longer. The scalp didn't show net, but you could now see through the hair to my back easily.
Add a Comment
Photos
-
Photo 1

 0
0  484
484 -
Photo 2
 0 703
0 703 -
Photo 3
 1 838
1 838 -
Photo 4
 0 775
0 775 -
Photo 5
 0 533
0 533 -
Photo 6
 0 729
0 729 -
Photo 7
 0 816
0 816 -
Photo 8
 0 744
0 744 -
Photo 9
 0 707
0 707 -
Photo 10
 1 827
1 827 -
Photo 11
 0 663
0 663 -
Photo 12
 0 1617
 -
Photo 13
 0 887
0 887 -
Photo 14
 0 976
0 976 -
Photo 15
 0 816
0 816 -
Photo 16
 0 1231
 -
Photo 17
 0 911
0 911 -
Photo 18
 0 783
0 783 -
Photo 19
 0 815
0 815 -
Photo 20
 0 874
0 874 -
Photo 21
 0 1299
 -
Photo 22
 0 820
0 820 -
Photo 23
 0 886
0 886 -
Photo 24
 0 871
0 871 -
Photo 25
 0 920
0 920 -
Photo 26
 0 852
0 852 -
Photo 27
 0 815
0 815 -
Photo 28
 0 723
0 723 -
Photo 29
 0 866
0 866 -
Photo 30
 0 2626
 -
Photo 31
 0 848
0 848 -
Photo 32
 1 846
1 846 -
Photo 33
 0 589
0 589 -
Photo 34
 0 686
0 686 -
Photo 35
 0 615
0 615 -
Photo 36
 0 505
0 505 -
Photo 37
 0 534
0 534


Sorry, you must be a registered user of and logged in to view and add comments. Either log in or register now!