ACParadise Network:
American Cosplay Paradise
American Cosplay Experience
American Cosplay Snapshots
Cosplayer Lady Tenkage > Costume of Megurine Luka (Vocaloid 2)
- Most Recent Photo
- 05-27-2011
- Series
- Vocaloid 2
- Character
- Megurine Luka
- Special Variation:
- Magnet
- Year Completed:
- N/A
- Construction Difficulty:
About this Costume
- Construction Details:
-
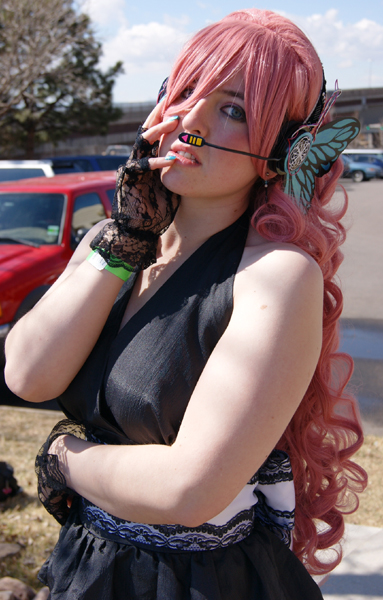
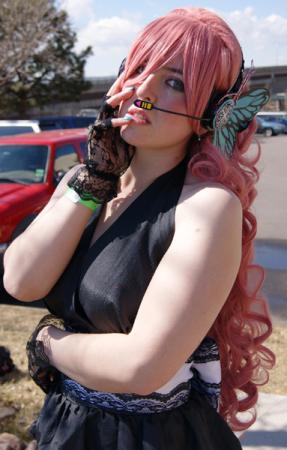
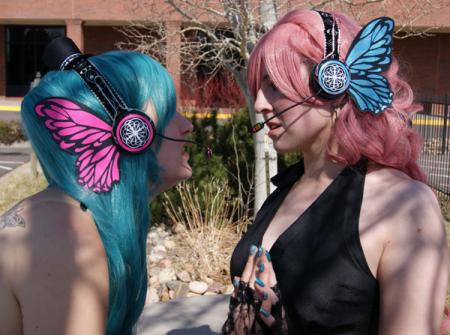
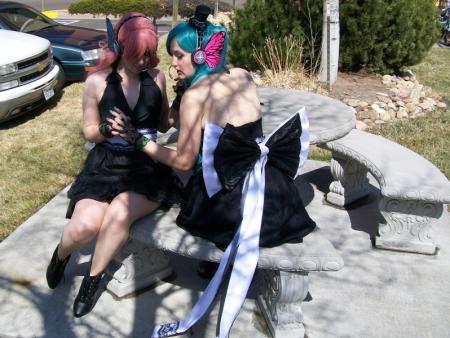
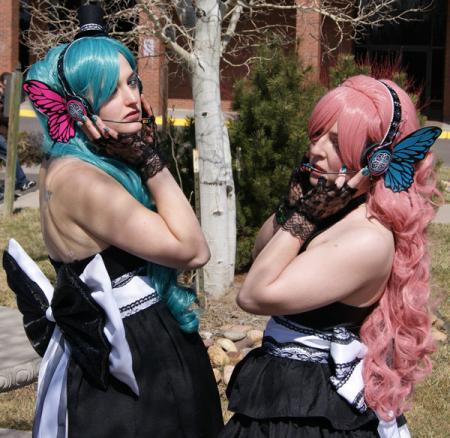
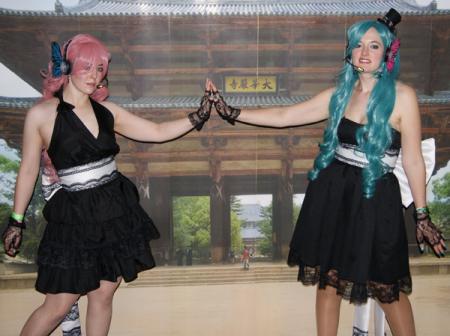
For my personal view of Luka, I took a look at many other cosplayers' interpretations, and of all of them, I decided I best liked the halter-style dress, with a triple-layered, ruffled skirt. To make this dress, I'm combining two different patterns, which you can see in my first progress picture, on the right. They are New Look's #6557 for the top, and Kwik Sew's #3783 for the ruffled skirt. As far as modifications, there's very little to do. I have to add the shoulder bow, and incorporate the white waistband. For the ruffles, I've seen versions either made of all fabric, or with lace trim on each layer. I've decided to only put lace trim on the middle layer of ruffles, as I believe it'll look very cute. For fabrics, I'm using a black polyester with a "wrinkled finish for the primary, and a white crepe satin for the white waistband. To have corresponding costumes, my partner, Kumiko, and I have bought identical lace to apply to our waistbands and dresses. Currently, I've completed the top of the dress, and I am currently working on the skirt and its ruffles. It's an interesting learning process, as I've never done ruffles in the correct manner before, so I hope it turns out pretty. All-in all, I think the top looks very good, right now. You can;t see it in this picture, but I've also added the bow to the neck, and it can move around to either shoulder, along the neckline of the top. You won't see the white waistband for a while, though, as I'm making the dress to work as a stand-alone cocktail dress, as well. 01-11-11 Update: Awesome! The entire basic dress is constructed, and only in need of a zipper, now! The skirt finishes just above the knees, as I wanted. I am a little concerned about where the middle ruffle sits, with the added length of the lace, but overall, I think it's perfect! Finishing it this much has me really excited, and pretty soon I'll be going to Denver to buy the rest of the fabrics I need- not to mention get started on Saber Lily! I've already ordered the boots and gloves for this costume, and soon I'll be ordering the wig an headphones, too. The next sewing step after this is to make the white waistband, and its bow. This is gonna be an awesome shoot! 01-23-11 Update: Back again, with more progress pictures and another update!So, the black dress is complete, gloves are here, and the wig, shoes, and headphones are on their way! Currently, I'm working on the white waist band and its bow, and I think you'll like the design I've come up with! You can see above the waistband's design, which is the recurring theme throughout the bow- the exception being the tails. But, basically, you have two different types of lace on top and bottom. As you can see, the width is 4 inches, skinnier than I expected to make it, but it works just great. Now, for the bow, most people do a giant bow, with the lace just edging it- but not me! Check out this double-bow design I'm doing! I've taken two lengths of the lace-trimmed satin, made them individual bows, then skooshed them together to form a super-nifty double-bow! The finer lace is centered, and on top will sit a solid black bow, as a contrast. To get the main bow of the right stiffness, but still keeping the needed shape, I've used a patented method of my own, that I came upon completely by accident. The first time I tried making a bow like this, I used poster board as an experimental stiffening material. Needless to say, it wasn't very cooperative.Then, I accidentally spilled tea on the bow- poster board and all, and so to get the stain out, I soaked the entire thing in hot water. Naturally, the poster board was "ruined" by then, and as an attempt to salvage it, I tried making the bow dry in the needed shape. Well, to my surprise, it actually worked. In fact, it better than worked!The wet poster board took the desired shape incredibly well. Not only that, but because I shaped it when it was wet, there were no unsightly tears or funny folds, and when it dried, it had the exact sort of stiffness it had had as a just-bought piece of poster board! I've used this method twice, since then, and it has as-yet to fail me! Maybe I should name it, or something... Finally, for the bow tails, I didn't have enough lace to continue with pattern I'd been using, so this time I conformed to everyone else, and just trimmed the very ends of the tails. However, as you can see in the picture below, I had to do some modification to the lace, to make it lay as I wanted. That was some of the most delicate stitch work I've ever done, let me tell you! But, the end result is definitely worth it, as you'll eventually see!
- Personal Thoughts:
- Honestly, I love the creative freedom of this costume- and the fact that I can wear it as a cocktail dress, as well!
Add a Comment




Sorry, you must be a registered user of and logged in to view and add comments. Either log in or register now!