ACParadise Network:
American Cosplay Paradise
American Cosplay Experience
American Cosplay Snapshots
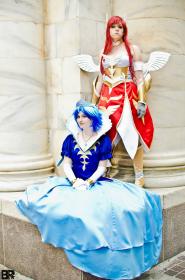
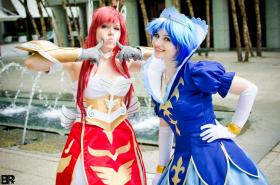
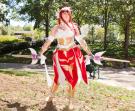
Cosplayer Tham > Costume of Erza Scarlet (Fairy Tail)
- Most Recent Photo
- 07-28-2013
- Series
- Fairy Tail
- Character
- Erza Scarlet
- Special Variation:
- Fantasia Parade
- Year Completed:
- 2011
- Construction Difficulty:
- Difficult
- Costume worn at:
- Anime Weekend Atlanta 2011
This Costume has been retired
About this Costume
- Construction Details:
-
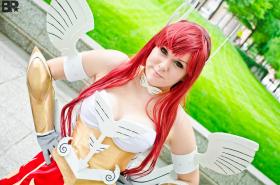
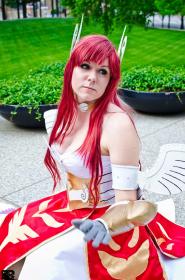
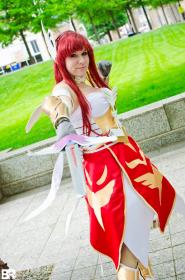
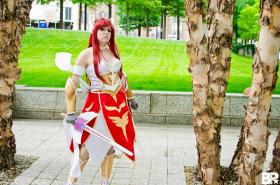
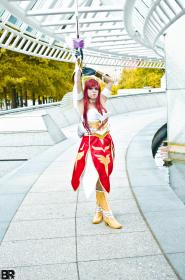
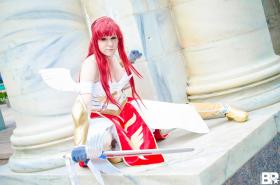
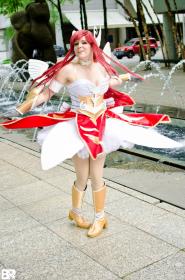
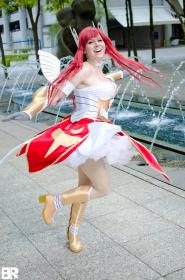
I broke this costume down into several parts instead of just making a bodice and skirt.
Corset
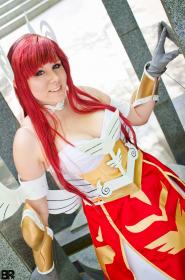
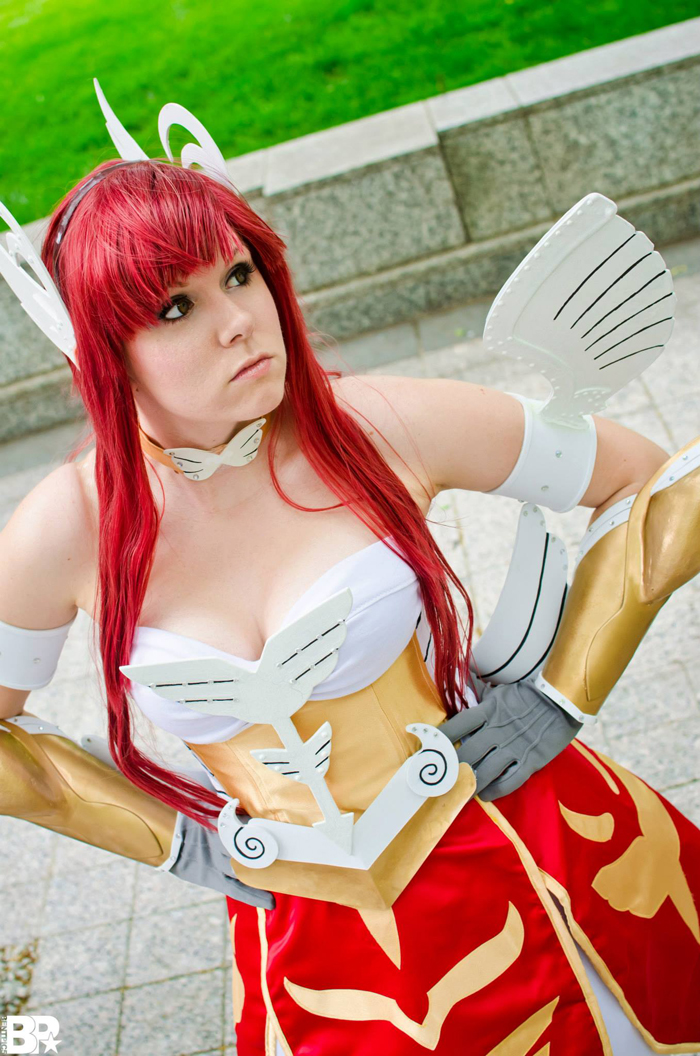
I decided to make an under-bust corset since I felt it would work with the design easily. I did a two-part pattern. The gold in front is a crepe-back satin from JoAnn. The white sides are white casa with black satin-stitched details. There are 12 steel bones (1/4" from Delicious LLC.) throughout the corset (though I would use more for next time) and it's lined in a cheetah print cotton I had laying around. I used tiny bias tape around the edges in order to finish the garment but also make it hard to see. There are 16 eyelets in the back and I went ahead and bought some corset lacing from Delicious LLC to use.
Undershirt
I used a simple white cotton knit to make this. Instead of going for the hard armor look, I went with a more stylized approach. I made a basic tube shirt and gathered about 6" of the bust. I made bias tape out of the same knit to enclose the top of the shirt as well.
Petal Skirts
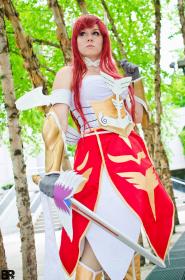
There are two petal skirts that make up the whole skirt. The white one underneath consists of 4 petals, severely interfaced, all "lined", and stitched together, which close via snap in the back. I decided to give it a little extra flare by adding some beaded details on the corner of each petal too.
The red skirt consists of 4 petals as well. Each has their own appliqued design and is top stitched (I didn't like how the satin stitching looked) with hand-made gold bias tape. Both the designs and the bias tape were made from the same gold crepe satin I used on the corset. The red petals are all stitched together and close via snap as well.
Armor & Jewelry
Almost all of the armor is made with sintra and heat-formed. I used craft foam for details on specific pieced, and some pieces are solely craft foam. Is made of sintra, the piece has been beveled to give it a smooth edge.
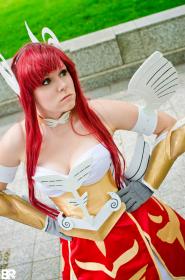
The gauntlets: Made with sintra and pink insulation foam. I carved the insulation foam to the dome shape and glued it to the sitra pieces once they were heat formed. Once adhered, I filled the gaps with spackle and sanded smooth one it dried. I then primed them and painted them gold, adding white foam details and rhinestones to give them a little flare.
Choker: It's just gold crepe with interfacing. I cut the wing shape out of foam, coated it in polyurethane, then painted it, adding the line details afterward. The gem is from JoAnn in their jewelry section. It has a light blue flower inside, and I felt using that would be better than a plain light blue gem.
Arm bands: Made solely out of craft foam. The raised details are also craft foam. I added rhinestones to these as well for a little flare, though some areas are canon to the design!
Chest piece: Sintra with black line details for the wings. It attaches to the shirt & corset with hook & eyes.
Belt: Made with pieces of styrene painted gold (4) and white(1) with foam detail pieces. The belt attaches with velcro in the back. The wings are also made of foam and attach to the belt.
Arm bands: All foam sealed with Super Glaze, a resin-based sealer. The wings attach to the bands with lots and lots of hot glue. Rhinestones were added on top~
Boots
Used the same gold crepe satin from the other pieces. It has an outer layer, a duck cloth center for stabilizing, and lining in that cheetah print cotton. The white details are bias tape. They're attached to the base shoes with hot glue. - Personal Thoughts:
- When Megan asked me to do this, of course I was intimidated. I had to try a lot of new techniques and was a little scared things wouldn't turn out like I wanted. However, things went surprisingly well and I am very satisfied with this costume! The only complaint I have is lacking a hoop skirt. I ran out of time to make a custom one, so hopefully I'll have time to make one for the next time I wear this. <br />
<br />
Though, I'm really happy I got to do a dream costume group with Megan. She adores Fairy Tail and I had so much fun doing this with her!
Wig Details
- Styling Notes
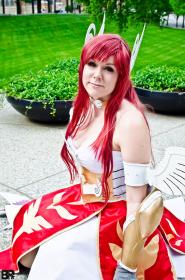
- I wanted the perfect wig and color, so when it came to reliability, I went with Arda since<br> 1. I had purchased one before (Melody)<br> and<br> 2. their wigs are gorgeous.<br> I originally ordered a Le Tigre Long in maroon, but they were out of stock and wouldn't be restocked until mid-October, so I had to settle for another style. They recommended their Claudia, which is curly, but that I could straighten it. I wasn't sure of how long it would be once straightened, but I decided to give it a chance.<br><br> It arrived really quick and I proceeded to straighten it. I had left my awesome straightener in Maryland (from Otakon) so I had to use a different method. I decided to use an iron with a damp cloth underneath, and it worked WONDERS. It started out looking like <a href="http://img204.imageshack.us/img204/3949/24787837.jpg">this</a>. Here's an in-progress shot of it <a href="http://img718.imageshack.us/img718/2654/74981290.jpg">straightened</a>, and here it is <a href="http://img853.imageshack.us/img853/5276/31589710150290995342027.jpg">finished</a> with bangs cut in. <br><br> Overall, despite having to exert more effort, I still am happy I went with Arda. Their wigs are amazing and I am SUPER happy with the color. It's exactly what I was looking for and I'm pretty sure I'll be going with them for all future wig purchases.
Add a Comment
Photos
-
Photo 1
 0
0  542
542 -
Photo 2
 0
0  604
604 -
Photo 3
 0
0  659
659 -
Photo 4
 0
0  485
485 -
Photo 5
 0
0  420
420 -
Photo 6
 0
0  559
559 -
Photo 7
 0
0  551
551 -
Photo 8
 0
0  440
440 -
Photo 9
 0
0  535
535 -
Photo 10
 0
0  406
406 -
Photo 11
 0
0  413
413 -
Photo 12
 0
0  560
560 -
Photo 13
 0
0  579
579 -
Photo 14
 0
0  525
525 -
Photo 15

 0
0  696
696 -
Photo 16

 1
1  762
762 -
Photo 17

 0
0  627
627 -
Photo 18

 0
0  608
608 -
Photo 19

 0
0  570
570 -
Photo 20

 0
0  590
590 -
Photo 21

 0
0  845
845 -
Photo 22

 0
0  626
626 -
Photo 23

 0
0  544
544 -
Photo 24
 0
0  620
620 -
Photo 25

 0
0  719
719 -
Photo 26

 0
0  584
584 -
Photo 27

 0
0  567
567 -
Photo 28

 2
2  859
859 -
Photo 29

 0
0  693
693 -
Photo 30

 0
0  659
659 -
Photo 31

 0
0  657
657




Sorry, you must be a registered user of and logged in to view and add comments. Either log in or register now!