

ACParadise Network:
American Cosplay Paradise
American Cosplay Experience
American Cosplay Snapshots
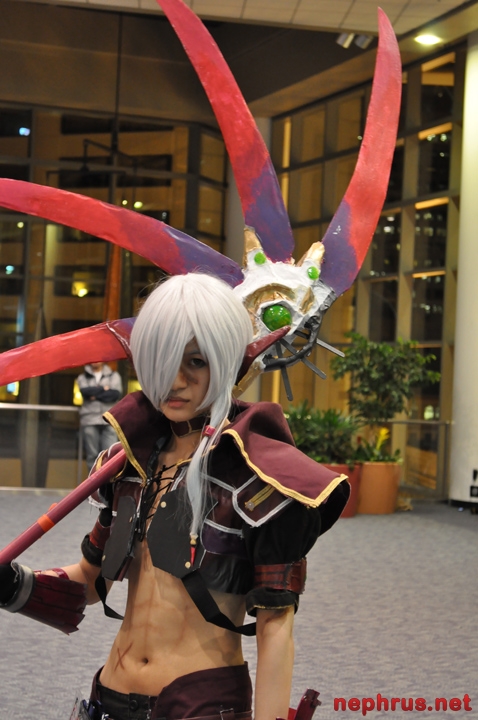
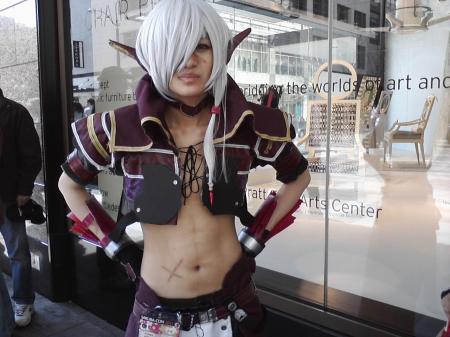
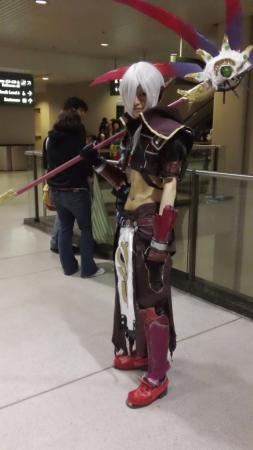
Cosplayer Amleya > Costume of Arumat P.Thanatos (Star Ocean 4: The Last Hope)
- Most Recent Photo
- 04-26-2011
- Series
- Star Ocean 4: The Last Hope
- Character
- Arumat P.Thanatos
- Year Completed:
- N/A
- Construction Difficulty:
- N/A
- Costume worn at:
- Sakura-con 2011
About this Costume
- Construction Details:
-
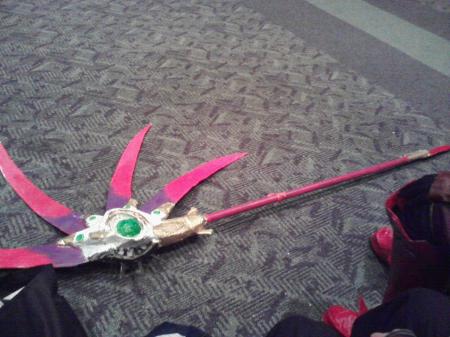
So first off, I got a few details off or left out some... The glaring one to me is the wig. It kept curling in and it's not long enough and it didn't flare out like I had it before.... The next missed detail are the scars. There should be one over the left hip and a few were mixed up. My reference book I brought along didn't show it unfortunately and only did I go back home and look on the laptop did I see some. I was rushed so I didn't have the time to actually put on scars at home... In that rush, I forgot my scar wax but luckily I brought liquid latex... My friend was the one who helped me using bronzer and something else. The next missed detail... the ripped up fabric above the gloves, and under the sleeve. I didn't have time to even glue on something (was finishing 4 other cosplays in a tight time budget) and the sleeve ends were supposed to be a bit more detailed in the cut with a stronger gold... Another missed detail... the beads along the lacing of the jacket and the fact that you can see a knot in my cosplay. The dark grey parts on the front of the jacket are a little off... it should be more detailed D; And the whole scythe... it was constructed in only 3 days. my initial broke... It had polycarbonate blades, LED strips and just those little LEDs and the pivot hinges didn't come on time... So the one in the picture is the crappy one. I used a PVC pipe, lots of duct tape, insulation foam, Wonderflex with craft foam in between and enamel paints. Not what I would've wanted but ehh... I got a denim shrug jacket, cut off its sleeves and collar and hem. Sewed burgundy twill cotton over it and burgundy pleather onto the front and back. Added silver and gold trim. I couldn't map out the wide collar properly so it looked a little loose in the back. The shoulders were difficult for me to do (has little to no sewing skill whatsoever) but for the purple... I folded twill cotton into something of a triangle over large shoulder pads and then added the pleather with gold and silver trim parts over the fabric. The black sleeves were added onto the jacket and it too has shoulder pads... The pants were originally black fatigue pants but I cut it off at the knees and made it look like knickerbockers with black satin. I then added parts of the burgundy twill cotton to the front and back of the pants where the sides are open to show the black underneath. I didn't have enough time to sew trim onto it so I used gold and silver dimensional paint where the edge of the twill cotton met the fatigues. Boot covers were constructed out of Wonderflex with a bit of craft foam and school glue and some Friendly plastic. there are rectangles of green glass in the boots too where small LEDs are hidden behind it. The boots I used were just black knee high rider boots that were quite worn... The bracers, armbands and cuffs were made out of craft foam, primed with school glue and then enamel paints. The choker is just out of craft foam, nothing fancy there. The ears were actually made out of paper with masking tape keeping its shape and covered over with school glue and then enamel paint. The belt parts, flowing ripped up cloth and emblem on the front (I don't know terms for certain articles of clothing) were all just made out of either pleather, twill cotton, those black straps found on luggage, white satiny fabric and/or interfacing... the ripped up parts were done by cutting into it with partially blunted scissors and then ripped by hand. On the belt... silver dimensional paint was used shamefully e.e;
Wig Details
- Wig Brand
- Epic Cosplay
- Wig Name
- 12" Layered
- Original Color:
- Silvery grey
- Styling Time
- 2 hours
- How was the wig colored?
- Copic markering for the extensions
- Styling Notes
- Grabbed a short wig, clipped it to look shaggy (appears to have fallen out of its style during the con), ordered 3 long white extensions and put them together onto one clip after dyeing them to match the main wig with Copic markers. Glued cubic hair accessory onto extension and glued the hair end piece to the tips of the extension...
Add a Comment


 Upgrade Cosplayer
Sorry, you must be a registered user of and logged in to view and add comments. Either log in or register now!