

ACParadise Network:
American Cosplay Paradise
American Cosplay Experience
American Cosplay Snapshots
Cosplayer NiGHTmaren > Costume of Ico (ICO)
- Most Recent Photo
- 12-30-2012
- Series
- ICO
- Character
- Ico
- Year Completed:
- 2010
- Construction Difficulty:
- Easy
- Awards
- Honorable Mention Craftsmanship / Attention to Detail at Florida Supercon 2010
- Costume worn at:
- ColossalCon (Cleveland) 2018
- Florida Supercon 2010
- Holiday Matsuri 2017
About this Costume
- Construction Details:
-
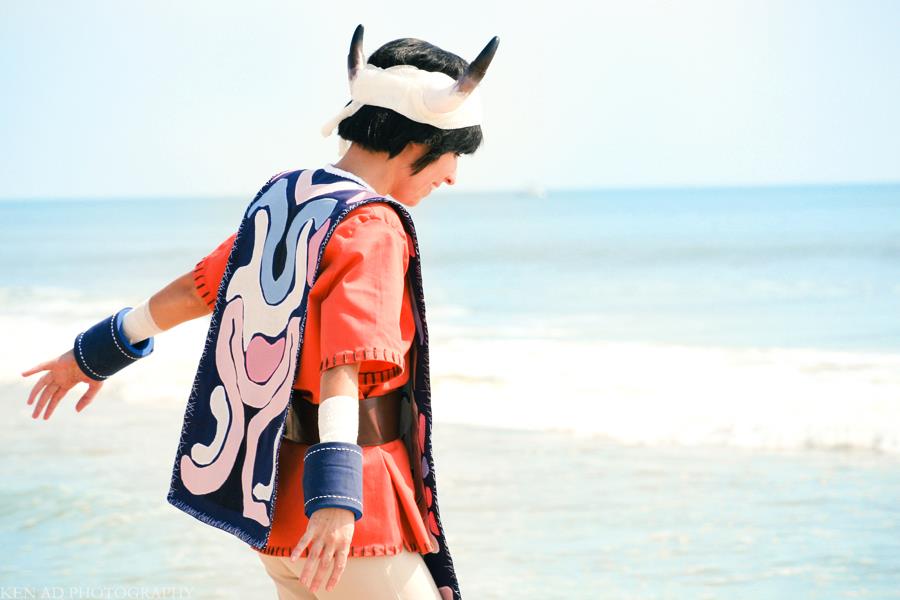
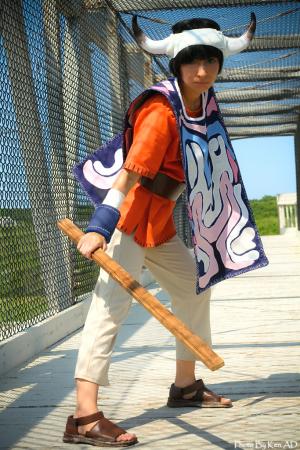
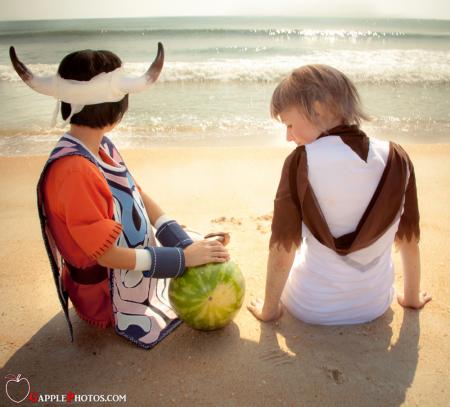
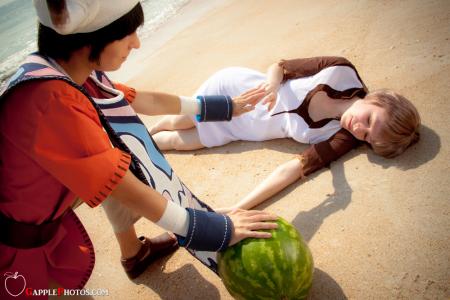
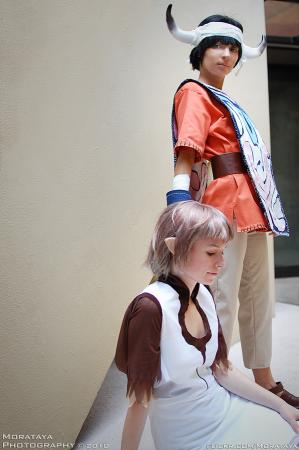
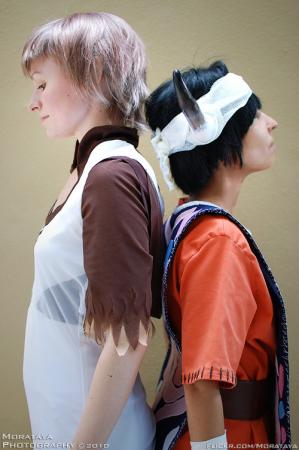
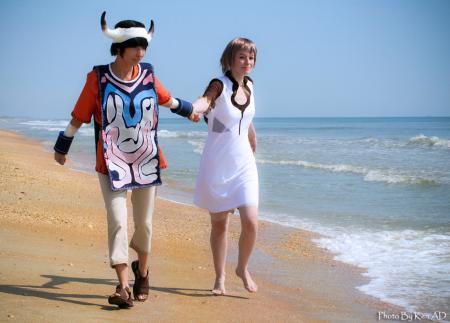
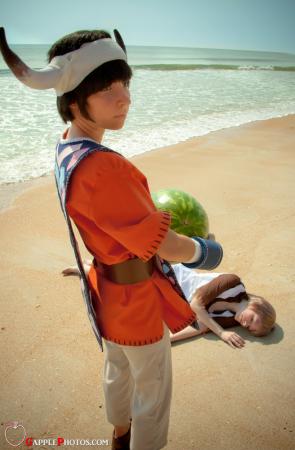
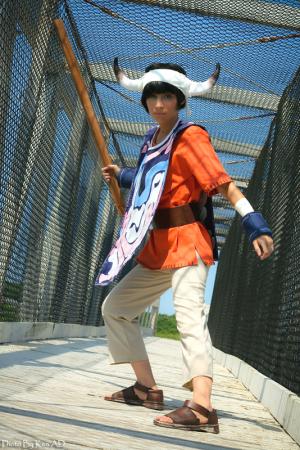
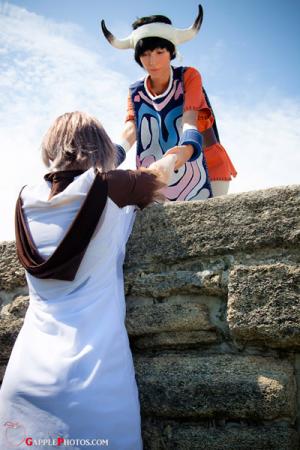
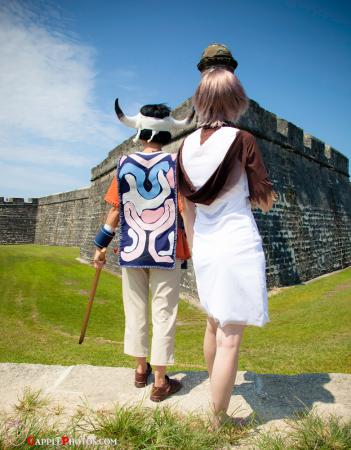
Completed June 2010 - For the orange tunic, I used a stretch twill fabric and did embroidery by hand for the brown stitching detail along the bottom hem, edges of the sleeves, and around the collar. I enjoyed working with this type of twill for my boyfriend's Kamina pants, so when I saw it go on sale I had to grab it. The pants were made also using a stretch twill. Both the tunic and pants feature serged seams so they will be up for as many wears as I care to put them through.
The tabard was really the only difficult part of the costume, and I took the knowledge I learned from Wander and applied it to making this garment. I gathered up as much reference as I could find and scaled it to my size, then drew out the patterns on poster board and made myself a template. Unlike Wander, however, the pattern in the front is completely different than the one in back, so I had to made two templates instead of one. I had to color code it and then use tracing paper to copy it, and then use the tracing paper version as a reference so all the symbols got placed properly onto the tabard, while the poster board version got cut out and used to stencil the shapes - it was a chore, but worth the effort for a professional look to the garment. The symbols were all appliqued onto the main tabard, and I did a satin (embroidery) stitch around each symbol so they would be neat and tidy and stay on the tabard forever.
The bracelets were a bit tricky to figure out because of how clunky they are - I ended up using a thick foam base and covering it in fabric, the white stitches are all hand-embroidered.
The belt was made out of raw leather hide, cut to size. I slicked the edges to smoothen them out, and edge-coated the rough back to make that smooth, as well. As always, I used my trusty Angelus leather paints to paint the leather.
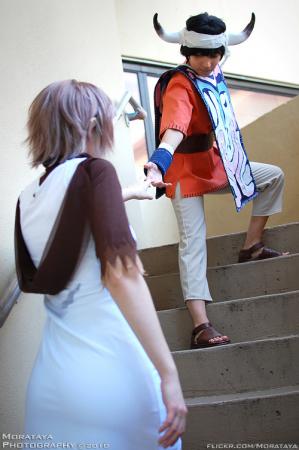
The footwear was an unforeseen headache, I couldn't for the life of me find any sandals like his. It took me months to find a pair that was close enough and boy was I ever glad when I found them, but I still had to mod it to add straps over the ankles. I made the straps out of leather hide and treated it the same way I did the belt, then painted the entire leather sandal the same color to match.
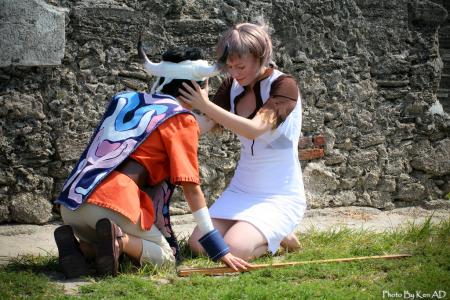
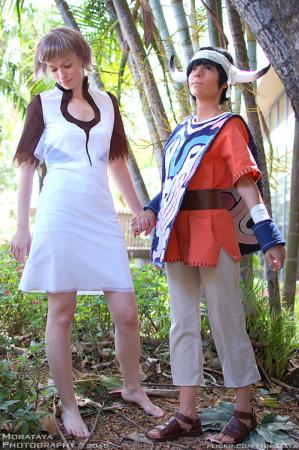
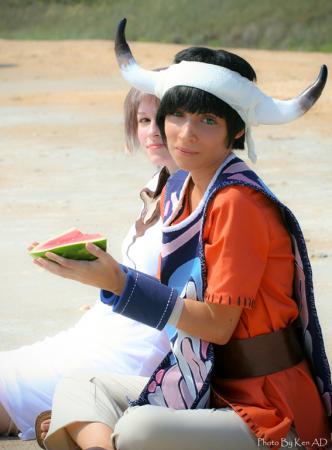
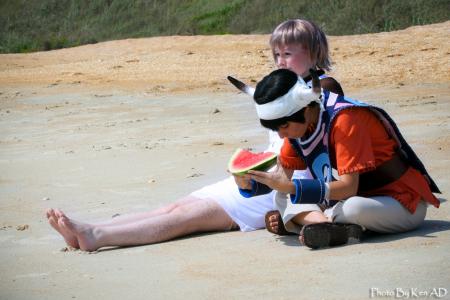
The wig was pretty much purchased as is, with minimal styling needed, though it was hard finding one that short! The horns were made using a pair of costume horns as a base, doing some modifications to them to make them smaller and better shaped, and painting them to look natural. They are sewn onto a headband which is hidden under the gauze wraps. I made the gauze wraps look a bit messy just how Ico wears them. I also tanned myself with Kryolan makeup, my arms got tan enough (LOLFLORIDA) but the rest of me didn't in time! - Personal Thoughts:
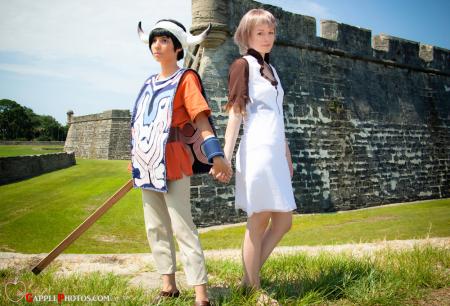
- I am absolutely crazy for Team Ico and their games, this costume should have been a given! I already cosplayed as Wander, so Ico was simply next in line on my to-do list. He's such a brave boy, and the game is so beautiful and touching. I love how Fumito Ueda creates that special kind of atmosphere and story telling with minimal dialouge and relative simplicity. I also had my friend Britt cosplay alongside me as Yorda, which made it so much more fun!
Add a Comment
Photos
-
Photo 1
 2
2  1109
1109 -
Photo 2
 0 535
0 535 -
Photo 3
 0 441
0 441 -
Photo 4
 0 501
0 501 -
Photo 5
 1 565
1 565 -
Photo 6
 0 520
0 520 -
Photo 7
 0 583
0 583 -
Photo 8
 3 567
3 567 -
Photo 9
 0 571
0 571 -
Photo 10
 0 491
0 491 -
Photo 11
 0 554
0 554 -
Photo 12
 0 507
0 507 -
Photo 13
 0 499
0 499 -
Photo 14
 0 503
0 503 -
Photo 15
 0 487
0 487 -
Photo 16
 0 462
0 462 -
Photo 17
 0 477
0 477 -
Photo 18
 0 476
0 476 -
Photo 19
 0 455
0 455 -
Photo 20
 0 373
0 373 -
Photo 21
 0 464
0 464
-
 1766174 VisitorsAcy's Pick: 08/2014
 -
- Cosplayer Info
- Costumes Worn
- Costumes Made
- Props
- Wigs
- Favorites
- Videos
- Convention History


Sorry, you must be a registered user of and logged in to view and add comments. Either log in or register now!